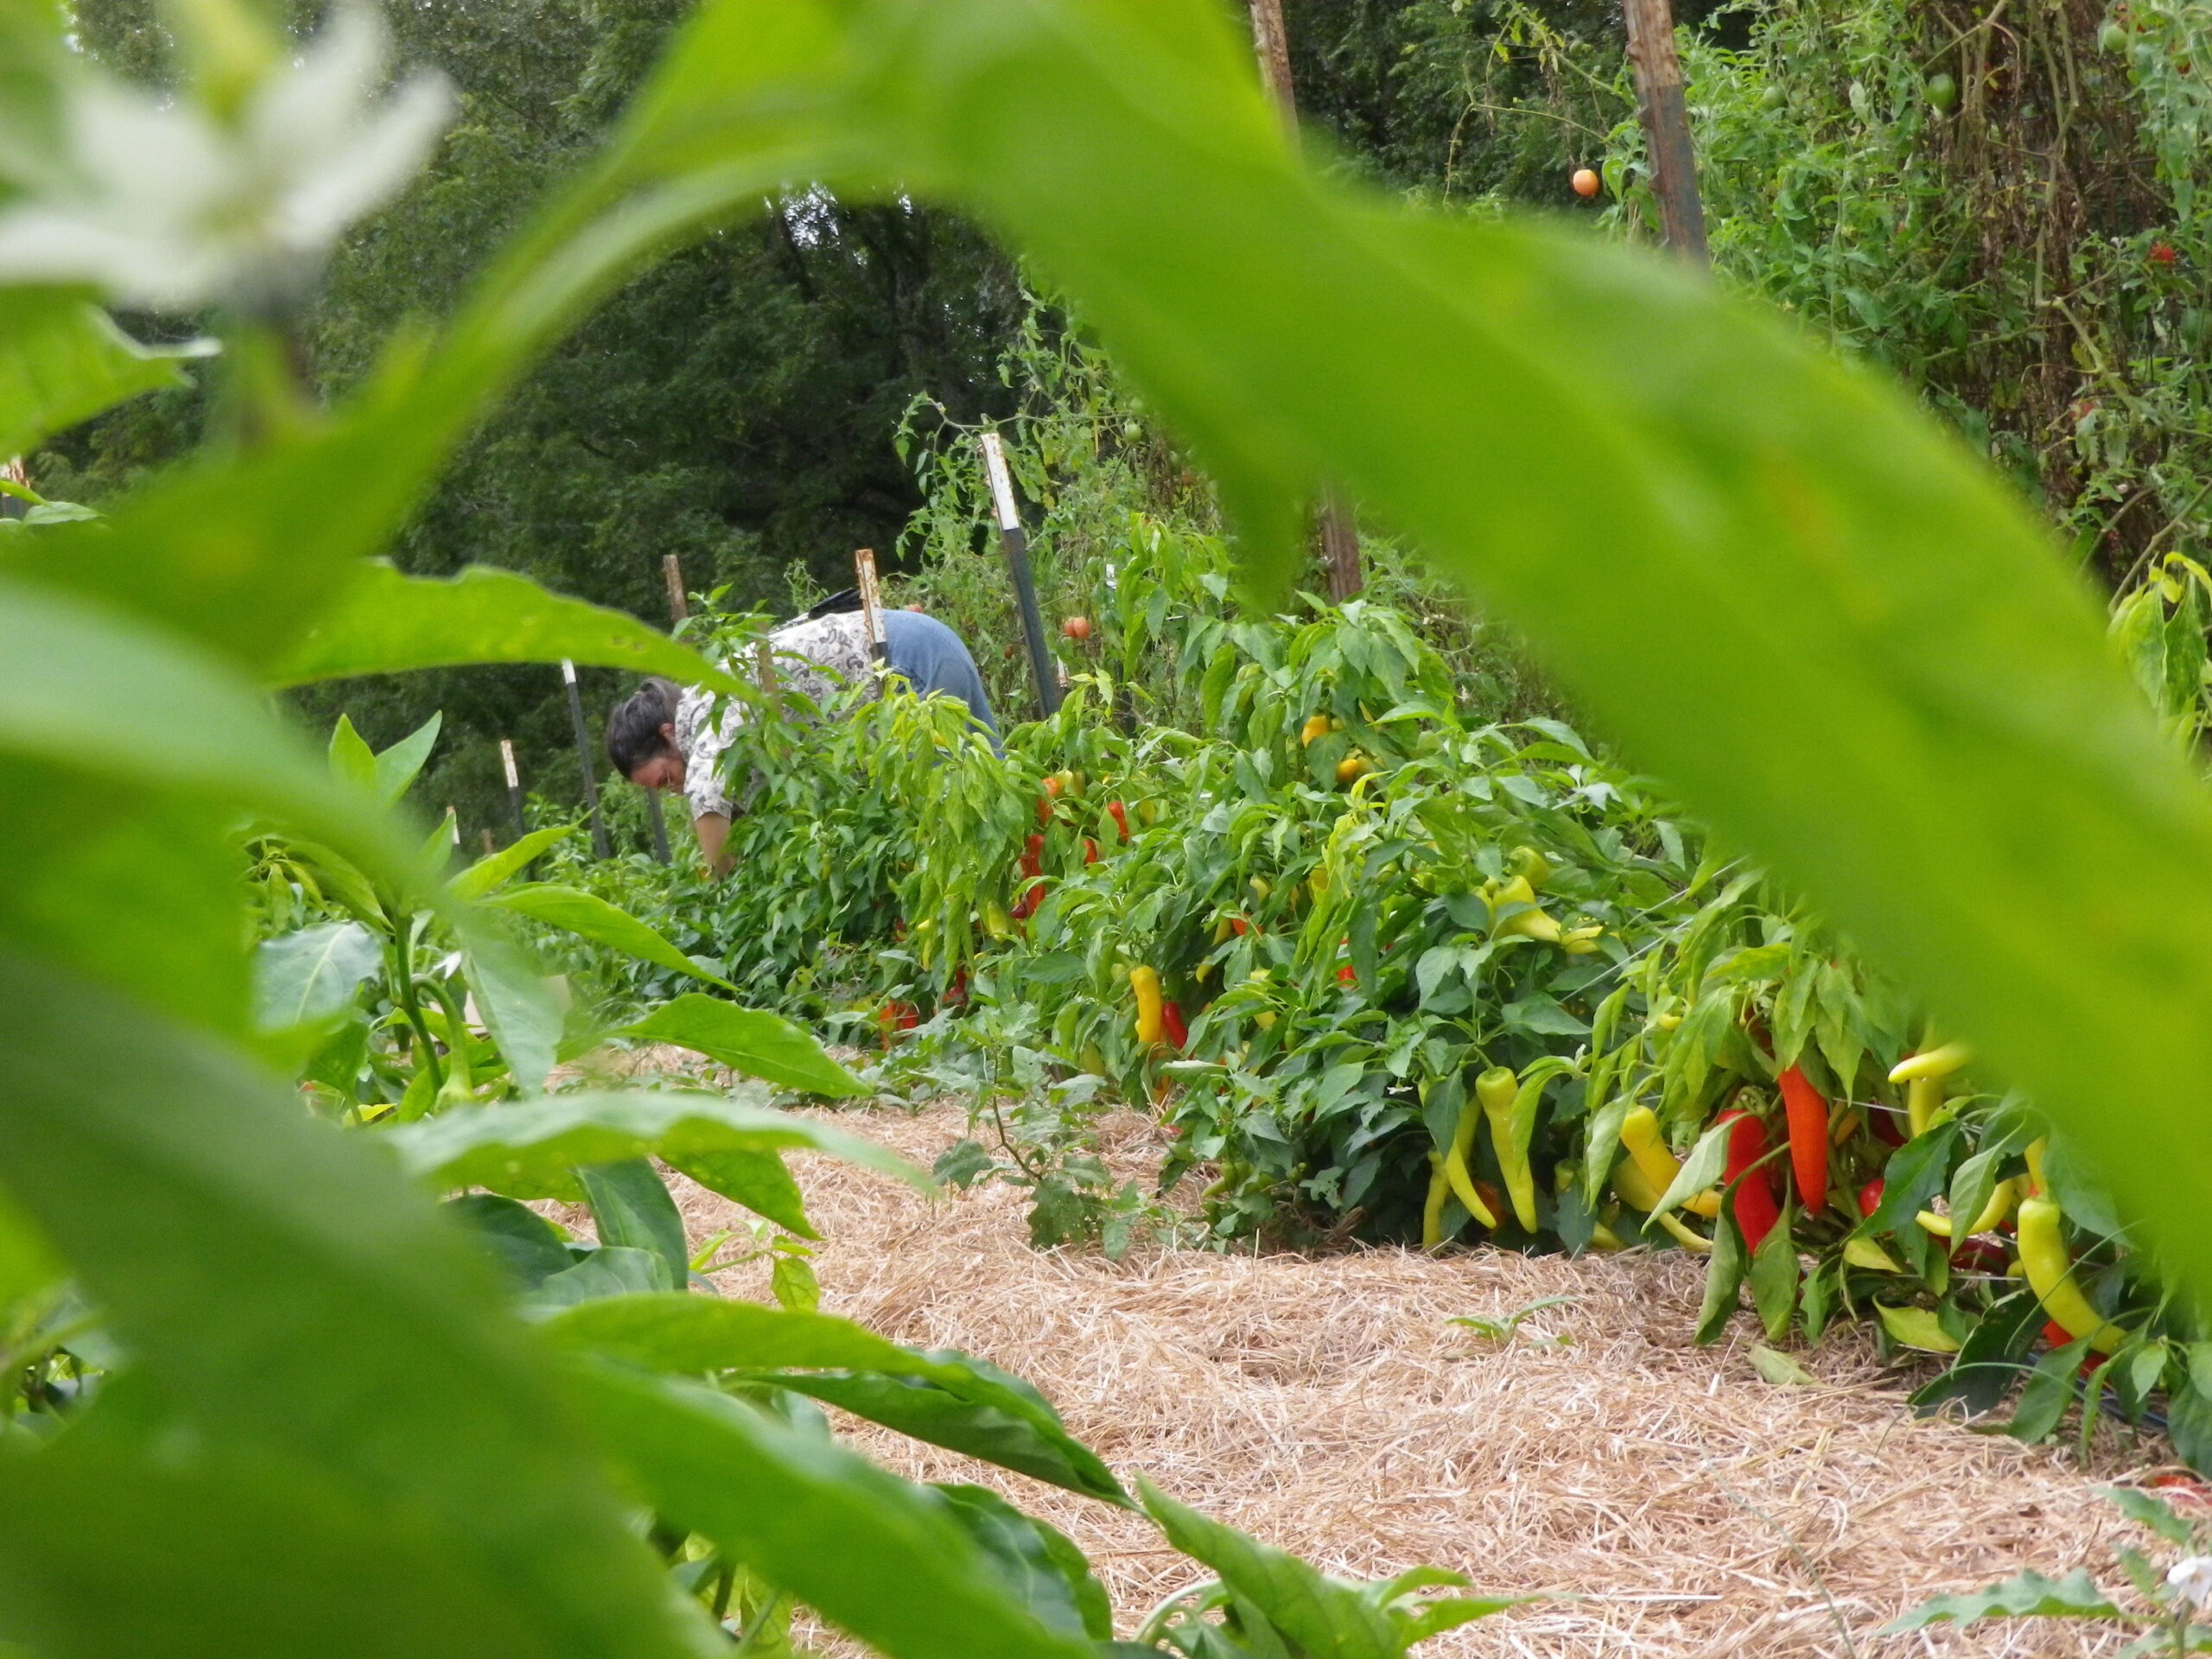

The best organic mulch for most home gardens is wood chips or shredded bark, which suppress weeds, retain moisture, and break down slowly to feed the soil. For vegetable beds, straw or compost mulch works better since it decomposes faster and won’t tie up nitrogen. Layer 2-4 inches deep for best results, keeping mulch a few inches away from plant stems.
If you’ve ever spent a long summer weekend watering, weeding, and watching your soil crack in the heat, organic mulch might be the single most impactful change you can make to your garden. A good layer of the right mulch does the work of a full-time garden assistant — holding in moisture, choking out weeds before they get started, and quietly feeding your soil as it breaks down over the season.
The tricky part is that not all organic mulch is created equal. What works beautifully around your fruit trees can actually harm your tomato plants. Straw and wood chips behave completely differently in terms of how fast they break down, how much nitrogen they pull from the soil, and which pests or pathogens they might harbor. Choosing the wrong mulch for your situation can mean more work, not less — and sometimes real damage to your plants.
At Build & Bloom, we’re all about working smarter on the homestead. That means understanding your tools before you use them — and mulch is absolutely a tool. In this guide, we’ll walk you through how to apply organic mulch properly, what to look for when buying or sourcing it, and which types suit different areas of your garden. Whether you’re mulching raised vegetable beds, a perennial flower border, a fruit orchard, or pathways between rows, there’s a right material for the job. By the end, you’ll know exactly what to reach for and how to use it to get the most out of your growing season.
How to Mulch Your Garden Beds: A Step-by-Step Approach
Clear and prepare the bed
Before laying any mulch, remove existing weeds by hand or with a hoe, getting roots out as much as possible. If the soil is dry, give it a deep watering first — mulch will lock in whatever moisture is already there, so you want to start with a good baseline. Loosen compacted soil lightly with a fork if needed to improve drainage before you begin.
Choose the right mulch for your zone
Vegetable beds do best with straw, finished compost, or grass clippings, which break down quickly and feed the soil mid-season. Trees, shrubs, and perennial beds benefit from wood chips or shredded bark, which decompose slowly and provide longer-lasting weed suppression. Avoid using fresh wood chips directly around annual vegetables, as they can tie up soil nitrogen during decomposition.
Apply at the correct depth
For most garden beds, a 2-3 inch layer is ideal — deep enough to block light and retain moisture, but not so thick that it suffocates roots or prevents rain from reaching the soil. For pathways between rows, you can go up to 4-6 inches for extra weed control. Use a rake or your hands to spread evenly across the entire bed surface.
Keep mulch away from stems and trunks
Always leave a 2-3 inch gap between the mulch and the base of any plant stem, trunk, or crown. Mulch piled against stems traps moisture and creates the perfect environment for rot, fungal disease, and pest damage. This is especially important for young transplants and woody perennials.
Water after applying
After spreading your mulch, give the whole area a thorough watering to help it settle and begin integrating with the soil surface. This also ensures the soil beneath stays moist and the mulch itself doesn’t wick moisture away from the root zone during the first few dry days. Skip this step only if rain is expected within 24 hours.
Replenish throughout the season
Fast-decomposing mulches like straw and grass clippings may need topping up every 4-6 weeks, especially in warm, wet climates where breakdown happens quickly. Check your mulch depth monthly and add a fresh layer whenever you can see the soil surface starting to show through. Replenishing keeps weed suppression consistent and the soil biology active.
Turn or remove at season’s end
At the end of the growing season, you can either till light mulches like straw directly into the soil to add organic matter, or rake heavier wood-based mulches off vegetable beds and save them for pathways. Leaving thick mulch on vegetable beds over winter can delay soil warming in spring, so pull it back a few weeks before planting to let the ground heat up.
- Source wood chips free from local tree services or municipal composting programs — fresh arborist chips are excellent for fruit tree guilds and pathways, and companies are often happy to drop a load at no cost.
- Lay cardboard or several layers of newspaper directly on the soil before adding mulch for extra weed suppression in new beds — the cardboard will break down within one season and feed earthworms as it goes.
- Avoid using hay (as opposed to straw) as mulch unless it’s certified weed-free — hay contains seeds that will sprout in your beds and create far more weeding work than if you had used no mulch at all.
What to Look For in Organic Garden Mulch
Our Top Picks
Curated for From-Scratch Cooking


Leave a Reply