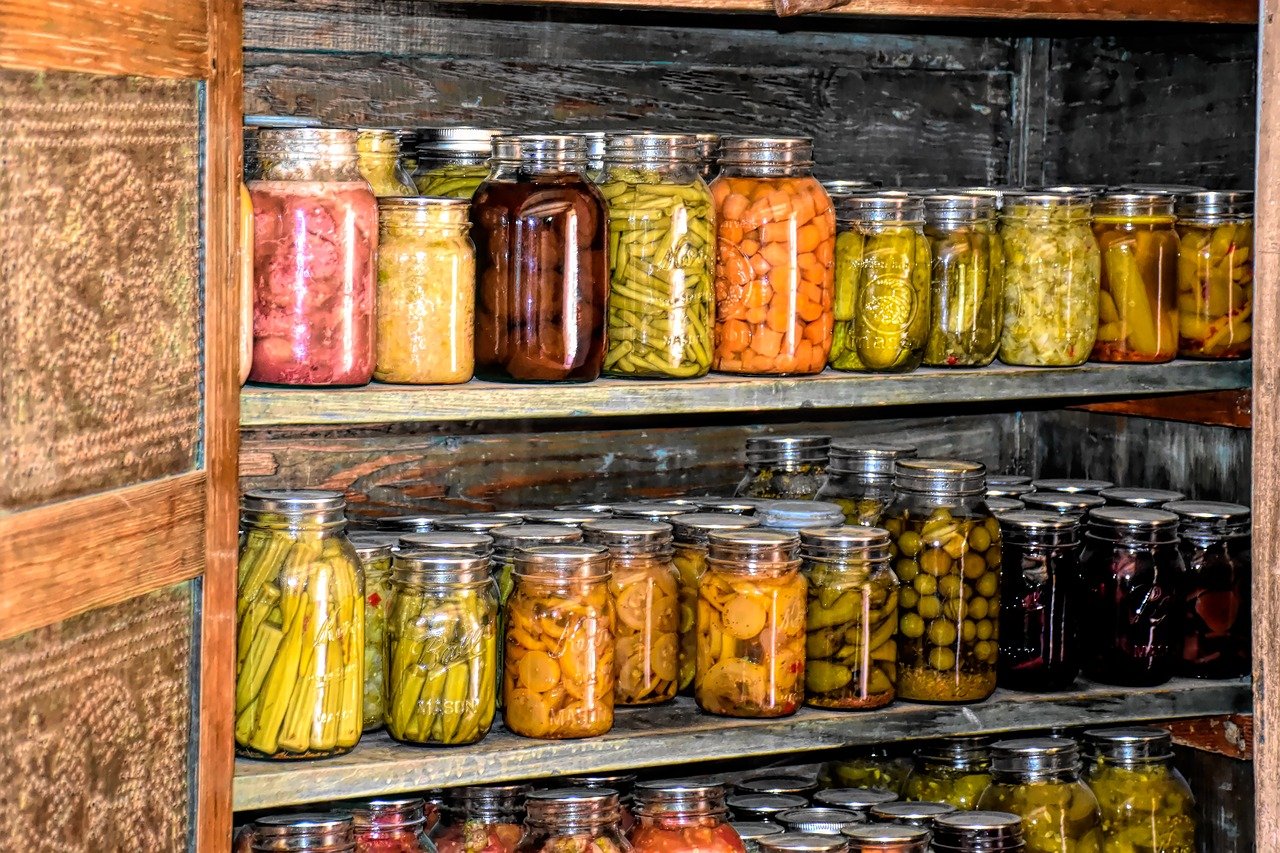

You’ve picked bushels of berries or grown beautiful vegetables, and now you want to preserve them by canning. But if you’re new to home canning, the process feels overwhelming and risky. The good news: most beginner mistakes are simple to fix once you know what to look for. Understanding these common errors will give you confidence, keep your family safe, and help you create shelf-stable jars that last through winter.
12 Common Canning Mistakes and How to Fix Them
These 12 principles form the foundation of safe home canning. Master them and your preservation efforts will succeed.
Key Concepts
- Proper headspace understanding (the gap between food and jar rim)
- Altitude adjustment knowledge for your geographic location
- Heat processing awareness (raw pack vs. hot pack methods)
- Jar condition inspection (no cracks, chips, or warping)
- Seal and lid verification (new lids for each batch)
- Recipe adherence and acid content awareness
Principles
Maintain Correct Headspace
Headspace is the empty space between the top of your food and the rim of the jar. For most preserves and jams, leave 1/4 inch; for pickles and some relishes, use 1/2 inch. Incorrect headspace prevents proper sealing because the jar needs room to vent steam during processing. Too little space causes food to bubble out and prevent seal formation; too much allows too much air to remain, risking spoilage.
Adjust Recipes for Your Altitude
Water boils at lower temperatures in higher elevations, which means longer processing times are needed to reach safe temperatures. If you live above 1,000 feet, you must add extra time to your processing. Check USDA guidelines for your specific altitude. Skipping this step is one of the most dangerous mistakes because it can result in under-processed jars that harbor bacteria like botulism.
Process Jars in Boiling Water or Pressure Canner
All high-acid foods (jams, jellies, pickles, tomatoes with added acid) must be processed in a hot water bath. Low-acid foods like vegetables and meats require a pressure canner. Raw-packing (filling cold jars) without adequate processing leaves dangerous pathogens alive. Heat processing kills microorganisms and creates a seal by forcing air from the jar.
Inspect Jars Before Every Use
Check every jar for cracks, chips on the rim, or warping. Damaged jars will not seal properly, and hairline fractures can allow bacteria to enter during storage. Hold jars up to light and run your finger around the entire rim. Discard any questionable jars rather than risk spoilage or contamination.
Always Use New Lids, Not Reused Ones
The rubber sealing compound on canning lids is designed for single use only. Reusing lids dramatically increases seal failure rates. Bands can be reused indefinitely, but the flat lids must be fresh from the box for each batch. This is one of the cheapest fixes with the biggest safety impact.
Follow Tested Recipes Exactly
The ratio of acid, sugar, and cooking time in tested recipes has been carefully balanced for safety and shelf stability. Reducing sugar, changing proportions, or skipping ingredients can result in unsafe products. Never halve acid amounts or skip vinegar in pickles. Use recipes from trusted sources like the USDA or National Center for Home Food Preservation.
Allow Proper Cooling and Seal Time
After removing jars from the canner, let them cool undisturbed at room temperature for 12-24 hours. Do not tighten bands or move jars during this time. The seal forms as the jar cools, and vibration can prevent proper sealing. Only after 24 hours should you remove bands and test seals by pressing the center of the lid.
Store Sealed Jars in Cool, Dark Conditions
Temperature fluctuations and light exposure degrade the quality and safety of canned goods. Store jars in a cool place (50-70 degrees Fahrenheit) away from direct sunlight. Heat and light cause color fading, flavor loss, and accelerated spoilage. Properly stored canned goods last 1-2 years; improper storage reduces shelf life significantly.
- Test seal strength 24 hours after processing by pressing the center of the lid–it should not flex or pop up when released
- Keep detailed notes of your recipes, processing times, and results so you can troubleshoot failures and reproduce successes
- Invest in a reliable kitchen thermometer to verify that your water bath reaches a rolling boil before timing begins
What to Look For in Canning Equipment
- Canning Pot Size and Material: Choose a pot large enough to hold at least 7 quart jars with 1-2 inches of water above them. Stainless steel conducts heat evenly and lasts decades. The pot should have a flat bottom for even heating and high sides to prevent boil-over.
- Thermometer Accuracy: A reliable thermometer is critical for safety. Look for digital instant-read thermometers with fast response times (under 5 seconds) and a range covering 32-212 degrees Fahrenheit. Dial thermometers are less accurate and respond slowly.
- Jar Lift and Canning Tools Quality: A sturdy jar lifter with non-slip handles prevents burns and dropped jars. Quality canning tool kits include a magnetic lid lifter, bubble remover, and headspace measuring tool. Flimsy tools make the process frustrating and dangerous.
- Lid and Band Compatibility: Ensure lids and bands fit your chosen jar size (pint, quart, etc.). Some brands don’t interchange well. Buy lids and bands from reputable manufacturers that follow USDA standards. Never use vintage lids or non-standard alternatives.
Granite Ware Canning Pot with Rack
Best for: Beginner and intermediate canners processing water-bath jams and pickles
This 21.5-quart canning pot features a durable blue and white speckled enamel coating over steel with a removable rack that holds up to 7 quart jars. The generous capacity accommodates full batches with proper water coverage, and the rack prevents jars from touching the hot bottom. The flat bottom sits evenly on any stovetop, and the sturdy handles make it easy to transport when full. This is the workhorse every home canner needs.
Check Current Price on Amazon →Ball Wide Mouth Canning Jars Quart Size (12-Count)
Best for: First-time canners preserving jams, pickles, and sauces
Ball’s wide-mouth quart jars (32 ounces) are the gold standard for home canning. The wide opening makes filling and removing contents easy, reducing spillage and frustration. These jars come with two-piece lids and bands in the box, giving you everything needed for one full batch. The glass is thick enough to withstand thermal shock, and the threads are precisely engineered for reliable sealing. This 12-pack is the most economical entry point.
Check Current Price on Amazon →All American 921 Pressure Canner
Best for: Canners preserving low-acid foods like vegetables, beans, and meats
This heavy-duty aluminum pressure canner holds 7 quart jars and features an accurate gauge and safety relief valve. Unlike other models, it has no rubber gaskets that wear out–instead using a metal-to-metal seal that lasts indefinitely. The large opening and racks accommodate various jar sizes. While expensive upfront, the durability and long lifespan make it the smartest investment for serious home food preservation. Essential for anyone moving beyond jams and pickles.
Check Current Price on Amazon →Presto 01781 Pressure Canner
Best for: Budget-conscious canners wanting to preserve vegetables and low-acid foods
This 23-quart Presto pressure canner holds 7 quart jars and operates at preset pressures with a weighted gauge system. It’s significantly more affordable than premium models while maintaining excellent safety standards and processing power. The die-cast aluminum construction heats quickly and distributes warmth evenly. Perfect for the occasional canner who doesn’t want to invest heavily but still wants reliable pressure-canning capability.
Check Current Price on Amazon →Master Canning by Learning From Common Mistakes
Home canning transforms your harvest into shelf-stable treasures, but only when done correctly. The 12 mistakes covered here–from improper headspace to reused lids to skipped altitude adjustments–account for nearly every canning failure and safety issue beginners encounter. The encouraging truth is that once you understand why these mistakes matter, they become second nature to avoid. Each batch teaches you something new, and your confidence grows with every successful seal.
Start with high-acid foods like jams and pickles using a water bath canner before advancing to low-acid vegetables with a pressure canner. Keep meticulous notes about your recipes, timing, and results. Invest in quality equipment from trusted brands, follow tested recipes exactly, and never cut corners on processing time or jar inspection. When you understand the science behind each step–how heat kills pathogens, how headspace allows for expansion, how lids seal as jars cool–you stop following instructions blindly and become a confident, knowledgeable home canner who creates food your family can safely enjoy year-round.
Frequently Asked Questions
Can I reuse canning lids if they sealed properly the first time?
No. The rubber sealing compound on canning lids is formulated for single use only. Once heated during processing, the compound loses its ability to create an airtight seal. Reusing lids dramatically increases seal failure rates, risking spoilage and foodborne illness. Bands can be reused indefinitely, but always use fresh lids.
Why is altitude adjustment so important for canning safety?
Water boils at lower temperatures at higher elevations (212 degrees Fahrenheit at sea level but only 203 degrees at 5,000 feet). Since lower temperatures kill pathogens more slowly, longer processing times are required to reach safe internal jar temperatures. Skipping altitude adjustments can leave dangerous bacteria like Clostridium botulinum alive in your jars.
What is the difference between a water bath canner and a pressure canner?
A water bath canner heats jars to 212 degrees Fahrenheit and is safe for high-acid foods (pH below 4.6) like jams, jellies, and pickles. A pressure canner reaches higher temperatures (240-250 degrees) under pressure and is required for low-acid foods like vegetables, meats, and beans. Using the wrong method risks botulism in low-acid foods.
How do I know if a jar seal failed after processing?
After jars cool for 24 hours, press the center of the lid with your finger. A properly sealed lid should not flex or pop up when released. If the lid moves, the seal failed and the food must be refrigerated and used within a few days, or reprocessed immediately in a hot jar with a fresh lid.
Can I adjust or reduce sugar in jam recipes for lower-calorie preserves?
Traditional jam recipes depend on precise sugar ratios for proper gel formation and preservation. Reducing sugar significantly increases spoilage risk and produces runny, unstable results. If you want lower-sugar options, use tested low-sugar recipes from the USDA or National Center for Home Food Preservation, which include modified ingredients and methods.
As an Amazon Associate, Build & Bloom earns from qualifying purchases. We only recommend products we genuinely think are useful. Prices and availability vary; check Amazon for the latest.
Leave a Reply