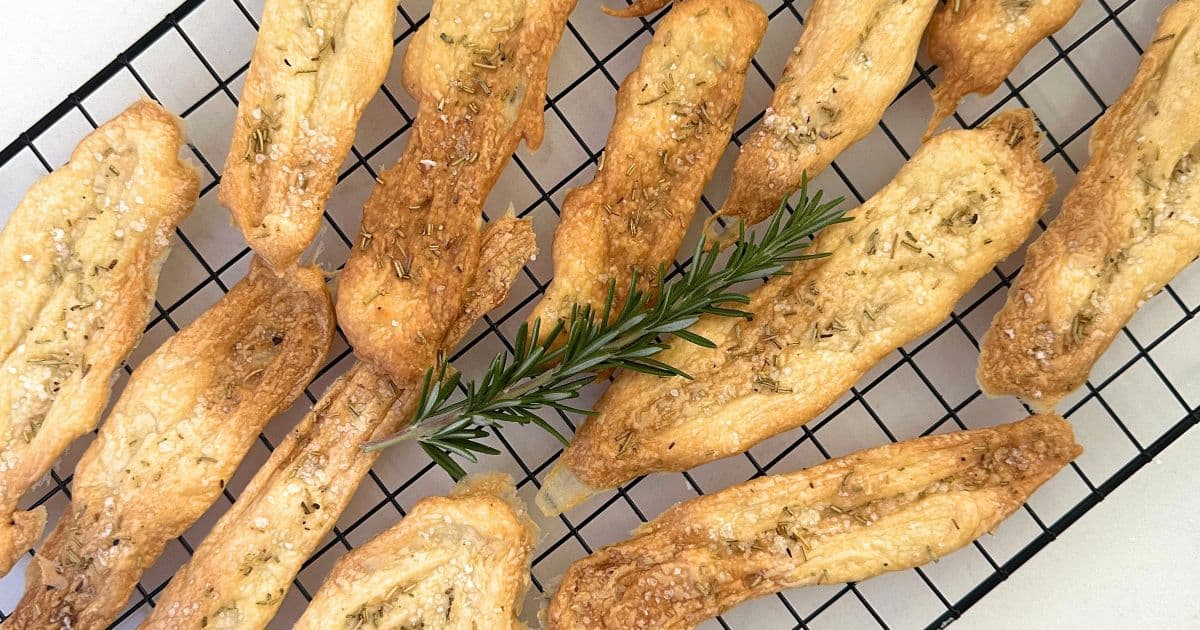

If you maintain a sourdough starter, you know the constant struggle of what to do with all that discard. Rather than tossing it down the drain, transform it into addictively crunchy crackers that require just two ingredients and minimal effort. These crackers are perfect for snacking, serving with cheese, or crushing into breadcrumbs for cooking.
How to Make 2-Ingredient Sourdough Crackers
This simple recipe turns sourdough discard into restaurant-quality crackers in about 30 minutes. The magic happens in the oven as the thin dough transforms into crispy, golden shards.
Ingredients
- 1 cup active sourdough discard (fed and bubbly)
- 1/2 teaspoon fine sea salt
- Optional: herbs, seeds, or za’atar for topping
Method
Prepare Your Discard
Pour your sourdough discard into a mixing bowl. If your discard is very thick, whisk it briefly to achieve a pancake-batter consistency. You want it pourable but not watery. This ensures even baking and maximum crispiness.
Season the Mixture
Sprinkle the salt evenly over the discard and stir thoroughly until the salt is completely dissolved and distributed. If using optional toppings like herbs or seeds, add them now and fold them in gently.
Line Your Baking Sheet
Cover a large baking sheet with parchment paper, leaving the paper slightly overhanging the edges for easy removal later. This prevents sticking and makes cleanup effortless.
Spread the Mixture Thin
Pour the seasoned discard onto the prepared sheet. Using an offset spatula or the back of a spoon, spread the mixture as thinly and evenly as possible across the entire surface. Aim for uniform thickness so all crackers bake at the same rate. Thinner crackers will be crispier.
Score the Crackers
Before baking, use a knife or pizza cutter to score the dough into cracker-sized pieces, roughly 1 to 2 inches square. You don’t need to cut all the way through; light scoring guides where they’ll naturally break apart when crispy.
Bake Until Golden
Place the sheet in a preheated 400F oven for 12 to 18 minutes, depending on thickness and your oven. The crackers should turn golden brown and feel completely crispy to the touch. Check around the 12-minute mark to prevent burning on the edges.
Cool and Break Apart
Remove from the oven and let cool on the baking sheet for 5 minutes. The crackers will continue crisping as they cool. Once completely cooled, break along the scored lines and transfer to an airtight container. They’ll stay crunchy for up to a week.
- For extra crunch, rotate the baking sheet halfway through baking to ensure even browning across all edges.
- Experiment with toppings: rosemary, sesame seeds, nutritional yeast, everything bagel seasoning, or even a light spray of olive oil before baking adds incredible flavor.
- If your crackers aren’t crispy after cooling, return them to a 300F oven for another 5-10 minutes to remove any remaining moisture.
Essential Equipment for Making Sourdough Crackers
- Quality Baking Sheet: A flat, even baking sheet ensures uniform heat distribution and prevents hot spots that can burn crackers unevenly. Look for commercial-grade steel with minimal warping.
- Offset Spatula: This angled tool spreads thin dough evenly across the sheet without dragging or tearing. Essential for achieving the uniform thickness that creates consistent crispiness.
- Parchment Paper: Prevents sticking and makes cleanup instant while allowing proper airflow for crispy results. High-heat parchment rated for 420F+ prevents smoking and uneven browning.
- Kitchen Scale: Measuring discard by weight rather than volume ensures consistency between batches. A reliable scale removes guesswork and produces repeatable results every time.
Nordic Ware Natural Aluminum Commercial Baker’s Half Sheet
Best for: Anyone serious about baking crackers and cookies
This commercial-grade half sheet is the gold standard for even baking. Its aluminum construction heats quickly and distributes temperature uniformly, preventing the hot spots and uneven browning that plague lesser pans. The rimmed edges contain sauces and toppings, and at just under $10, it’s the best value baking sheet available. Home bakers and professionals reach for this repeatedly because it simply works.
Check Current Price on Amazon →Oxo Good Grips Angled Silicone Spatula
Best for: First-time cracker makers who want an easy tool
The silicone head won’t scratch your parchment paper, and the angled design makes spreading thin dough intuitive even if you’ve never made crackers before. The comfortable grip reduces hand fatigue during the spreading process. At around $8, this is an affordable entry point that won’t disappoint. Oxo’s reputation for thoughtful design shows in every detail.
Check Current Price on Amazon →Reynolds Kitchens Parchment Paper Roll
Best for: Thrifty bakers who bake frequently
Reynolds parchment is reliable, affordable, and rated for temperatures up to 420F, perfect for sourdough crackers. The 75-square-foot roll means you won’t run out after a few batches. It peels away cleanly from cooled crackers and provides consistent non-stick performance. This workhorse option delivers professional results without the premium price tag.
Check Current Price on Amazon →Hario V60 Drip Scale with Timer
Best for: Bakers who want precision and consistency
While marketed for coffee, this scale’s 2000-gram capacity and 0.1-gram accuracy make it perfect for measuring sourdough discard. The built-in timer ensures you don’t overbake, and the compact design saves counter space. At $35, it’s an investment that improves every baking project. Once you weigh your ingredients, you’ll never estimate again.
Check Current Price on Amazon →Start Making Sourdough Crackers Today
Two-ingredient sourdough crackers represent the best kind of cooking: simple, resourceful, and delicious. If you maintain a sourdough starter, you’ve finally found the perfect use for all that discard instead of watching it swirl down the drain. With just a quality baking sheet, a good offset spatula, and proper timing, you’ll produce crackers that rival expensive artisan versions from specialty bakeries.
Invest in the foundational equipment first—a reliable baking sheet and parchment paper are non-negotiable. As you master the basic technique, a kitchen scale takes your consistency to the next level, ensuring every batch turns out identically perfect. Once you’ve made your first batch, you’ll understand why sourdough crackers have become a staple in homes of bakers everywhere.
Frequently Asked Questions
Can I use inactive sourdough discard to make these crackers?
Yes, inactive discard works fine. Active, fed discard may bubble slightly during baking and create a slightly airier texture, but both versions produce delicious crackers. The fermentation itself isn’t necessary for crispiness.
How long do these crackers stay crispy?
Stored in an airtight container at room temperature, they’ll stay crunchy for 5 to 7 days. In humid climates, store them in the freezer and reheat briefly in a 300F oven to restore crispiness if needed.
What toppings work best on sourdough crackers?
Everything bagel seasoning, rosemary, sesame seeds, poppy seeds, and nutritional yeast all work beautifully. For sweet versions, try cinnamon sugar or a light drizzle of honey after baking. Sprinkle toppings on the wet dough before baking so they stick.
Why are my crackers chewy instead of crispy?
This usually means they didn’t bake long enough or the dough was too thick. Bake at least 15 minutes at 400F, and spread the dough thinner next time. Moisture is the enemy of crispiness, so ensure they cool completely before storing.
Can I make these crackers ahead and freeze them?
Absolutely. Cool the crackers completely, then freeze in an airtight container for up to 3 months. They thaw quickly at room temperature and maintain their crispiness. No need to reheat unless they’ve absorbed any moisture during storage.
As an Amazon Associate, Build & Bloom earns from qualifying purchases. We only recommend products we genuinely think are useful. Prices and availability vary; check Amazon for the latest.
Leave a Reply