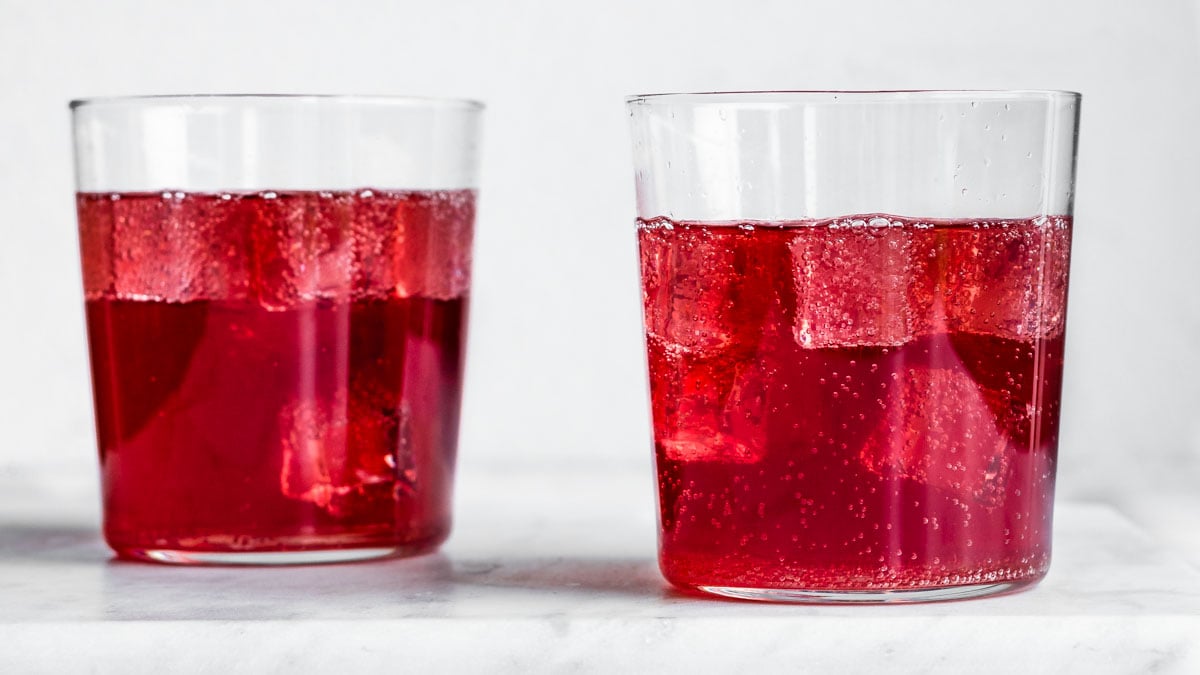

Making your own fermented drinks is one of the easiest ways to boost gut health without relying on expensive store-bought bottles. Whether you’re drawn to tangy kombucha, creamy kefir, or refreshing ginger bug, home fermentation gives you total control over flavors, sugar content, and ingredients. Best of all, once you have a starter culture, you can make batches for pennies and enjoy unlimited probiotic drinks.
How to Ferment Your First Batch of Kombucha
Kombucha fermentation takes about 7-30 days depending on temperature and taste preference. This recipe creates a tangy, slightly sweet base you can flavor however you like.
Ingredients
- 8 cups filtered or dechlorinated water
- 1 cup organic cane sugar
- 4-6 black or green tea bags (or 1 tablespoon loose leaf)
- 1 SCOBY (symbiotic culture of bacteria and yeast) with 1-2 cups starter liquid from a previous batch
- A clean glass jar (1 gallon or larger)
- Cloth cover or coffee filter and rubber band for the jar opening
Method
Brew the sweetened tea base
Boil your water and steep the tea bags for 5-10 minutes to create a strong infusion. Remove the tea bags and stir in the sugar until completely dissolved. Allow the liquid to cool to room temperature before proceeding—adding the SCOBY to hot liquid will kill the beneficial cultures.
Combine tea with starter culture
Pour the cooled sweet tea into your glass jar. Add the SCOBY and all of the starter liquid from your previous batch. The SCOBY may float or sink—both are normal. The starter liquid introduces the right pH and active cultures to begin fermentation.
Cover and position for fermentation
Place the cloth or coffee filter over the jar opening and secure it with a rubber band. This allows air circulation (necessary for the fermentation process) while keeping dust and insects out. Position the jar in a quiet corner away from direct sunlight, ideally between 68-85 degrees Fahrenheit.
Wait and observe the formation of a new layer
Over 7-30 days, a new SCOBY layer will form on the surface as a thin film that gradually thickens. The longer you leave it, the more sour the kombucha becomes. Taste a small sample around day 7, then daily until you reach your preferred tanginess level.
Strain and bottle your kombucha
When ready, carefully remove the SCOBY and set it aside with some of the liquid for your next batch. Pour the finished kombucha through a fine strainer into bottles, discarding the sediment that settles at the bottom. Save at least 1-2 cups of liquid as starter for your next fermentation.
Second fermentation for carbonation (optional)
For a fizzy result, add fruit juice, fresh fruit, or flavoring to sealed bottles and let them sit at room temperature for 2-7 days. This creates carbonation as the remaining yeast consumes any residual sugars. Burp the bottles daily to release excess pressure and prevent explosions.
Refrigerate to slow fermentation
Once you’re happy with the taste and carbonation level, transfer bottles to the refrigerator. Cold temperatures dramatically slow fermentation, preserving your kombucha’s flavor and fizziness for several weeks.
- Keep your SCOBY hotel—a jar containing several SCOBYs and starter liquid in the pantry—so you always have backup cultures if one batch fails or gets contaminated.
- Use filtered or dechlorinated water because chlorine can inhibit fermentation; if you only have tap water, boil it and let it sit uncovered overnight to allow chlorine to evaporate.
- Fermentation speed depends entirely on temperature: warmer environments (75-85F) complete batches in 7-10 days, while cooler kitchens (68-72F) may take 3-4 weeks.
What to Look For in Fermentation Equipment
- Jar size and material: Glass jars are essential because they don’t react with acidic ferments and let you monitor progress. A 1-gallon wide-mouth jar is ideal for beginners—large enough for multiple servings but manageable to handle and clean.
- Breathable covers: You need cloth or paper covers that allow airflow while blocking dust and insects. Coffee filters and cheesecloth work perfectly and cost almost nothing, though fitted fermentation lids are also convenient.
- Starter cultures: Quality matters here—order SCOBYs or kefir grains from reputable fermentation suppliers to ensure they’re active and free from mold. Starter cultures are a one-time investment that produces endless batches.
- Straining and bottling tools: A fine mesh strainer removes sediment, while glass bottles with flip-top or screw caps work best for storage and second fermentation. Avoid plastic, which can leach chemicals during fermentation.
Bormioli Rocco Fido Mason Jar 2-Liter
Best for: Primary fermentation vessel for kombucha and kefir
This Italian-made glass jar is the workhorse of home fermentation. The wide mouth makes it easy to remove SCOBYs and clean thoroughly between batches, while the thick glass withstands temperature fluctuations without cracking. The airtight seal is perfect for second fermentation storage, and the durable hinged lid lasts for years. Many fermenters keep 3-4 of these jars rotating through different batches simultaneously.
Check Current Price on Amazon →Cultures for Health SCOBY Starter Kit
Best for: First-time kombucha makers with no prior culture
This kit includes a live SCOBY, starter liquid, and detailed instructions designed specifically for beginners. The culture arrives in great condition and is guaranteed to ferment successfully or they’ll replace it. The included guide walks you through your first batch step-by-step, eliminating guesswork. Many customers report their first batch tastes professional-quality, building confidence to continue fermenting.
Check Current Price on Amazon →Cheesecloth and Rubber Bands Fermentation Covers
Best for: Affordable breathable covers for any jar size
A 20-pack of unbleached cheesecloth with rubber bands costs just a few dollars and provides everything you need to cover fermentation jars. The loose weave allows air exchange while keeping debris out, and you can easily see what’s happening inside your jar. Replace the cloth with each batch for optimal hygiene, making this a minimal ongoing expense that pays for itself compared to specialty fermentation lids.
Check Current Price on Amazon →Pyrex Glass Measuring Cups Set with Lids
Best for: Secondary fermentation bottles and storage containers
This 3-piece set of heavy-duty borosilicate glass measuring cups works wonderfully for bottling and storing fermented drinks. The included plastic lids seal tightly for refrigerator storage, and the pyrex glass withstands the slightly acidic environment of kombucha without degrading. The pouring spout makes it easy to serve without spills, and each piece nests for compact storage.
Check Current Price on Amazon →Stainless Steel Fine Mesh Strainer 3-Inch
Best for: Filtering sediment and debris from finished ferments
This fine mesh strainer catches all sediment, mother culture pieces, and tea leaf fragments without clogging. The stainless steel won’t rust or corrode in the acidic kombucha environment, and the ergonomic handle makes straining large batches comfortable. Many fermenters use this daily and appreciate its durability over years of use—it’s an investment piece that outlasts plastic alternatives.
Check Current Price on Amazon →Kilner Wide-Mouth Glass Storage Jars with Clamp Lids
Best for: Long-term storage and display of finished fermented drinks
These British-made jars feature glass lids with clamp closures that create an excellent seal for fermented beverages. The wide mouth is perfect for second fermentation experiments with whole fruit, and the elegant design looks beautiful enough to display on a kitchen shelf. The glass lid is better than plastic for avoiding contamination and chemical leaching during extended refrigerator storage.
Check Current Price on Amazon →OXO Good Grips Stainless Steel Kitchen Scale
Best for: Accurate measurement of sugar and tea for consistent batches
Fermentation results improve dramatically with precise ingredient ratios. This compact digital scale measures grams and ounces, letting you weigh tea and sugar exactly as written in recipes. The tare button makes it easy to adjust for bowl weight, and the slim profile fits in any kitchen drawer. Consistency breeds confidence, and this scale is the difference between hit-or-miss batches and reliably delicious ferments.
Check Current Price on Amazon →Heritage Glass Flip-Top Bottle Set of 6
Best for: Beautiful secondary fermentation and long-term storage
These vintage-style glass bottles with ceramic-lined flip tops are the dream setup for serious fermenters. The glass is thick and durable, the seals are absolutely airtight for excellent carbonation retention, and the aesthetic is Instagram-worthy. Six bottles let you rotate batches while some carbonate and others chill, making this a productivity upgrade that also looks gorgeous on display.
Check Current Price on Amazon →Start Your Fermentation Journey This Week
Making fermented drinks at home transforms humble ingredients into powerhouse beverages that cost a fraction of store prices. The learning curve is gentler than most cooking projects—your SCOBY or kefir grains do most of the work while you simply wait and taste-test. Within your first month, you’ll understand how temperature affects speed, how personal taste preferences shape fermentation duration, and how to troubleshoot minor issues like slower fermentation in winter or over-carbonation in summer.
Start with a single 1-gallon jar and one quality SCOBY or kefir culture, then expand once you’ve completed 2-3 successful batches and understand the rhythm. The beauty of fermentation is that it rewards consistency—once you establish a routine (same jar, same timing, same ingredients), your batches become remarkably predictable. Within weeks, homemade kombucha and kefir become pantry staples you literally cannot imagine living without. Your gut will thank you, your wallet will too, and you’ll be giving away extra bottles to family and friends who taste how good they are.
Frequently Asked Questions
How do I know if my SCOBY is alive and ready to use?
A healthy SCOBY should be cream or tan colored (brown streaks are normal), feel rubbery and flexible, and smell pleasantly vinegary or yeasty—never moldy or rotten. If your culture arrived in starter liquid, any sediment at the bottom is beneficial yeast and bacteria, so stir it back in before using.
Can I use tap water for fermentation?
Tap water containing chlorine or chloramine can inhibit fermentation. If that’s your only option, boil it and let it cool completely (or sit uncovered overnight) to allow chlorine to evaporate. Many fermenters buy affordable filtered water or invest in a simple pitcher filter to remove these chemicals.
What does white fuzzy mold look like vs. normal fermentation?
Harmless yeast sometimes appears as tiny white specks or a thin film on the surface—this is fine. Dangerous mold grows as thick fuzzy patches, usually green, black, or pink, and smells distinctly unpleasant or musty. When in doubt, throw the batch out and start fresh rather than risking contamination.
How long does kombucha stay fresh in the refrigerator?
Refrigerated kombucha remains carbonated and flavorful for 4-6 weeks, though it continues fermenting slowly. After 8-12 weeks, it becomes very sour and carbonation fades. Most people finish their bottles within 2-3 weeks while they taste best.
Can I ferment kefir and kombucha in the same kitchen?
Yes, they use completely different starter cultures and fermentation processes, so cross-contamination isn’t a concern. Keep them in separate jars with their own covers, and you can comfortably manage both on the same shelf or counter with different fermentation timelines.
As an Amazon Associate, Build & Bloom earns from qualifying purchases. We only recommend products we genuinely think are useful. Prices and availability vary; check Amazon for the latest.
Leave a Reply