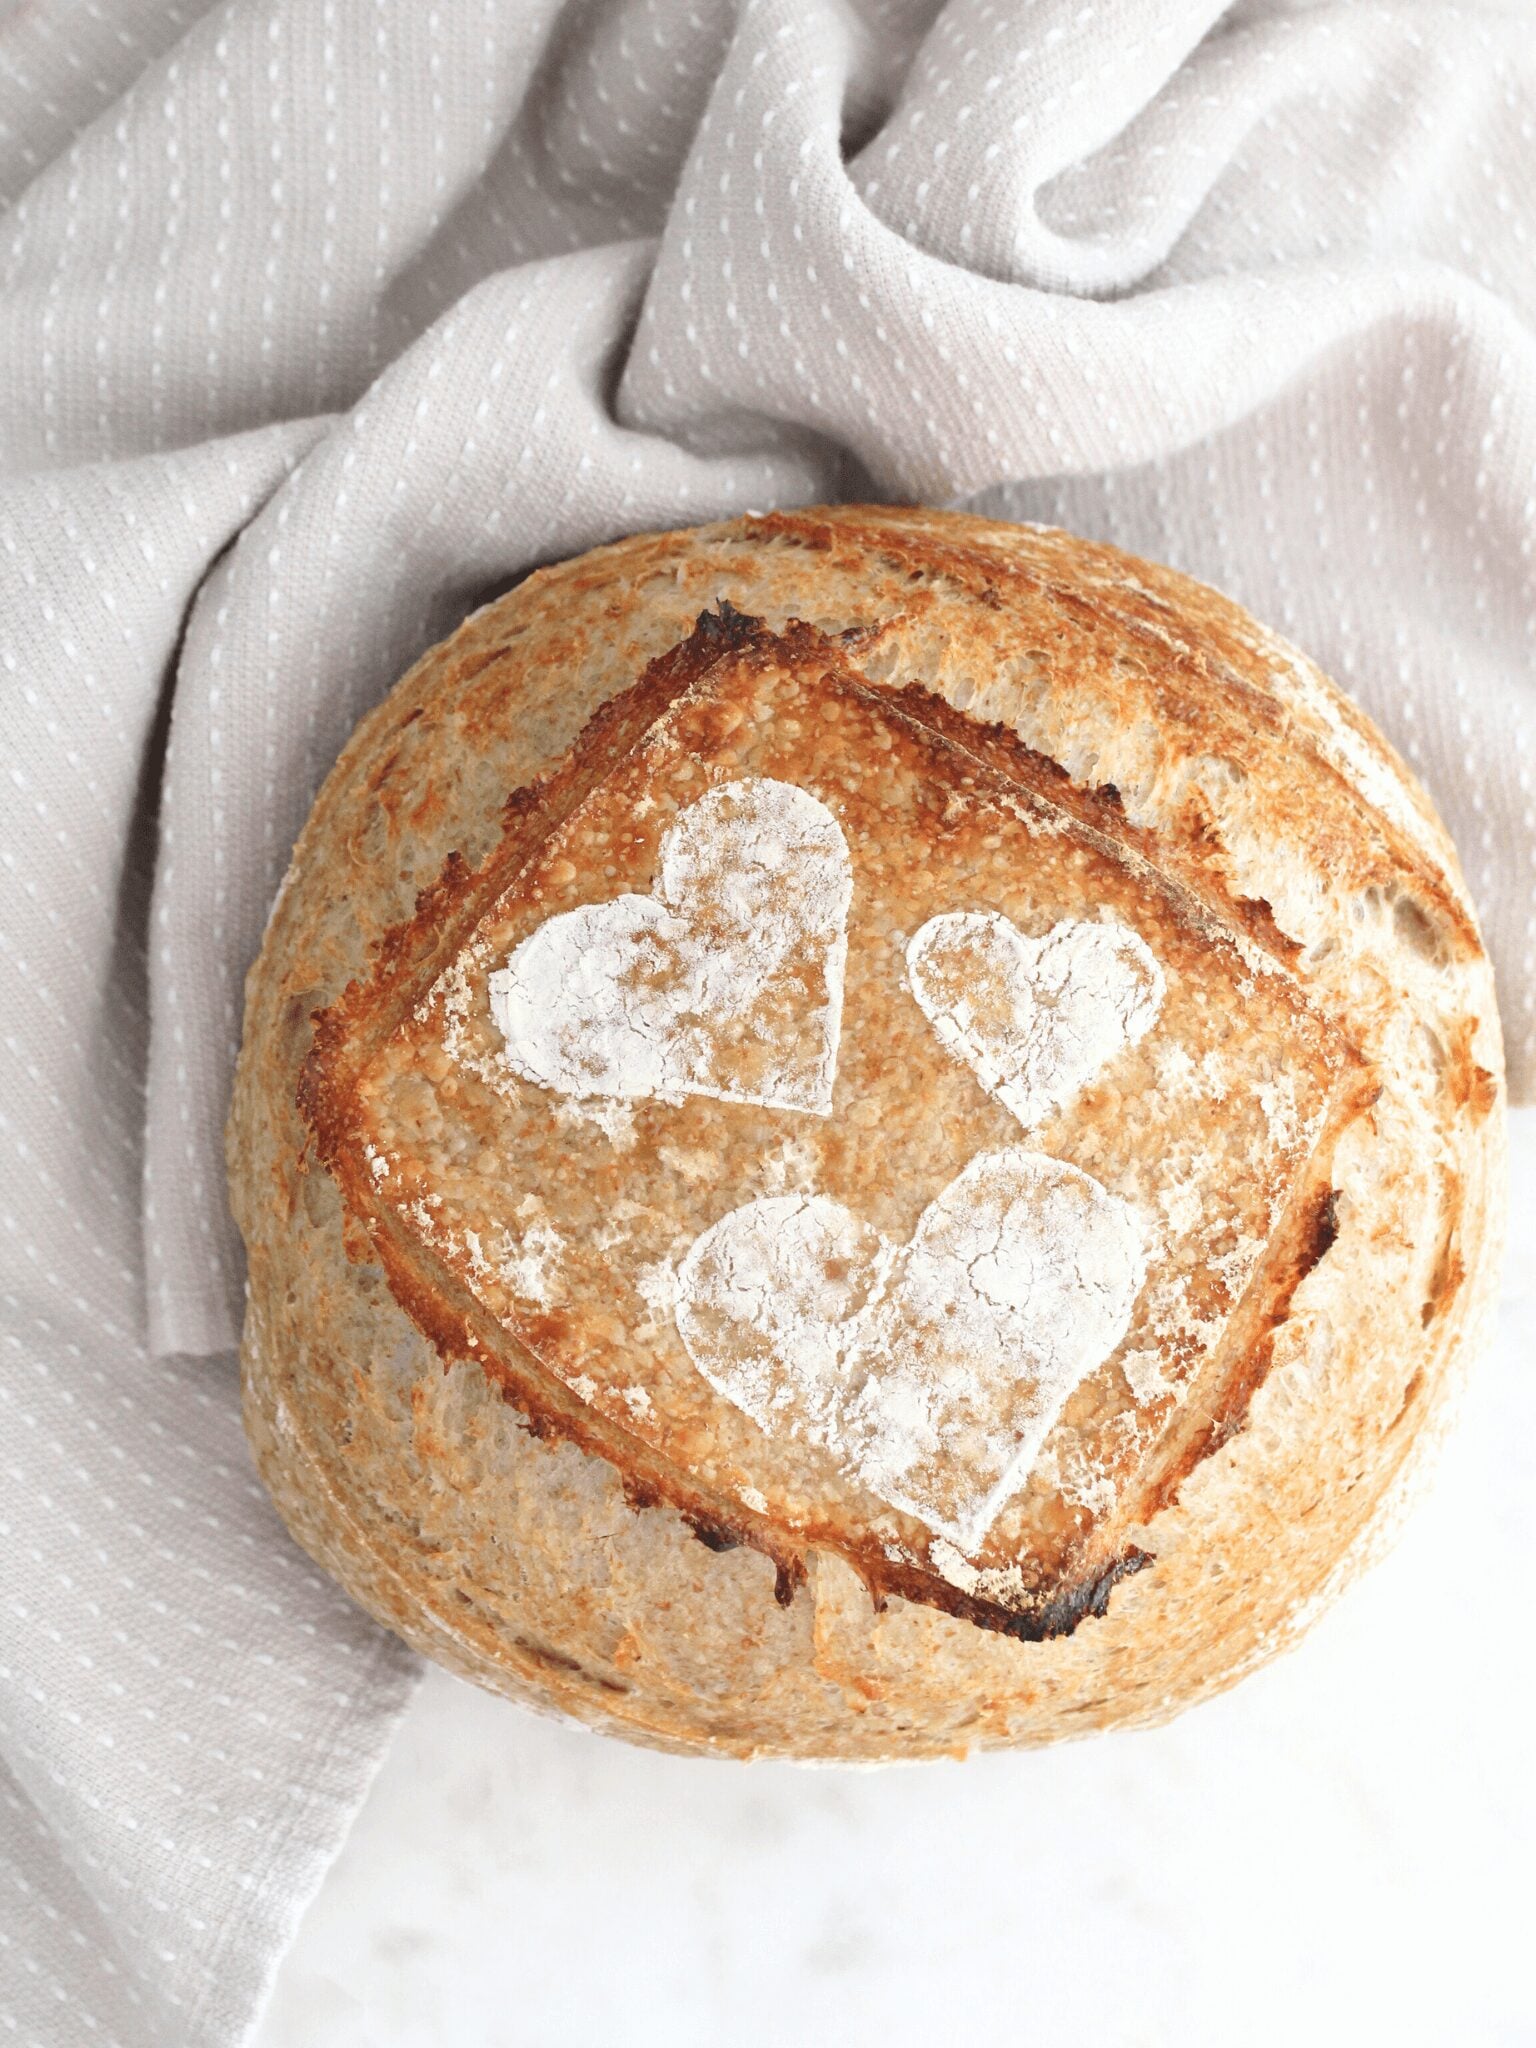

Sourdough intimidates most home bakers because they think it requires hours of kneading, special skills, and constant monitoring. The truth is that no-knead sourdough works with time instead of effort—you mix the dough, let it rest for nearly a day, and the fermentation does all the heavy lifting for you. This method produces tangy, open-crumb bread with a crispy crust, and it’s far more forgiving than traditional sourdough techniques.
How to Make Beginner’s No-Knead Sourdough Bread
This recipe relies on a long fermentation period to develop flavor and structure without kneading. The result is rustic, artisan-quality bread with minimal hands-on time.
Ingredients
- 3 cups (360g) bread flour or all-purpose flour
- 1.5 teaspoons (9g) salt
- 0.5 cup (120ml) active, bubbly sourdough starter (fed 4-8 hours prior)
- 1.25 cups (300ml) lukewarm water
Method
Mix the dough
Combine flour and salt in a large mixing bowl. In a separate vessel, whisk together your active sourdough starter and water until mostly combined. Pour the wet mixture into the dry ingredients and stir with a wooden spoon or spatula until all flour is hydrated and you have a shaggy, sticky dough. Do not knead—stirring for about 1 minute is sufficient.
Bulk ferment at room temperature
Cover your bowl loosely with a clean cloth or plastic wrap. Leave it at room temperature (68-75 degrees Fahrenheit is ideal) for 12-18 hours. During this time, the dough will rise, become less sticky, and develop visible bubbles. You’re looking for roughly 50-75% volume increase, not a full double.
Pre-shape and rest
Turn the dough out onto a lightly floured work surface. Gently gather the edges toward the center to create surface tension, then flip it seam-side down. Let it rest uncovered for 20-30 minutes while you preheat your oven and prepare your baking vessel.
Score the dough
Using a sharp knife or bread lame, make one or two diagonal cuts about 0.5 inches deep across the top of your dough. This allows steam to escape in a controlled way and helps the bread expand upward instead of outward. Score just before baking for best results.
Preheat the covered vessel
Place a covered Dutch oven or heavy baking vessel with its lid in your oven. Preheat to 500 degrees Fahrenheit for at least 30 minutes. The vessel must be very hot so the dough gets an immediate, aggressive heat boost that creates that signature crispy crust.
Transfer and bake covered
Carefully remove the hot vessel from the oven. Using parchment paper as a sling, transfer your scored dough into the hot vessel. Cover with the lid immediately and bake at 500 degrees for 20 minutes. The enclosed steam environment allows the bread to rise fully and develop a chewy interior.
Finish baking uncovered
Remove the lid and reduce oven temperature to 450 degrees Fahrenheit. Bake for an additional 25-35 minutes until the crust is deep golden brown and the loaf sounds hollow when tapped on the bottom. The exact time depends on your oven, so watch for color rather than following the clock exactly.
Cool completely before slicing
Transfer the finished loaf to a wire cooling rack. Resist the urge to slice immediately—the crumb structure sets as it cools. Wait at least 1-2 hours, preferably 3-4 hours, before cutting. This prevents gumminess and allows you to fully appreciate the open crumb structure.
- Keep your sourdough starter on a regular feeding schedule (once or twice daily) and always use a portion that’s actively bubbly and doubling in size within 4-8 hours of feeding. A weak starter leads to slow fermentation.
- Room temperature matters significantly—if your kitchen is cool (below 68 degrees), your bulk ferment may take 18-24 hours instead of 12-18. Conversely, a warm kitchen speeds things up. Plan accordingly.
- Parchment paper is essential for transferring dough into a hot Dutch oven safely. It prevents sticking and burns, and you can leave it under the loaf for the entire baking process.
What to Look For in Sourdough Baking Equipment
- Dutch Oven Heat Retention: Your baking vessel must reach and maintain extremely high temperatures. Look for heavy-bottomed, thick-walled options made from cast iron or enameled cast iron. The vessel should weigh at least 5 pounds and have a tight-fitting lid to trap steam effectively.
- Starter Container Size and Material: A good sourdough starter container holds at least 1 quart and features clear graduations so you can track rise. Glass or plastic work well; avoid reactive metals. Look for containers with loose lids rather than airtight seals, as starters need to breathe.
- Mixing Bowl Capacity: Choose a bowl that’s at least 3 quarts to accommodate wet dough as it rises and ferments. Stainless steel or ceramic won’t retain odors like plastic can. A rim wide enough to cover easily with cloth or plastic wrap prevents drying.
- Scoring Tool Sharpness and Safety: A razor-sharp scoring blade or bread lame makes clean cuts that don’t drag or tear the dough. Dull tools compress the surface instead of slicing, which ruins oven spring. Look for replaceable-blade options for consistent sharpness.
Le Creuset Enameled Cast Iron Dutch Oven, 5.5-Quart
Best for: Serious sourdough bakers seeking heirloom-quality equipment
This iconic Dutch oven is the gold standard for sourdough baking. The heavy cast iron base and tight-fitting lid maintain exceptional heat and steam distribution for perfect crust development. The enamel coating eliminates rust concerns and seasoning requirements, while the wide base accommodates larger loaves. At 5.5 quarts, it offers plenty of room for dough expansion. Though premium-priced, it’s virtually indestructible and will outlast multiple generations of bread-baking.
Check Current Price on Amazon →Utopia Kitchen Enameled Cast Iron Dutch Oven, 6-Quart
Best for: Budget-conscious beginners testing the no-knead method
This affordable enameled Dutch oven delivers reliable performance at a fraction of premium prices. The 6-quart capacity easily handles sourdough dough with room to spare, and the enamel coating handles high-heat baking without maintenance. While it may not carry the prestige of luxury brands, it performs identically in terms of heat retention and steam trapping. Perfect for determining whether you’ll commit to sourdough before investing heavily.
Check Current Price on Amazon →Pyrex Glass Sourdough Starter Jar with Markings, 1-Quart
Best for: First-time sourdough bakers managing their starter
Clear glass lets you monitor your starter’s rise and activity at a glance, eliminating guesswork about when it’s ready to use. The 1-quart size accommodates feeding schedules for home bakers, and graduated markings show volume increases. The wide mouth makes feeding and stirring easy, while the simple design is inexpensive enough that you can keep multiple jars. Unlike sealed containers, the open design allows natural breathing that sourdough cultures prefer.
Check Current Price on Amazon →Cuisinart Stainless Steel Mixing Bowl Set, 3-Piece
Best for: Bakers needing reliable bowls for dough fermentation
This three-piece set provides multiple sizes for different stages of sourdough making. The largest bowl easily accommodates bulk fermentation, while smaller bowls work for mixing starters or ingredients. Stainless steel won’t absorb odors or stains from sourdough cultures, and the smooth surface makes cleanup simple. The set offers excellent value, giving you redundancy if one bowl is in use while another ferments.
Check Current Price on Amazon →Your Path to Sourdough Success Starts Here
No-knead sourdough strips away the intimidation factor while delivering exceptional results. By relying on time and fermentation rather than technique, beginners achieve restaurant-quality loaves within their first attempt. The method requires minimal equipment—really just a bowl, a Dutch oven, and an active starter—making it accessible to anyone with basic kitchen setup. Start with quality basics like a reliable Dutch oven and clear starter jar, and you’ll have everything needed to bake confidently.
Remember that every oven behaves slightly differently and every kitchen’s temperature fluctuates, so your first loaf is an experiment that informs your second. Keep notes on fermentation times, crust appearance, and crumb structure so you can adjust for your specific environment. Within three or four bakes, you’ll develop intuition about when your dough is ready, and the process becomes almost meditative—mixing on Day One, baking on Day Two, slicing into crusty, open-crumbed perfection. The joy of pulling a homemade sourdough from your own oven makes every moment of waiting worthwhile.
Frequently Asked Questions
How do I know if my sourdough starter is ready to bake with?
A ready starter should be fed 4-8 hours before mixing dough and should double in volume within that timeframe, with visible bubbles throughout and a pleasant sour smell. It should pass the float test—a small spoonful floats in water rather than sinking. If your starter seems sluggish, feed it more consistently for several days before trying again.
Can I refrigerate the dough to extend fermentation time?
Yes, and many bakers prefer this. After mixing, you can refrigerate the covered dough for up to 48 hours, which slows fermentation and deepens flavor. Simply remove from the refrigerator 1-2 hours before shaping to allow it to warm slightly, then proceed with scoring and baking as normal.
What if my kitchen is too cold for proper fermentation?
Cold slows fermentation significantly; try using slightly warmer water (around 90 degrees instead of lukewarm) or place your covered dough in an oven with just the light on. Some bakers use a bread proofer box or even a cooler with warm water bottles to maintain a stable 72-75 degree environment. Expect fermentation to take 18-24 hours in a cool kitchen.
Why is my crust not crispy after baking?
A soggy crust usually means the Dutch oven wasn’t hot enough or the dough wasn’t baked long enough uncovered. Ensure your oven preheats for at least 30 minutes and bake uncovered for the full 25-35 minutes until deep golden. Some ovens run cool—an oven thermometer reveals if yours needs adjustment.
How should I store my finished sourdough bread?
Store cooled bread cut-side down on a cutting board or wrapped loosely in cloth at room temperature for up to 4 days. Avoid plastic bags, which trap moisture and soften the crust. For longer storage, slice the bread and freeze it; individual slices thaw or toast directly from frozen.
As an Amazon Associate, Build & Bloom earns from qualifying purchases. We only recommend products we genuinely think are useful. Prices and availability vary; check Amazon for the latest.
Leave a Reply