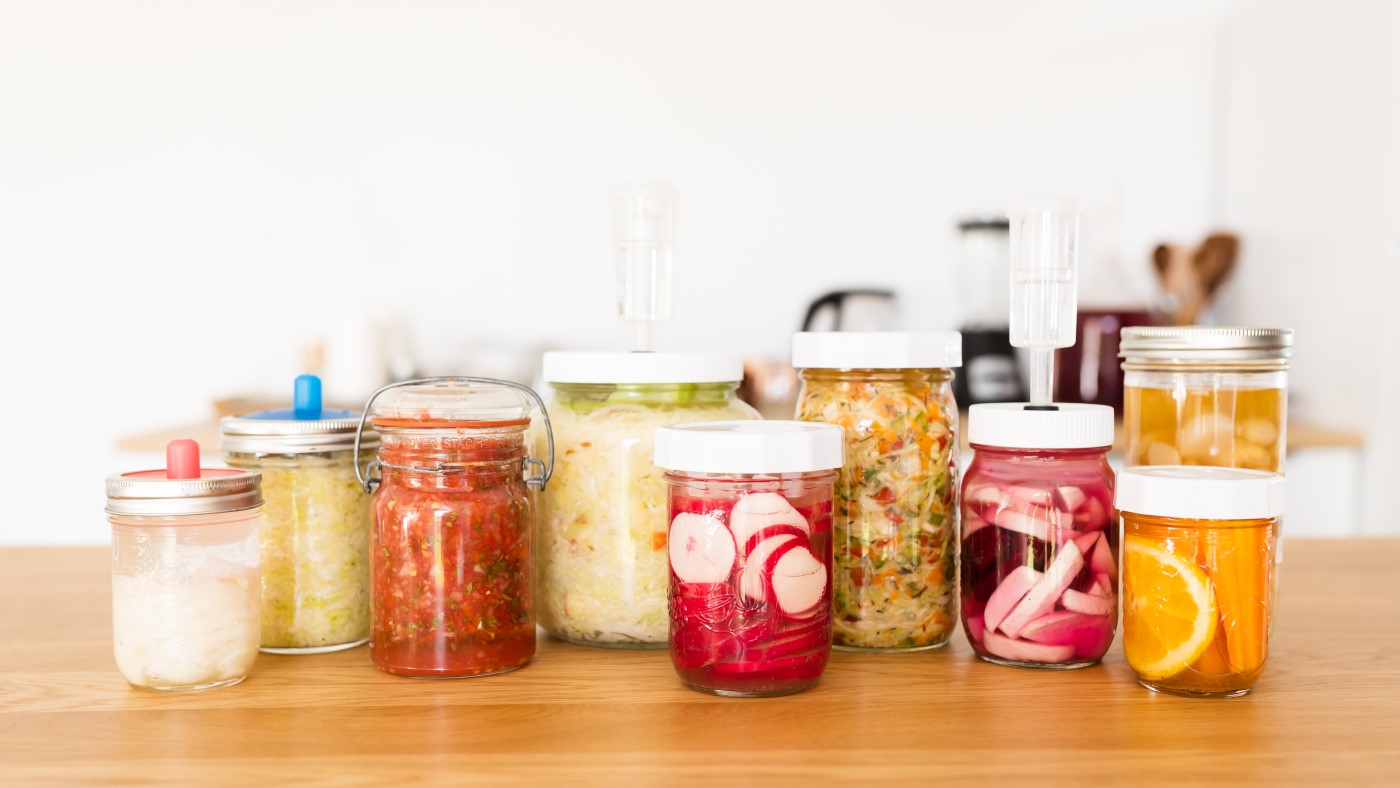

You’ve heard fermented foods are amazing for gut health, but the idea of fermenting anything at home feels intimidating and complicated. The truth? Fermentation is one of the most forgiving cooking methods out there. With just a few basic ingredients and containers, you can create delicious, probiotic-rich foods in days, not weeks. Let’s break down five beginner recipes that deliver real results without requiring special equipment or expertise.
5 Easy Fermentation Recipes for Beginners
These recipes use the same basic principle: salt, fresh ingredients, and time create the perfect environment for beneficial bacteria to thrive. Start with whichever appeals to you most.
Ingredients & Equipment
- Glass fermentation jars or mason jars (quart-sized or larger)
- Non-iodized salt (sea salt or pickling salt work best)
- Filtered or dechlorinated water
- Fresh vegetables, fruits, or starter cultures depending on recipe
- Weight system to keep ingredients submerged
- Cheesecloth or coffee filters for covering jars
Basic Fermentation Method
Prepare Your Ingredients
Wash your vegetables or fruits thoroughly under cold water and chop them into uniform pieces—typically 1-2 inch chunks work well. For leafy ingredients, leave them whole or tear into manageable sizes. The consistency in size helps fermentation happen evenly across all pieces.
Create the Brine Solution
Mix salt with filtered water at a ratio of approximately 2-5% salt by weight (start with 2% if you’re unsure). A simple guideline: dissolve 1 tablespoon of salt per quart of water. Stir until the salt completely dissolves, and let the brine cool to room temperature before using it.
Pack Your Jar
Layer your prepared ingredients into a clean glass jar, alternating with any aromatics like garlic, dill, or spices if desired. Pack everything firmly but don’t crush delicate pieces. Leave 1-2 inches of headspace at the top of the jar for the brine and any expansion during fermentation.
Submerge Everything in Brine
Pour the cooled brine over your ingredients until everything is completely covered—this is critical because ingredients exposed to air can develop unwanted mold. Use a weight or small jar filled with brine to hold vegetables beneath the surface, and cover the jar loosely with cloth or a breathable lid.
Set Up Your Fermentation Space
Place your jar in a cool, dark location away from direct sunlight—a cupboard, pantry, or basement works perfectly. Fermentation happens best between 60-75 degrees Fahrenheit. Keep the jar undisturbed for at least 3-5 days before your first taste test.
Taste and Store
After 3-5 days, open the jar and taste a small sample. If you like the level of fermentation (tang and flavor), cap it tightly and move it to cold storage in your refrigerator, which dramatically slows fermentation. If you prefer more fermented flavor, let it continue for another few days.
Enjoy and Reuse
Fermented foods keep in the refrigerator for months, often tasting better as they age. Save the brine from your first batch to use as a starter culture in future ferments—just add 1/4 cup of old brine to your new jar before adding fresh ingredients, which jumpstarts the process.
- Use filtered or boiled water—chlorine in tap water can inhibit fermentation by killing beneficial bacteria before they establish themselves.
- Temperature matters more than time: cooler kitchens mean slower fermentation (7-10 days), while warmer spaces speed things up (3-5 days). Taste regularly after day 3 to catch your preferred fermentation point.
- If white mold (kahm yeast) forms on the surface, skim it off gently—it’s harmless but tastes unpleasant. Only discard the batch if you see fuzzy green or black mold, which indicates contamination.
What to Look For in Fermentation Equipment
- Jar Size and Material: Glass jars are essential because they’re non-reactive and let you monitor fermentation progress. Quart-sized (32 oz) jars work for single servings, while gallon jars (128 oz) are better for households or batch fermentation. Avoid metal or plastic, which can interact with salt and acids.
- Lids and Breathability: You need covers that allow gas to escape while preventing contamination. Airlocks or cloth covers are ideal—standard screw-on lids trap pressure and can crack jars. Breathable solutions let carbon dioxide from fermentation escape naturally without letting dust or insects in.
- Weight Systems: A submersion weight is crucial to keep vegetables below brine, preventing mold growth on exposed surfaces. Options range from glass weights made for this purpose to improvised solutions like a small jar filled with brine. This single tool prevents most fermentation failures.
- Salt Quality: Use non-iodized salt like sea salt or pickling salt—iodized table salt and anti-caking agents interfere with fermentation and can create off-flavors. Check the label to confirm it contains no additives beyond salt and possibly trace minerals.
Fido Glass Fermentation Jars with Hinged Lids
Best for: All skill levels seeking reliable, reusable fermentation vessels
These Italian-made glass jars feature swing-top hinged lids with rubber gaskets that create an airtight seal yet allow gases to escape naturally—perfect for fermentation. The wide mouth opening makes filling and accessing your ferment easy, and the thick glass withstands pressure changes. Available in 1-liter and 2-liter sizes, these become your go-to fermentation containers. The vintage aesthetic looks great on open shelving, and they last indefinitely with basic care.
Check Current Price on Amazon →Jarvae Glass Fermentation Kit with Weights
Best for: First-time fermenters who want everything in one purchase
This comprehensive kit includes two 1-quart glass jars, rubber airlocks, glass weights, breathable cloth covers, and detailed recipe guides. The weights are specifically designed to keep vegetables submerged without effort, and the airlocks allow pressure release while preventing contamination. Everything needed to start fermenting arrives in one box, eliminating guesswork about compatible equipment.
Check Current Price on Amazon →Ball Wide Mouth Mason Jars 1-Quart
Best for: Budget-conscious fermenters using familiar equipment
Standard mason jars work for fermentation when you add separate components like airlocks and cloth covers. The wide mouth design simplifies packing and retrieving vegetables, and their affordability means you can set up multiple ferments simultaneously. You’ll need to purchase lids and weights separately, but this approach costs significantly less than specialty fermentation jars.
Check Current Price on Amazon →Fermenterra Glass Weights Set
Best for: Upgrading existing jars with proper submersion tools
This set includes four glass weights designed to fit standard mason jars, keeping vegetables submerged throughout fermentation. The weights are smooth, non-reactive, and easy to clean. Pair these with any glass jar and cloth cover to create a functional fermentation system without buying specialty equipment. A simple yet essential upgrade that prevents 90% of fermentation failures.
Check Current Price on Amazon →Start Fermenting This Week
Fermentation isn’t mysterious or difficult—it’s one of humanity’s oldest and most reliable food preservation methods, requiring nothing more than salt, water, vegetables, and time. The five recipes outlined above give you variety: tangy fermented vegetables become condiments and salad toppings, while kombucha and yogurt become daily beverages or breakfast components. Each batch teaches you something new about timing, flavor development, and the living food you’re creating. Begin with whatever recipe excites you most, invest in a quality glass jar and submersion weight, and let beneficial bacteria do the work.
The financial investment is remarkably small—less than a hundred dollars gets you enough equipment for years of fermentation—while the health and flavor rewards compound with every batch. You’ll save money on expensive probiotic supplements and fermented store-bought products while enjoying superior freshness and taste from your own kitchen. Most importantly, you’ll discover the profound satisfaction of creating living foods that nourish your body and gut. Your first jar of fermented vegetables tastes like a small miracle when you open it after a week and realize you created that tangy, complex flavor from simple ingredients.
Frequently Asked Questions
How do I know if my ferment is contaminated?
Safe ferments develop a cloudy brine and may have bubbles or sediment—all normal signs of beneficial bacterial activity. Discard the batch only if you see fuzzy green, pink, or black mold. Harmless white mold (kahm yeast) can be skimmed off without affecting safety.
Can I ferment anything, or are some vegetables better than others?
Vegetables with firm structure work best: cabbage, carrots, green beans, cucumbers, and radishes ferment beautifully. Soft items like ripe tomatoes or leafy greens work but break down quickly. Avoid anything with wax coating, as it prevents proper fermentation.
Why does my ferment taste too salty?
You likely used the 5% salt ratio when 2-3% is better for beginners. Taste your brine before adding vegetables next time, aiming for a briny-soup flavor that’s slightly saltier than pleasant drinking water. Fermentation continues developing flavor even with lower salt percentages.
How long can I store fermented foods in the refrigerator?
Properly fermented and refrigerated foods last 4-6 months or longer, often improving in flavor as they age. The cold temperature essentially pauses fermentation, preserving your creation indefinitely. Always ensure everything remains submerged in brine to prevent mold growth.
Do fermented foods provide real probiotic benefits?
Yes—fermented vegetables contain live beneficial bacteria (primarily Lactobacillus) that support digestive health. Aim for one to three tablespoons daily as a condiment or side. Cooking fermented foods kills the beneficial organisms, so eat them raw to maximize probiotic content.
As an Amazon Associate, Build & Bloom earns from qualifying purchases. We only recommend products we genuinely think are useful. Prices and availability vary; check Amazon for the latest.
Leave a Reply