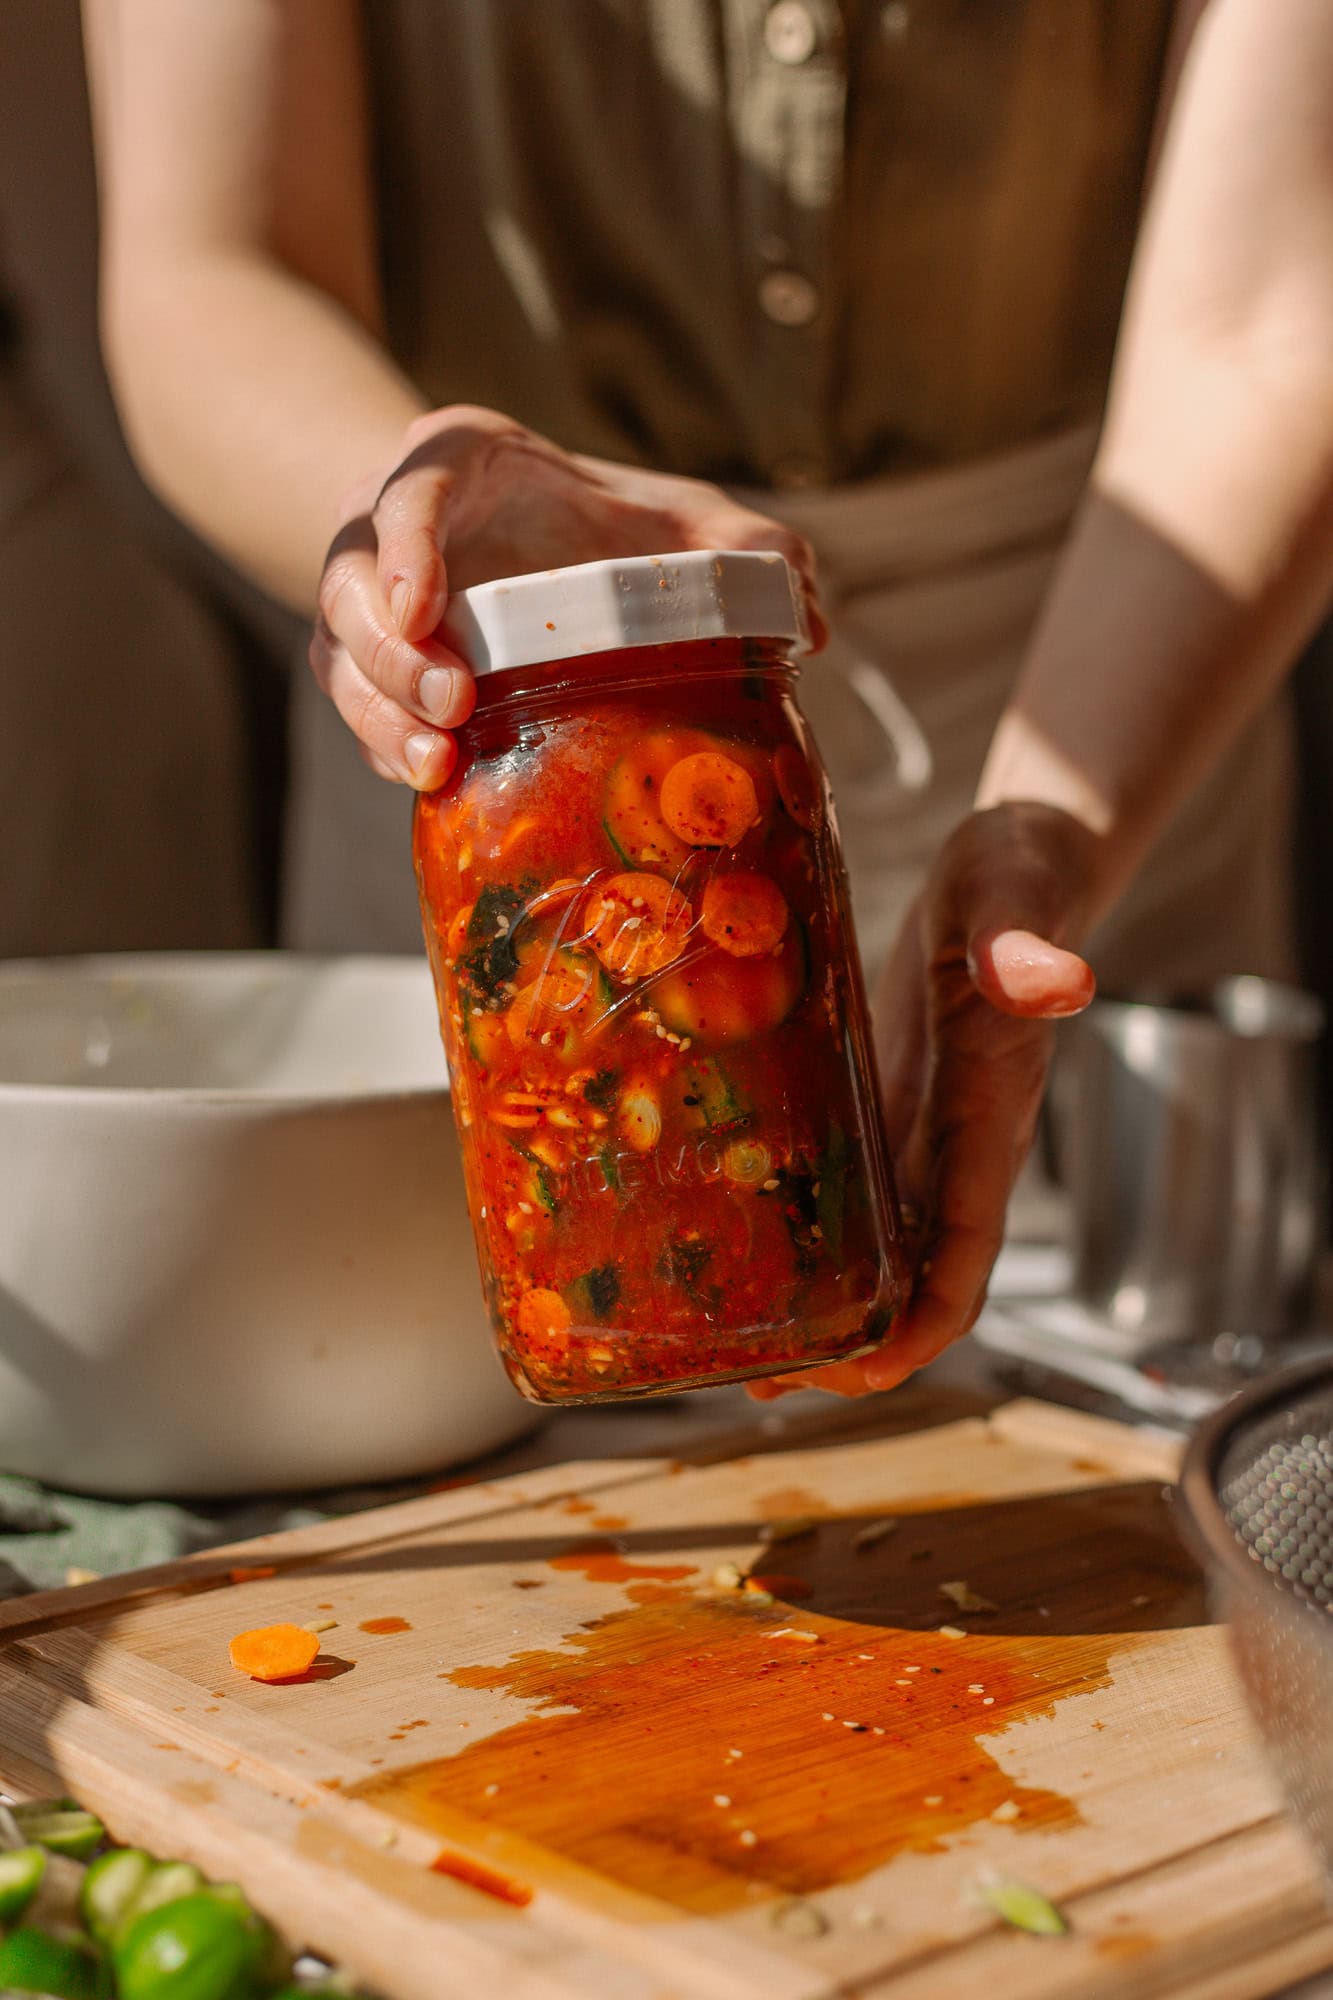

Fermented pickles are one of the easiest ways to build gut-friendly probiotics into your diet–and homemade cucumber kimchi tastes infinitely better than store-bought versions. If you’ve been intimidated by fermentation, this recipe proves how simple it really is. In just one week, you’ll have crunchy, spicy garlic pickles that cost a fraction of what you’d pay at the farmers market, plus the satisfaction of knowing exactly what went into them.
How to Make Cucumber Kimchi Spicy Garlic Pickles
This fermented pickle recipe combines the crisp texture of fresh cucumbers with bold garlic and chili flavors. The natural fermentation process creates beneficial probiotics while developing complex, tangy flavors over 3-7 days.
Ingredients
- 2 pounds fresh cucumbers, cut into spears or chunks
- 6-8 cloves garlic, minced or thinly sliced
- 2 tablespoons fresh ginger, grated or minced
- 2-4 tablespoons red chili flakes or fresh chopped chili (adjust to heat preference)
- 3 tablespoons sea salt (non-iodized)
- 4 cups filtered water
Method
Prepare Your Vessel
Choose a clean glass jar or fermentation crock with enough capacity to hold your cucumbers and brine with 2 inches of headspace. Wash thoroughly with hot water and allow to air dry completely. Glass is essential because metal can react with salt and acids produced during fermentation.
Create the Brine
Dissolve 3 tablespoons of non-iodized sea salt into 4 cups of filtered water by stirring well. Iodized salt and chlorinated tap water can inhibit fermentation, so these substitutions matter. Set the brine aside to cool to room temperature before adding to cucumbers.
Layer Your Aromatics
Add half your minced garlic, grated ginger, and chili flakes to the bottom of your jar. Arrange cucumber pieces on top, then layer the remaining garlic, ginger, and chili between cucumber layers. This distributes flavors evenly throughout the ferment.
Pour Brine and Submerge
Carefully pour the cooled brine over cucumbers until they are completely covered, leaving 1-2 inches of headspace at the top. Place a weight (specialized fermentation weight or a small jar filled with brine) on top to keep cucumbers submerged below the brine line. Cucumbers exposed to air can develop mold.
Cover and Set Up
Cover your jar loosely with a cloth, coffee filter, or specialized fermentation lid that allows gases to escape while preventing dust and insects from entering. Place the jar in a cool, dark location away from direct sunlight. A kitchen cabinet, pantry, or basement works perfectly.
Monitor Fermentation
Check your pickles daily starting on day 2. You’ll notice bubbling (carbon dioxide), cloudiness (beneficial bacteria), and a gradual change in color from bright to deeper green. Taste on day 3, and continue fermenting up to 7 days until flavor reaches your preference.
Taste and Adjust
Sample a pickle around day 3-4. It should taste tangy, spicy, and garlicky with a pleasant crunch. If you prefer more fermented flavor, continue for several more days. Once satisfied, remove the weight and taste-test any remaining brine.
Transfer to Storage
Once fermentation reaches your desired level, transfer pickles and brine to an airtight container or seal the original jar with a lid. Store in the refrigerator where cold temperatures dramatically slow (but do not stop) fermentation. Your pickles will keep for 2-3 months refrigerated.
- Use pickling cucumbers (smaller, thinner-skinned varieties) rather than slicing cucumbers for the best texture and crunch
- Taste your ferment daily starting on day 3–fermentation speed varies based on kitchen temperature, so trust your palate over strict timelines
- If white mold appears on the surface (kahm yeast), skim it off immediately, but don’t panic–it’s harmless and won’t contaminate the brine below the surface
What to Look For in Fermentation Equipment
- Glass Jar Material: Glass is non-reactive and allows you to monitor fermentation visually. Choose jars made from borosilicate glass to handle temperature changes. Avoid plastic, which can leach chemicals and stain easily.
- Airlock or Venting System: An effective lid or cover must allow carbon dioxide to escape while preventing contamination. Specialized fermentation lids with airlocks work best, but cheesecloth secured with rubber bands also functions well.
- Submersion Weights: Keeping vegetables below the brine line prevents mold growth. Dedicated fermentation weights, glass weights, or even a small jar filled with brine works. Avoid metal weights that could rust.
- Non-Iodized Salt Quality: Sea salt or pickling salt without anti-caking agents ensures clean fermentation. Iodized table salt can cloud brine and interfere with beneficial bacteria growth. Check labels for additives.
Bormioli Rocco Fido Glass Jar 68 oz
Best for: Home fermenters of all levels
This borosilicate glass jar with wire-bail closure is the gold standard for fermentation. The 2-liter capacity holds a full batch of cucumber pickles with room for brine, and the airtight seal creates an ideal anaerobic environment. The clear glass lets you track fermentation progress daily, while the durable construction withstands repeated use and temperature changes. Its neutral aesthetic works equally well on pantry shelves or kitchen counters.
Check Current Price on Amazon →Fermentation Crock Company Wide Mouth Fermentation Kit
Best for: First-time fermenters wanting all-in-one solution
This complete fermentation kit includes a ceramic crock, water-seal airlock lid, glass weights, and detailed instructions. The wide mouth opening makes adding and removing vegetables easy, while the ceramic construction provides excellent temperature stability. The integrated water-seal system automatically vents gases while preventing oxygen entry. Perfect for someone intimidated by fermentation basics.
Check Current Price on Amazon →Kerr Wide Mouth Mason Jar 64 oz (Set of 12)
Best for: Budget-conscious home fermenters
Classic mason jars work surprisingly well for fermentation when paired with proper airlocks. This 64-ounce wide-mouth design is easy to fill and clean, and the set of 12 lets you tackle multiple batches or experiment with variations. While requiring separate purchase of fermentation lids and weights, the low initial cost makes this ideal for testing whether fermentation becomes a regular hobby.
Check Current Price on Amazon →Kilner Fermentation Jar with Airlock Lid 34 oz
Best for: Premium fermenters seeking heirloom quality
This English-made Kilner jar combines stunning vintage aesthetics with modern fermentation technology. The precision-engineered airlock lid removes guesswork, venting gases while maintaining anaerobic conditions. Premium borosilicate glass ensures durability, and the elegant design makes it display-worthy. Included stainless steel weights and detailed guide provide complete fermentation support.
Check Current Price on Amazon →Final Recommendation
Making cucumber kimchi spicy garlic pickles at home is genuinely one of the easiest fermentation projects to master, yet the results rival expensive artisanal brands. The seven-day timeline feels short compared to the months of flavor development you’ll continue discovering as you eat through your jars. Start with quality glass jars and simple equipment–you don’t need specialty fermentation gear to succeed, though proper airlocks and weights prevent frustration for beginners.
The best part? Once you complete your first batch, the process becomes second nature, and you’ll find yourself fermenting multiple jars simultaneously in rotation. Your gut microbiome will thank you for the probiotic-rich addition to meals, and your kitchen will smell indefinably wonderful during fermentation week. The tiny investment in glass jars and non-iodized salt pays dividends for years.
Frequently Asked Questions
How long does fermentation take for cucumber kimchi pickles?
Fermentation typically takes 3-7 days depending on kitchen temperature and personal taste preference. Warmer kitchens (70-75°F) ferment faster than cooler ones. Start tasting on day 3 and continue fermenting until you reach your desired tanginess and spice level.
Can I use tap water instead of filtered water for the brine?
Filtered or dechlorinated water is strongly recommended. Chlorine in tap water can inhibit beneficial bacteria growth and produce off-flavors. If tap water is your only option, let it sit uncovered for 24 hours to allow chlorine to evaporate before using.
What does kahm yeast look like and is it dangerous?
Kahm yeast appears as white or cream-colored mold on the surface of brine. It’s completely harmless and indicates healthy fermentation conditions. Simply skim it off with a clean spoon during monitoring. The brine and pickles below remain perfectly safe.
How should I store finished pickles long-term?
Transfer cooled pickles and brine to airtight jars and refrigerate. Cold temperatures dramatically slow fermentation. Properly stored pickles last 2-3 months refrigerated, though fermentation continues slowly, developing deeper flavor over time.
Can I reuse the brine for a second batch of pickles?
Yes, fermented brine from the first batch can be used as a starter culture for the second batch, accelerating fermentation. However, some people prefer fresh brine for cleaner flavor. If reusing, ensure the old brine shows no signs of mold or off-odors.
As an Amazon Associate, Build & Bloom earns from qualifying purchases. We only recommend products we genuinely think are useful. Prices and availability vary; check Amazon for the latest.
Leave a Reply