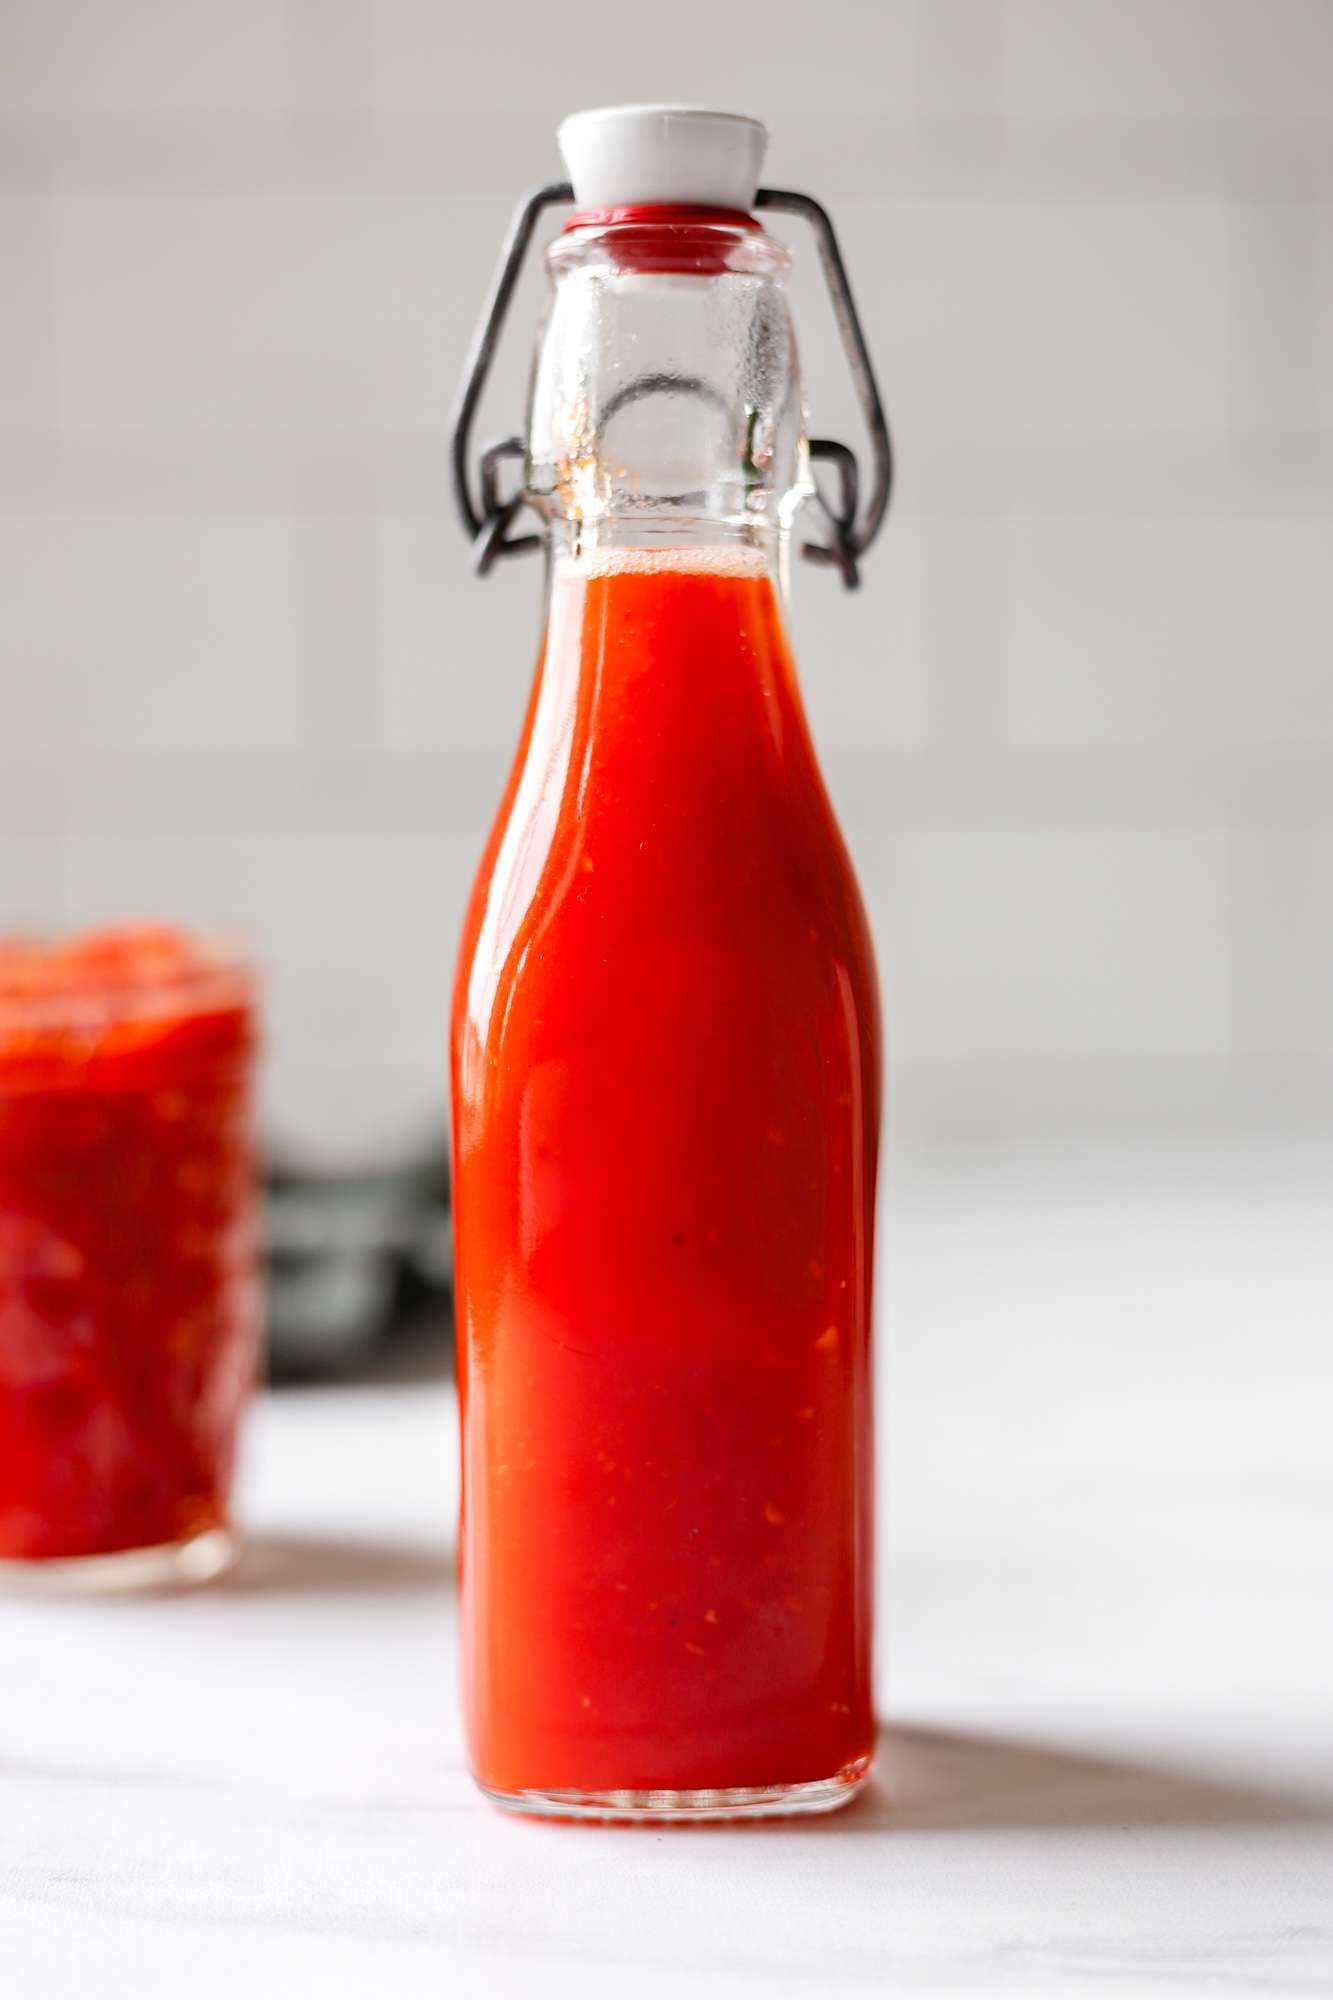

Store-bought hot sauces are loaded with preservatives and pasteurized to death, stripping away the live enzymes and probiotics that make fermented foods so good for your gut. Making your own fermented garlic sriracha at home is surprisingly simple—it takes just five basic ingredients, minimal equipment, and patience. Within two to three weeks, you’ll have a complex, funky, deeply flavorful sauce that’s alive with beneficial bacteria and tastes infinitely better than anything you’d buy at a supermarket.
How to Make Fermented Garlic Sriracha Hot Sauce
This traditional fermentation method creates a naturally tangy, complex sauce through the power of lactobacillus. The process requires minimal hands-on work but rewards you with probiotic-rich results.
Ingredients
- 1 pound fresh red chilies (Thai, serrano, or cayenne varieties work well), roughly chopped
- 1 head of garlic (about 10-12 cloves), peeled and minced
- 2 tablespoons sea salt (non-iodized is essential for proper fermentation)
- 2 tablespoons raw honey or organic cane sugar
- 2 tablespoons apple cider vinegar (optional but recommended for tang)
Method
Prepare Your Vegetables
Wash your fresh chilies thoroughly under running water and pat completely dry. Remove the stems and roughly chop them into 1-inch pieces. Peel and mince your garlic cloves into small, uniform pieces. The smaller your chili and garlic pieces, the faster fermentation will occur and the better the flavors will blend together.
Combine Ingredients in Fermentation Vessel
Place your chopped chilies and minced garlic into a clean glass jar. Add the sea salt and sugar directly to the jar. Mix everything together using a clean spoon or your hands (wash hands first). The salt will begin drawing liquid from the vegetables through osmosis, creating a brine that will submerge everything.
Pack Down and Submerge
Using a clean utensil or your fist, press down firmly on the chili-garlic mixture to release as much juice as possible. The vegetables should be completely covered by their own liquid. If after 24 hours they’re not fully submerged, prepare a simple saltwater brine (1 tablespoon salt per 1 cup water) and add just enough to cover the mixture.
Create an Anaerobic Environment
Cover the jar opening with a clean cloth or coffee filter secured with a rubber band. This allows gases to escape during fermentation while preventing dust and insects from entering. Place the jar on a shelf away from direct sunlight at room temperature (ideally 65-75 degrees Fahrenheit). A dark cabinet or pantry is ideal for fermentation.
Monitor for Activity
Over the first 24-48 hours, you should see tiny bubbles rising through the liquid—this is carbon dioxide from the beneficial bacteria at work. You may notice a slight foam on top, which is completely normal. Check daily and skim off any white mold that appears on the surface (kahm yeast), though this is harmless. Taste a tiny amount after one week to gauge fermentation progress.
Ferment for Desired Depth
Continue fermenting for 1 to 3 weeks depending on your taste preference. At one week, the sauce will taste fresh and slightly tangy. By week two, flavors deepen and funkiness increases. By week three, you’ll have a complex, aged character. Warmer kitchens will ferment faster than cooler ones. Trust your palate and transfer to the refrigerator once you’re satisfied.
Blend and Season
Pour the entire fermented mixture (chilies, garlic, and all the brine) into a blender. Add the apple cider vinegar if using, along with any additional salt or honey to taste. Blend on high speed until completely smooth, about 2-3 minutes. Strain through a fine-mesh sieve for a smoother sauce, or keep the texture as-is for a chunkier consistency.
Bottle and Store
Transfer your finished sauce into sterilized bottles or jars. Because fermentation has created an acidic, naturally preserved environment, your sriracha will keep in the refrigerator for several months. For longer shelf storage, ladle the hot sauce into clean jars and water-bath can if desired, though this will kill the beneficial cultures—refrigeration preserves them best.
- Use non-iodized sea salt or pickling salt only—iodized table salt can interfere with fermentation and cloud your brine
- Keep a fermentation log with dates and temperature notes; warmer homes ferment 20-30% faster than cooler ones
- Save your brine after blending; it’s liquid gold for salad dressings and contains all the beneficial probiotics
Essential Fermentation Equipment for Hot Sauce
- Glass Fermentation Vessel: A wide-mouth glass jar with tight sealing capability is non-negotiable. Glass doesn’t interact with salt or acidic ferments, preserves clear visibility of your batch, and lasts indefinitely. Quart or half-gallon sizes work best for single batches.
- Weight System: Keeping vegetables submerged prevents mold and ensures even fermentation. Purpose-built glass weights, ceramic discs, or even a small glass cup filled with brine work perfectly to hold chilies below the surface.
- Breathable Cover: Your jar needs to breathe while staying protected from contamination. Cloth covers, coffee filters, or specialized fermentation lids with airlocks all allow gas escape while blocking dust and insects.
- Quality Blender: After fermentation, you need a powerful blender to achieve the smooth, silky texture of traditional sriracha. A high-powered model handles fibrous pepper material without struggle and creates consistent results.
Bormioli Rocco Fido Glass Jar with Lid (2-Liter)
Best for: All fermentation projects
The Fido jar is the gold standard for serious fermentation enthusiasts. Its airtight wire-clamp closure and wide mouth make it perfect for packing and monitoring your sauce batch. The thick borosilicate glass won’t crack from salt exposure, and the graduated measurement marks help you track liquid levels throughout fermentation. Dishwasher safe and built to last decades.
Check Current Price on Amazon →Ball Wide Mouth Quart Canning Jars (Set of 12)
Best for: Budget-conscious home fermenters
These classic canning jars are affordable, reliable, and found in every kitchen supply store. While they don’t have as elegant a design as specialty fermentation jars, their wide mouths make packing and extracting your sauce simple. Buy a pack and you’ll have jars for multiple batches and other preserving projects. The glass is durable enough for repeated salt and acid exposure.
Check Current Price on Amazon →Kilner Clip Top Glass Jar (2-Liter)
Best for: Serious fermentation enthusiasts
Kilner’s heritage brand brings European craftsmanship to fermentation. This jar features a metal clip-top closure and deep embossed measurements, making it both functional and beautiful enough to display on your kitchen counter. The airtight seal is perfect for anaerobic fermentation, and the wide mouth accommodates large vegetable pieces easily. A decorative choice that doesn’t compromise on performance.
Check Current Price on Amazon →Ferment Culture Glass Fermentation Kit with Weights
Best for: First-time fermenters
This complete kit removes guesswork with a quality wide-mouth jar, fitted glass weights, cloth covers, and detailed instruction cards. The included weights keep vegetables perfectly submerged, and the cloth covers attach with elastic bands for foolproof setup. Perfect for someone starting their fermentation journey who wants everything they need in one package.
Check Current Price on Amazon →Make Your Own Probiotic Sriracha Today
Fermented garlic sriracha represents everything beautiful about homestead cooking: simple ingredients, minimal equipment, and maximum flavor in exchange for a little patience. Once you taste the difference between your homemade version and commercial alternatives, you’ll never go back to shelf-stable bottles. The process teaches you about fermentation, gives you control over heat level and ingredient quality, and produces a living sauce full of enzymes your body recognizes and absorbs.
Start with a single quart-sized batch this week. Choose your jar, gather your chilies and garlic, and let beneficial bacteria do the heavy lifting over the next two to three weeks. You’ll be amazed at how a handful of ingredients transforms into something complex, funky, and utterly addictive. Welcome to the world of real fermentation—your gut will thank you.
Frequently Asked Questions
How do I know if my fermentation is going wrong versus just being slow?
Good fermentation shows tiny bubbles rising through the liquid, gradual cloudiness, and a tangy smell developing. Bad fermentation produces a foul odor (like rotting meat), visible fuzzy mold below the brine surface, or sliminess. Normal surface yeast (kahm) is harmless and can be skimmed off. Trust your nose—if it smells genuinely bad rather than funky-good, start over.
Can I use iodized table salt or sea salt with additives?
No—iodine and anti-caking agents interfere with fermentation and can create off-flavors or prevent fermentation entirely. Use only non-iodized sea salt, pickling salt, or kosher salt. Check your label to confirm there are no additives listed.
What if my ferment isn’t submerged after mixing?
After 24 hours, if the vegetables haven’t released enough liquid, prepare a simple brine by dissolving 1 tablespoon salt in 1 cup filtered water. Add just enough brine to cover the mixture completely, then weigh it down with a glass weight or clean object to keep everything submerged.
Does fermented sriracha need to be refrigerated after bottling?
Yes, refrigeration stops active fermentation and preserves the live cultures. While fermented foods are naturally shelf-stable due to their acidity, keeping it cold dramatically extends shelf life and maintains the beneficial probiotics. Properly refrigerated, your sauce will last 6-12 months.
Can I speed up fermentation by keeping the jar warmer?
Yes—fermentation happens faster in warm environments (75-80 degrees) than cool ones (65-68 degrees), sometimes completing in 7-10 days versus 3 weeks. However, slower fermentation often develops more complex flavors. A kitchen window with indirect light or a pantry shelf works better than trying to artificially heat the jar.
As an Amazon Associate, Build & Bloom earns from qualifying purchases. We only recommend products we genuinely think are useful. Prices and availability vary; check Amazon for the latest.
Leave a Reply