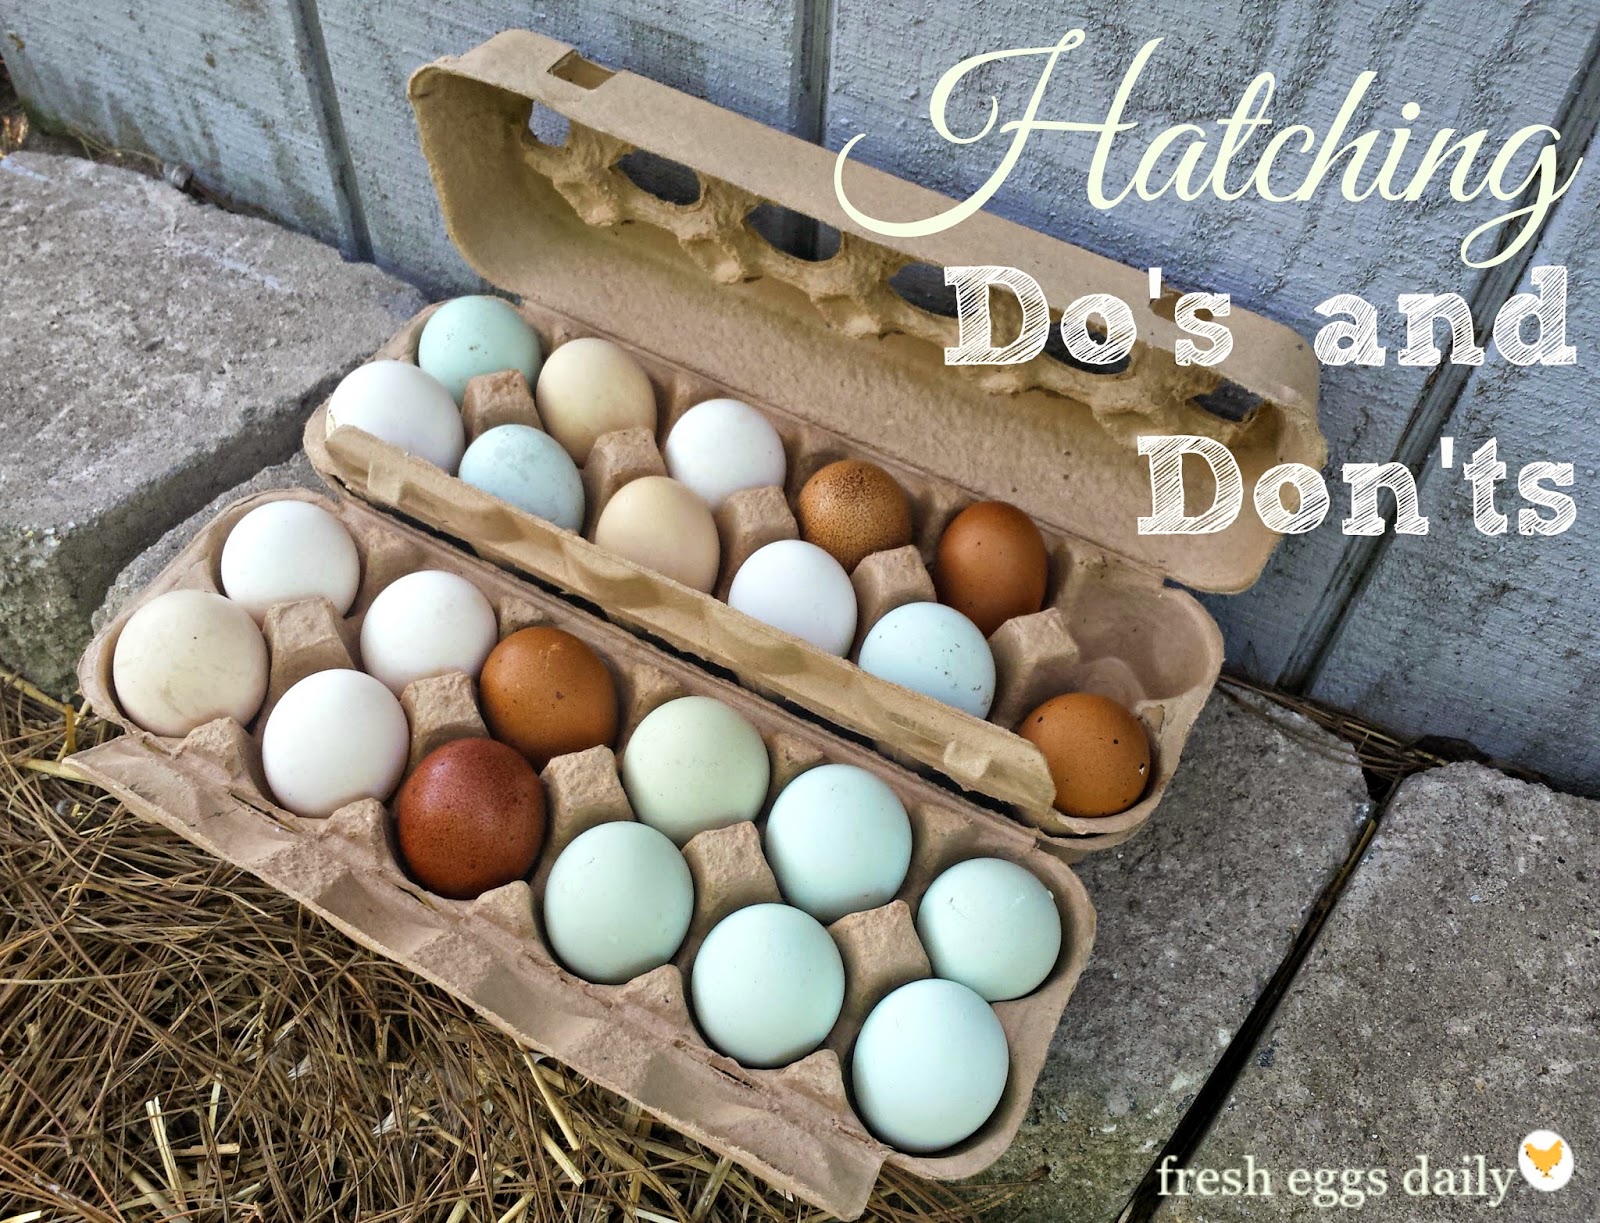

If you’re raising backyard chickens, ducks, or other poultry, hatching your own eggs is an exciting next step—but it requires attention to detail at every stage. From the moment you collect eggs through the final lockdown before chicks pip, small mistakes can dramatically reduce your hatch rate. This guide walks you through exactly what to do (and what to avoid) so you can confidently hatch healthy chicks.
How to Select, Store, and Incubate Hatching Eggs
Successful hatching depends on three critical phases: choosing the right eggs, storing them properly before incubation, and maintaining exact conditions during the 21-day cycle. Follow these steps to maximize your hatch rate.
What You Will Need
- Fertile eggs from healthy birds (medium size, normal shape, clean shells)
- Temperature and humidity monitoring device to track conditions
- Egg incubator with reliable heating and air circulation
- Egg turner or turner mechanism for automatic or manual turning
- Clean, cool storage space with stable temperature between 55-65°F
- Water source for humidity adjustment inside incubator
Steps
Select eggs from strong, healthy birds
Choose eggs that are medium-sized with normal oval shape, avoiding extremes like tiny eggs or oversized double-yolkers. Inspect shells for cracks, thin spots, or rough patches that could harbor bacteria. Discard any misshapen or damaged eggs immediately, as these rarely hatch successfully and can contaminate your incubator.
Store eggs properly before incubation begins
Keep collected eggs at cool temperatures between 55-65°F in a location with stable conditions away from direct sunlight. Position eggs pointed-end-down in a carton or storage rack—this orientation keeps the air cell at the top and the yolk centered, improving survival rates. Never wash eggs, as this removes the protective bloom and allows bacteria penetration.
Store eggs for no longer than 7-10 days
Hatch rates decline significantly if eggs sit in storage longer than 10 days. If you must store longer, turn eggs daily by tilting the carton or rotating the storage container, mimicking the natural brooding behavior. The sooner you incubate, the better your results.
Set up your incubator 24 hours before adding eggs
Place your incubator in a stable location away from drafts, direct sunlight, and temperature swings. Allow it to run for a full day so you can verify that heating maintains steady temperature at 99.5°F (for still-air) or 98.5°F (for forced-air models). Check humidity levels and adjust water sources to reach 40-50% relative humidity during the first 18 days.
Place eggs in the incubator and begin turning
Arrange eggs with the pointed end down. If using an automatic turner, ensure eggs rest securely in the mechanism. Turn eggs at least 3-5 times daily, or let your turner handle this automatically. Turning prevents the developing embryo from sticking to the shell membrane and is essential for proper development.
Monitor temperature and humidity daily
Check your thermometer and hygrometer every morning and evening. Temperature must stay within one degree of your target to prevent developmental delays or death. If humidity drifts outside the 40-50% range, add or remove water sources inside the incubator accordingly.
Stop turning eggs and enter lockdown on day 18
On day 18, remove the turner and stop rotating eggs—the chick has positioned itself for hatching. Increase humidity to 65-75% by adding water to all available channels in your incubator. The chick will now absorb the remaining egg contents and prepare to break through the shell.
Leave the incubator closed and allow chicks to hatch
From day 18 onward, do not open the incubator except to add water if humidity drops. Chicks will begin pipping internally around day 19-20, and externally pipping the shell around day 20. Hatching typically occurs on day 21. Resist the urge to help chicks hatch; let them emerge on their own timeline unless they show signs of struggle after 24 hours of external pipping.
- Avoid storing eggs in the refrigerator; the cold can damage the embryo even though eggs appear dormant. Use a cool basement, garage, or cellar instead.
- If humidity climbs above 50% during incubation days 1-18, reduce water sources; too much moisture can cause early hatching and weak chicks.
- Mark one side of each egg with an ‘X’ and the opposite side with an ‘O’ if turning manually—this ensures you turn each egg and makes it obvious if you missed a turn.
What to Look For in Egg Incubators
- Temperature Control Accuracy: The incubator must maintain steady heat within one degree of your target temperature. Look for models with reliable thermostats and, ideally, digital readouts so you can verify accuracy without guessing.
- Humidity Management System: Choose an incubator with dedicated water channels or trays so you can easily adjust humidity by adding or removing water. Multiple water sources give you finer control than a single basin.
- Automatic Turner or Turning Capacity: An automatic turner saves time and ensures consistent turning, but manual turning is possible if you’re disciplined. Either way, verify the incubator can accommodate your expected number of eggs.
- Size and Capacity: Beginners should start with compact incubators (24-50 eggs) so problems don’t wipe out a huge batch. As you gain experience, larger models become more practical and cost-effective per egg.
Brinsea Mini Advance Automatic Egg Incubator
Best for: Serious beginners and small-scale homesteaders
The Brinsea Mini Advance holds up to 20 eggs and features automatic turning, precise electronic temperature control, and integrated humidity management. Its compact, durable design maintains stable conditions with minimal fuss, making it ideal for first-time hatchers. The transparent cover lets you monitor development without opening the incubator, and the intuitive controls simplify the learning curve while delivering professional-grade results.
Check Current Price on Amazon →Hovabator 1588 Still Air Incubator
Best for: Budget-conscious first-time hatchers
The Hovabator 1588 is a simple, affordable still-air incubator designed for easy manual turning of 40-50 eggs. Its straightforward design removes guesswork with built-in wafer thermostats and adjustable vents for humidity control. While it requires daily egg turning, the low cost and proven track record make it an excellent entry point into hatching without overwhelming beginners with complex features.
Check Current Price on Amazon →Incubator Digital Egg Hatcher with Automatic Turning
Best for: Homesteaders wanting mid-range capacity
This digital incubator accommodates 56 eggs with automatic egg turning and dual humidity control trays. The LED display shows real-time temperature and humidity, allowing precise adjustments without guesswork. Its larger capacity makes it cost-effective for medium-scale operations while maintaining the reliability needed for consistent hatch rates.
Check Current Price on Amazon →Farm Innovations Automatic Egg Turner
Best for: Those upgrading a basic incubator
If you already own a still-air incubator, this universal automatic turner fits most models and removes the burden of manual turning. It uses gentle rolling action to turn eggs automatically throughout the day, reducing labor and improving hatch rates. A cost-effective upgrade that works with incubators you may already have.
Check Current Price on Amazon →Your Hatching Success Starts with Preparation
Hatching eggs at home is both rewarding and achievable when you understand each phase of the process. Start by selecting strong, healthy eggs from birds you trust, store them properly until incubation day, and then commit to the 21-day cycle with consistent temperature and humidity monitoring. An automatic incubator removes much of the daily burden, but even simple still-air models work if you’re attentive. The key is precision—one degree off, humidity out of range, or missed turning sessions can ripple through development and result in poor hatch rates.
Invest in a reliable thermometer and hygrometer so you can see exactly what’s happening inside your incubator, and don’t hesitate to upgrade to an automatic turner if manual turning feels overwhelming. Small quality-of-life improvements now prevent frustration later and often pay for themselves in higher hatch rates. Once you’ve successfully hatched your first batch of chicks, you’ll have the confidence and knowledge to scale up your operation. Start small, be patient with the learning curve, and remember that each hatch teaches you something new about your setup and your birds.
Frequently Asked Questions
Can I wash dirty hatching eggs before incubation?
No—avoid washing eggs at all costs. Water removes the protective bloom layer and opens pores for bacteria to penetrate. If eggs are extremely dirty, gently wipe them with a dry cloth or fine sandpaper. This preserves the bloom while removing debris.
How long can I store eggs before incubation without losing hatch rates?
Hatch rates remain strong for up to 7-10 days of storage. After 10 days, success rates drop noticeably. If you must store longer, turning eggs daily can extend viability, but incubating sooner is always better.
Why is turning eggs so important during incubation?
Turning prevents the growing embryo from sticking to the shell membrane and ensures proper nutrient distribution and development. Without turning, most embryos will not develop correctly and will not hatch. This is why either an automatic turner or disciplined manual turning is non-negotiable.
What should I do if the temperature drops during incubation?
Slight dips (a few degrees for a few hours) usually won’t cause total loss, but repeated or prolonged temperature drops delay development and reduce hatch rates. Ensure your incubator is in a stable location away from drafts and verify the heating element is functioning properly.
Can I help a chick out of its shell if it’s struggling to hatch?
Only assist if the chick has been externally pipping (visible hole in shell) for more than 24 hours and shows no progress. Most chicks need 12-24 hours to fully emerge. Early assistance often causes bleeding or leaves the chick too weak to survive, so patience is usually the best help.
As an Amazon Associate, Build & Bloom earns from qualifying purchases. We only recommend products we genuinely think are useful. Prices and availability vary; check Amazon for the latest.
Leave a Reply