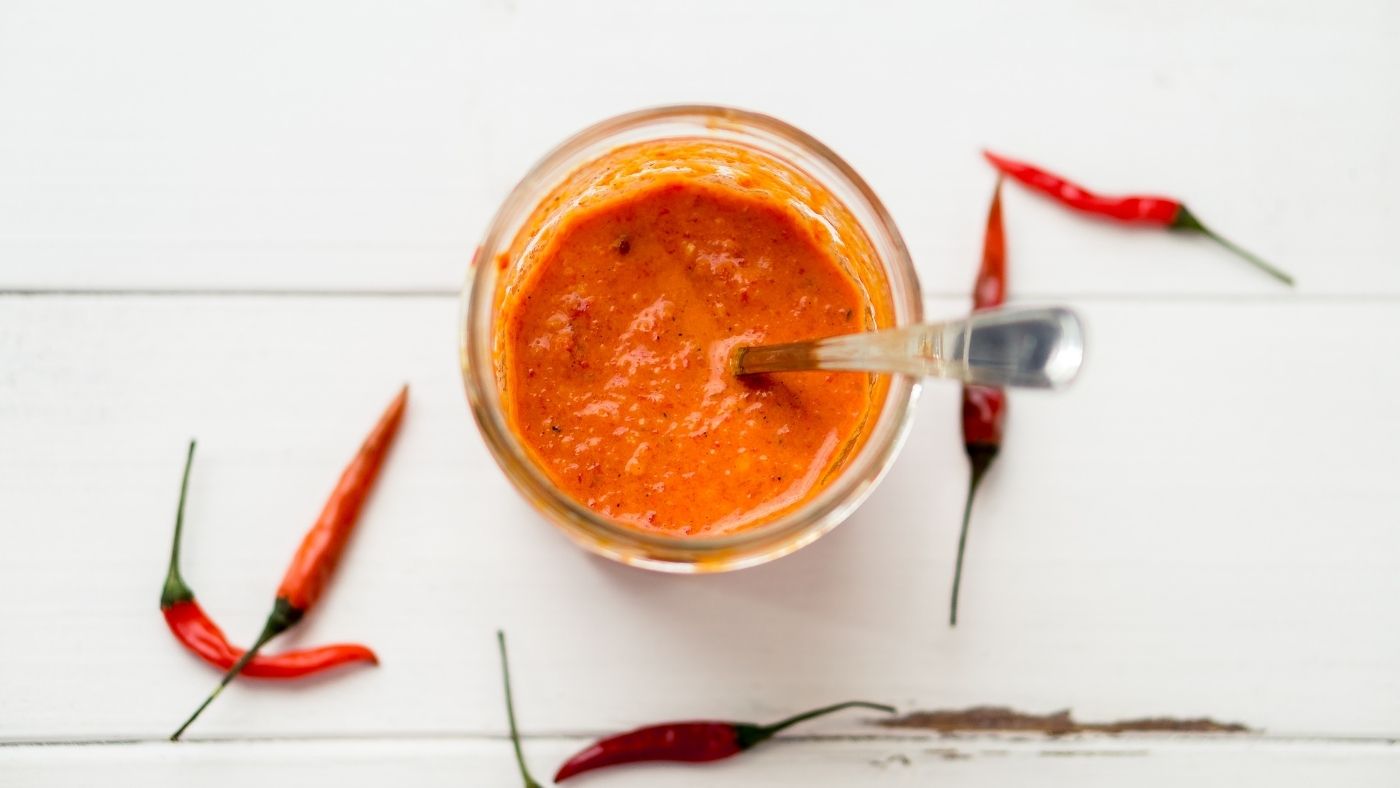

Store-bought hot sauces are often loaded with vinegar and preservatives, but making your own fermented version gives you control over heat level, flavor complexity, and nutritional benefits. Fermentation naturally develops beneficial probiotics while deepening the sauce’s flavor profile. Whether you grow your own peppers or buy them fresh, you can create a tangy, spicy condiment that rivals any commercial brand and costs just pennies per batch.
How to Make Fermented Hot Sauce
Fermented hot sauce is surprisingly simple to create at home. You’ll need fresh peppers, salt, and patience while beneficial bacteria work their magic over several weeks.
Ingredients
- Fresh hot peppers (habanero, jalapeño, scotch bonnet, or your preferred variety) – 2-3 cups, roughly chopped
- Sea salt or pickling salt – 2-3 tablespoons (about 5% of pepper weight)
- Filtered or dechlorinated water – 1/2 to 1 cup
- Optional aromatics: garlic cloves, onion pieces, or spices like cumin or coriander
- Glass jar with lid – quart-sized or larger
- Cloth or coffee filter for covering jar opening
Method
Prepare Your Peppers and Jar
Wash your peppers thoroughly under cool running water and pat dry. Clean your glass jar with hot soapy water, then rinse completely. Sanitizing isn’t strictly necessary since salt creates an inhospitable environment for harmful bacteria, but a clean jar reduces the risk of mold contamination.
Chop and Combine
Cut peppers into quarters or eighths, removing stems but keeping seeds intact for maximum heat and flavor. Add chopped peppers to your jar along with any garlic, onion, or spices you’re using. Don’t pack them too tightly; you want peppers to have room to move during fermentation.
Create the Brine
Sprinkle salt directly over the peppers at a ratio of roughly 5% by weight (about 1 tablespoon per 2 cups of chopped peppers). Stir well and let sit for 15-30 minutes. The salt will draw moisture from the peppers through osmosis, creating a natural brine. If needed, add small amounts of filtered water to ensure peppers are submerged.
Submerge and Cover
Press peppers down into the brine so they stay completely submerged; peppers exposed to air can develop surface mold. You can use a small clean jar, glass weight, or fermentation lid to keep them under. Cover the jar opening with cloth or a coffee filter secured with a rubber band to allow gas escape while blocking dust and insects.
Monitor Fermentation
Place your jar on a counter away from direct sunlight at room temperature (65-75 degrees F is ideal). You’ll notice bubbling, cloudiness, or white sediment on the bottom within 24-48 hours as lactobacillus bacteria multiply. This is exactly what you want. Taste a tiny sample after one week and every few days thereafter.
Blend When Ready
After 1-4 weeks (depending on temperature and your taste preference), the sauce will be sufficiently fermented with a complex, tangy flavor. Transfer the peppers and brine into a blender or food processor and puree until your desired consistency is reached. Some prefer chunky sauce; others want silky smoothness.
Strain if Desired
For a thinner sauce, push the blended mixture through a fine mesh strainer or cheesecloth, collecting liquid in a bowl. This removes seeds and pulp, creating a pourable sauce similar to commercial versions. You can save the strained solids for cooking or discard them.
Bottle and Store
Transfer finished sauce into clean bottles or jars and refrigerate. Fermented hot sauce keeps for months in the fridge due to its acidic, salty nature. The flavor will continue to develop slowly over time. Shake well before using as separation is natural and harmless.
- Keep a fermentation journal: note the date started, pepper variety, salt amount, and tasting notes. This helps you replicate batches you love and troubleshoot any issues.
- If white mold (kahm yeast) appears on the surface, simply skim it off with a clean spoon. It won’t harm your ferment, though the flavor may be affected. Brown or pink mold means discard the batch.
- Save your fermentation brine after blending. It’s packed with probiotics and makes an excellent addition to salad dressings, soups, or marinades for extra tangy flavor and gut health benefits.
What to Look For in Fermentation Supplies
- Glass Jar Quality: Choose glass jars with wide mouths for easy access to peppers and smooth, even walls. Thick glass prevents breakage from pressure fluctuations, and clear glass lets you monitor fermentation progress visually.
- Lid and Airlock System: Standard screw lids work but allow pressure buildup. Airlock lids or cloth covers let CO2 escape while preventing contamination from dust and insects. This reduces bloating and gives you more control over the process.
- Salt Type: Use sea salt or pickling salt without iodine or anti-caking agents, which can cloud your brine and inhibit fermentation. Kosher salt works if it’s salt-only with no additives. Avoid table salt entirely.
- Weight and Submersion Tools: Fermentation weights, glass lids, or even a clean jar filled with water keep peppers submerged. This is crucial for preventing mold and ensuring even fermentation throughout your batch.
Bormioli Rocco Fido Glass Jar with Swing Top
Best for: Serious home fermenters
This Italian-made glass jar features an airtight swing-top lid with a rubber gasket that allows CO2 to escape slowly while maintaining an anaerobic environment. The 2-liter capacity handles large pepper batches, and the clear glass lets you monitor fermentation progress daily. The hinged lid design prevents pressure buildup that can cause overflow, making it ideal for longer ferments. Food-grade glass won’t leach chemicals, and the jar is freezer and dishwasher safe for easy cleaning between batches.
Check Current Price on Amazon →Ball Mason Jar Wide Mouth Quart
Best for: Beginners and budget-conscious fermenters
The classic Ball mason jar is affordable, durable, and widely available. The wide mouth makes adding peppers and retrieving finished sauce easy, and the standard lid works fine with cloth covers. At one-quart capacity, it’s perfect for small batches or testing flavors before committing to larger quantities. Generations of home fermenters have used these jars successfully. Pair with a coffee filter and rubber band for basic but effective fermentation.
Check Current Price on Amazon →Mortier Pilon Fermentation Kit with Airlock Lids
Best for: First-time fermenters
This complete starter kit includes three glass jars and three airlock lids specifically designed for fermentation. The airlock system removes guesswork by automatically releasing excess gas while preventing oxygen intrusion. Clear instructions and measurements are included, making it nearly impossible to fail. The graduated volume marks on each jar help you measure ingredients accurately. It’s an investment upfront but eliminates trial-and-error and ensures success on your first batch.
Check Current Price on Amazon →Le Parfait Super Jar with Rubber Gasket
Best for: Advanced fermenters wanting aesthetic appeal
French-made Le Parfait jars are glass masterpieces with wide mouths, thick walls, and elegant proportions. The rubber gasket and stainless steel clamp create a superior seal while remaining functional for fermentation when paired with cloth covers. These jars double as serving pieces at the table, bringing rustic charm to any kitchen. Premium glass quality ensures durability for decades of use. Available in 1.5-liter and 3-liter capacities for scaling batches.
Check Current Price on Amazon →Make Your Own Fermented Hot Sauce Today
Creating fermented hot sauce at home is one of the most rewarding kitchen projects you can undertake. The process requires minimal equipment, just a few ingredients, and your patience while nature does the work. Within weeks, you’ll have a probiotic-rich condiment that’s leagues beyond anything store shelves offer–with flavor complexity, nutritional benefits, and customization only homemade fermentation provides. Starting with a quality glass jar and proper salt is all you need to join the growing community of home fermenters.
The beauty of fermented hot sauce is that there’s no failure, only variations. A slightly different fermentation time, temperature, or pepper variety creates unique results each batch. Once you’ve made your first successful sauce, you’ll want to experiment with different pepper combinations, add garlic or spices, and scale up production. The jars recommended above will serve you reliably for years, turning fermentation from a one-time project into a rewarding kitchen practice.
Frequently Asked Questions
How do I know when my fermented hot sauce is done?
Fermented hot sauce is ready when it tastes tangy with complex flavor, typically after 1-4 weeks depending on room temperature. Taste a small sample after one week, then daily until flavor suits you. Cooler temperatures slow fermentation; warmer speeds it up. There’s no single ‘done’ point–it’s about preference.
Why did mold grow on my fermented hot sauce?
Surface mold (white kahm yeast) occurs when peppers aren’t fully submerged. Skim it off and ensure better submersion next time. Brown, fuzzy, or pink mold indicates contamination; discard the batch. Always use clean jars, salt without additives, and filtered water to prevent mold issues.
Can I ferment hot sauce without adding salt?
Salt is essential–it draws moisture from peppers to create brine, inhibits harmful bacteria, and develops flavor. Unsalted ferments risk spoilage and off-flavors. The standard ratio is 2-5% salt by pepper weight. You can reduce salt slightly if concerned about sodium, but not eliminate it entirely.
How long does fermented hot sauce last in the fridge?
Properly fermented and refrigerated hot sauce lasts 3-6 months or longer due to its acidic, salty nature. The flavor develops subtly over time. Always use clean utensils when scooping to prevent contamination. If mold appears on the surface, discard that portion or the entire batch if it smells off.
Can I adjust the heat level of my fermented hot sauce?
Yes. Use milder peppers like jalapeños for less heat, or remove seeds before fermenting to reduce spiciness. After blending, you can dilute with water or blend in roasted garlic for flavor without additional heat. Experiment with small batches to dial in your preferred level.
As an Amazon Associate, Build & Bloom earns from qualifying purchases. We only recommend products we genuinely think are useful. Prices and availability vary; check Amazon for the latest.
Leave a Reply