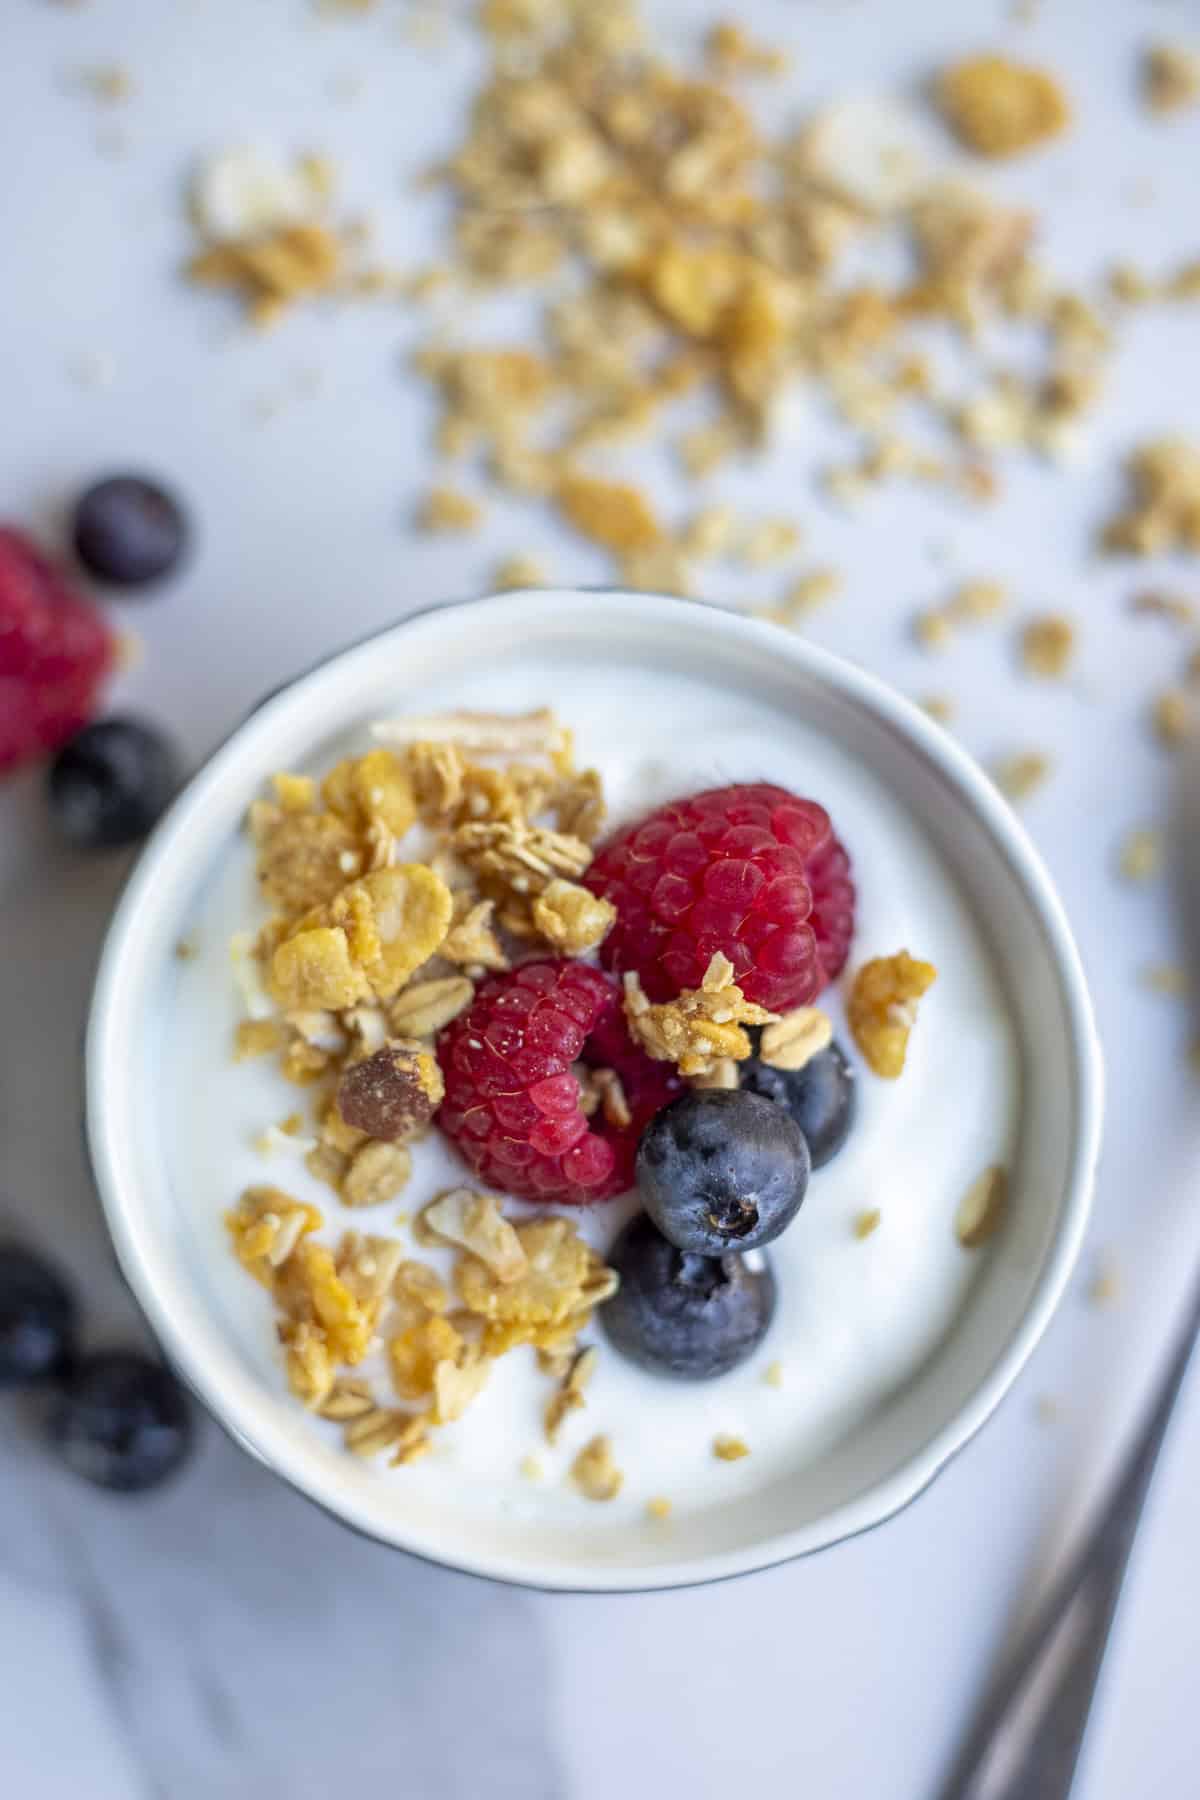

Store-bought yogurt costs add up fast, especially if your family goes through multiple containers weekly. The good news: making yogurt at home is surprisingly simple and requires just two ingredients and basic kitchen equipment. Once you master the process, you’ll enjoy thick, creamy yogurt at a fraction of the store price, plus complete control over sugar content and flavors. Let’s walk through the straightforward steps to become a yogurt maker.
How to Make Homemade Yogurt from Scratch
This method produces creamy, tangy yogurt using the incubation method. The key is maintaining a steady temperature while beneficial bacteria cultures develop.
Ingredients & Equipment
- 1 gallon whole milk (or 2% if you prefer lighter yogurt)
- 1/4 cup plain yogurt with active live cultures (or powdered starter culture)
- A reliable cooking thermometer that reads between 100-120°F
- A large stainless steel pot or heavy-bottomed saucepan
- An insulated cooler, instant pot, or dehydrator to maintain temperature
- Clean glass jars or containers for storage
Method
Heat the milk slowly
Pour milk into a heavy pot and heat gently to 180°F, stirring occasionally to ensure even warming. This step kills unwanted bacteria and changes the protein structure for a thicker final product. Use your thermometer to monitor carefully—don’t let it boil.
Cool to incubation temperature
Remove from heat and let cool to exactly 110-115°F. You can speed this by placing the pot in an ice bath, stirring occasionally. This temperature range is ideal for the yogurt cultures to thrive without being killed by residual heat.
Activate your starter culture
In a small bowl, mix your yogurt starter or powdered culture with 1/4 cup of the cooled milk to activate it. Stir well until smooth and free of lumps. This step tempers the culture and helps it distribute evenly throughout the batch.
Combine and inoculate
Pour the activated starter mixture back into the larger pot of milk, stirring gently but thoroughly for 1-2 minutes. Make sure the culture is evenly distributed so fermentation happens uniformly throughout the entire batch.
Transfer to incubation vessel
Pour the inoculated milk into clean glass jars and place them in your chosen incubation environment—a cooler filled with warm water, an oven with the light on, or a yogurt maker. The goal is to keep the temperature steady at 110°F.
Incubate undisturbed
Leave the yogurt undisturbed for 4-12 hours. Shorter times produce milder, creamier yogurt; longer times create tangier results. Resist the urge to peek or shake the jars—vibration disrupts the culturing process.
Check consistency and taste
After 4 hours, tilt a jar gently. When the yogurt coats the side and doesn’t run freely, it’s ready. Taste a small amount—if it’s as tangy as you like, proceed to the next step. If you prefer it tangier, let it sit another 1-2 hours.
Cool and refrigerate
Once done, immediately transfer jars to the refrigerator to stop fermentation. Yogurt will continue to set slightly as it cools. Store in the coldest part of your fridge for up to two weeks, saving a quarter-cup of each batch as starter for your next one.
- Save 1/4 cup of your finished yogurt to use as a starter for your next batch—you can reculture 5-7 times before needing fresh starter culture.
- Whole milk produces creamier results than lower-fat versions; if using 2% milk, add 1/4 cup powdered milk to the heated milk for richer texture.
- Keep a dedicated notebook tracking incubation time and temperature—this helps you dial in exactly the tanginess and texture your family prefers.
What to Look For in Yogurt-Making Equipment
- Accurate thermometer: Digital or analog thermometer that reads precisely in the 100-180°F range is essential. Even a few degrees off changes fermentation speed and final texture. Instant-read thermometers are convenient, but dedicated probe thermometers offer better precision.
- Insulated incubation vessel: Whether a dedicated yogurt maker, cooler, or oven setup, the container must maintain 110°F consistently for hours. Insulation quality directly impacts whether your yogurt sets properly and develops good flavor.
- Large capacity pot: A 3-4 quart stainless steel or heavy-bottomed pot distributes heat evenly and prevents scorching. Look for pots with thick bases and sides that heat gradually—thin pots create hot spots that damage cultures.
- Glass storage jars: Glass doesn’t interact with cultures and cleans easily for reuse. Quart-sized jars work well for yogurt storage and allow you to monitor the set without opening the incubation vessel.
Instant-Read Digital Meat Thermometer by ThermoPro
Best for: Home yogurt makers who need precise temperature control
ThermoPro’s instant-read thermometer displays temperature within 2-3 seconds and reads accurately from 32°F to 572°F. The one-button operation and easy-to-read LCD display make it perfect for heating milk to exact temperatures. Waterproof design holds up to milk splashes, and the stainless steel probe reaches deep into pots. With a 4.7-star rating from over 8,000 reviews, yogurt makers trust this thermometer’s consistency across batches.
Check Current Price on Amazon →Instant Pot Duo 7-in-1 Electric Pressure Cooker
Best for: First-time yogurt makers who want an all-in-one solution
The Instant Pot Duo includes a dedicated yogurt-making function that automatically maintains 110°F temperature for your entire fermentation cycle. Its stainless steel inner pot heats milk evenly, and the yogurt setting removes guesswork about incubation. Works as a pressure cooker, slow cooker, and rice cooker too—a versatile kitchen workhorse. The 6-quart capacity makes enough yogurt for a family week’s worth in one batch.
Check Current Price on Amazon →Salton Yogurt Maker
Best for: Budget-conscious homesteaders seeking an affordable, dedicated option
The Salton yogurt maker offers seven individual 6-ounce glass jars and maintains perfect incubation temperature automatically for around $25-30. Simple one-button operation—just set it and walk away. Each jar produces individual portions perfect for meal prep or grabbing quick breakfasts. While basic in features, it’s reliable and proven for making consistent, creamy yogurt batches. Great starter equipment if you’re testing whether yogurt-making fits your routine.
Check Current Price on Amazon →Luvele Pure Yogurt Maker
Best for: Serious fermentation enthusiasts who want precision and multiple functions
The Luvele Pure offers adjustable temperature control (68-122°F) for making not just yogurt but also kefir, vegan yogurt, and other cultured dairy. Its stainless steel interior and digital display provide precise control. Comes with seven glass jars and detailed recipe guides. The timer function extends up to 99 hours, giving flexibility for experimenting with fermentation times. Professional-grade build quality justifies the premium price for dedicated home fermenters.
Check Current Price on Amazon →Pyrex glass mixing bowls set with lids
Best for: DIY builders who prefer the cooler incubation method
This set of six Pyrex bowls with lids costs less than $15 and provides everything needed for the cooler method. Heavy glass resists temperature shock, and lids keep yogurt clean during incubation. Use any cooler filled with warm water as your incubator—the most cost-effective setup available. Pyrex’s durability means these bowls serve many other kitchen purposes, making them a worthwhile investment beyond just yogurt-making.
Check Current Price on Amazon →All Clad Stainless Steel Saucepan 3-Quart
Best for: Home cooks investing in durable equipment for years of yogurt batches
All Clad’s three-quart saucepan features tri-ply stainless steel construction that heats milk evenly without hot spots. The heavy bottom ensures gradual, controllable temperature rise to prevent scorching. Stainless steel interior shows visual cues as milk heats and cools. While pricier than basic pots, this pan will outlast your yogurt-making journey and serve countless other purposes. Lifetime durability makes the investment worthwhile.
Check Current Price on Amazon →Euro Cuisine Yogurt Maker YM100
Best for: Small kitchens and people making single-serving portions
The compact Euro Cuisine holds seven 6-ounce glass jars and occupies minimal counter space. Automatic temperature control and timer set it apart—a simple plug-in design with no fancy buttons. Perfect for couples or individuals testing yogurt-making before investing in larger equipment. The smaller footprint makes it easy to store when not in use, and it’s priced affordably for the convenience factor.
Check Current Price on Amazon →Tribest Soymilk Maker and Yogurt Cooker
Best for: Plant-based homesteaders wanting to make both non-dairy milk and yogurt
The Tribest machine blends two functions—it grinds soybeans into milk and ferments yogurt from any milk type. Stainless steel construction with precise temperature control allows experimentation with almond, oat, and other milk yogurts. The 1.3-liter capacity is smaller but efficient. At the premium price point, it justifies the investment only if you’re committed to making both cultured milk and alternative milk yogurts regularly.
Check Current Price on Amazon →Start Your Yogurt-Making Journey Today
Making yogurt at home transforms a grocery staple into a rewarding homestead project that saves money and delivers fresher results than store shelves. The process requires patience more than skill—once you nail your heating and incubation routine, you’ll produce consistently delicious yogurt tailored exactly to your family’s taste preferences. Whether you invest in a dedicated yogurt maker or use a simple cooler and thermometer, the barrier to entry is remarkably low for such impressive results.
Start with your next trip to the grocery store: grab a container of plain yogurt with active cultures as your starter, pick up a good thermometer if you don’t have one, and commit to your first batch this week. Most people nail it by batch two or three once they understand how their particular kitchen and equipment behaves. Within a month, you’ll wonder why you ever bought expensive store yogurt again. The combination of cost savings, customization, and satisfaction makes homemade yogurt one of the easiest wins in any homesteading journey.
Frequently Asked Questions
Can I reuse yogurt as a starter multiple times?
Yes, but quality degrades after 5-7 successive batches as beneficial bacteria weaken. Save 1/4 cup from each batch as your next starter, then purchase fresh culture powder to reset. Keep detailed notes on each batch to know when to refresh your starter.
Why is my yogurt runny instead of thick?
Most likely causes: temperature dropped during incubation (buy an oven thermometer to verify), fermentation time was too short, or you used low-fat milk. Try whole milk, extend incubation to 8-10 hours, and double-check your heating vessel maintains steady warmth. Adding 1/4 cup powdered milk also increases creaminess.
Can I use non-dairy milk to make yogurt?
Yes, but non-dairy milks require special starter cultures designed for them. Coconut, oat, and soy milk work best. Regular dairy yogurt cultures may not activate properly in plant-based milks. Purchase vegan yogurt starter cultures specifically, and follow manufacturer instructions for temperature and timing.
How long does homemade yogurt last in the refrigerator?
Properly stored in sealed jars, homemade yogurt keeps 10-14 days in the coldest part of your fridge. It lasts longer than commercial yogurt because you’re not opening multiple containers throughout the week. Date your jars so you use the oldest first.
What does whey separation mean, and is my yogurt ruined?
Whey (the clear liquid) separating from yogurt is completely normal and doesn’t mean failure. Simply stir it back in, or drain it off and press your yogurt in cheesecloth for Greek-style thick yogurt. The whey is nutritious and can be saved for baking or smoothies.
As an Amazon Associate, Build & Bloom earns from qualifying purchases. We only recommend products we genuinely think are useful. Prices and availability vary; check Amazon for the latest.
Leave a Reply