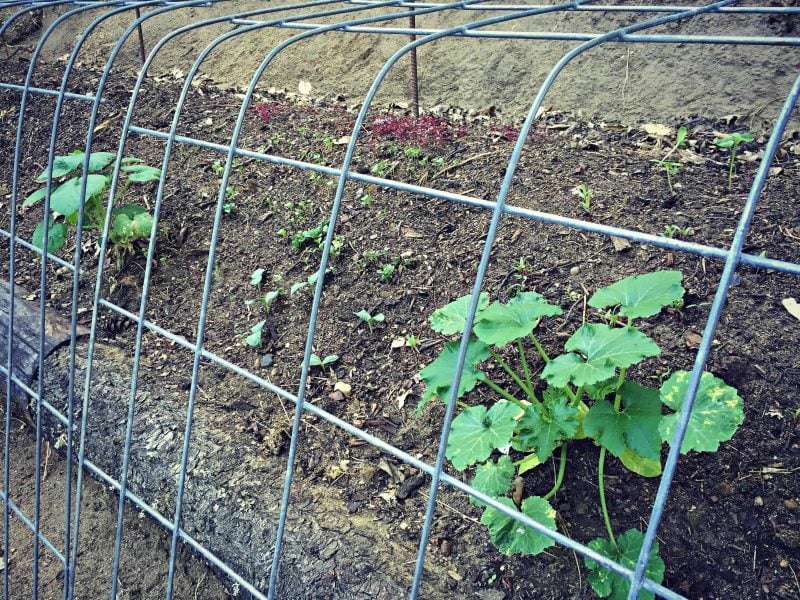

If you’re losing valuable rainwater to runoff while your soil stays dry and depleted, a permaculture swale might be the solution you’re looking for. These simple earth-works capture water where it falls, slow its movement across your land, and allow it to soak deep into the soil where plants can access it. Whether you’re managing a steep slope or just want to make your garden more resilient during dry seasons, building a swale is an achievable weekend project that delivers years of water security and soil improvement.
How to Build a Permaculture Swale
A swale is essentially a shallow, on-contour ditch that slows water and lets it infiltrate the soil. Follow these steps to build one that works with your landscape.
Materials You Will Need
- A level or water level tool to identify contour lines on your property
- A shovel or spade for digging the trench
- A string line and stakes to mark your swale path
- Compost or aged manure to amend the swale bed
- Native plants, shrubs, or nitrogen-fixing trees for planting along the swale edge
Steps
Identify your contour line
Walk your property during or after heavy rain to see where water naturally flows. Use a level tool to mark a contour line — an imaginary horizontal line that remains at the same elevation as it crosses your slope. Mark this line with stakes and string at 10-15 foot intervals. This prevents water from flowing out of your swale before it infiltrates.
Plan your swale dimensions
Design your swale with a depth of 12-18 inches and a width of 3-6 feet, depending on your rainfall and slope steepness. Steeper slopes need wider, deeper swales. Keep your swale length between 50-200 feet for manageable maintenance and effective water capture in most homestead settings.
Mark and prepare the site
Using your contour line and stakes, mark the exact path of your swale with chalk or lime. Clear any vegetation, rocks, or debris from the marked area. If you’re working on compacted soil, consider loosening the subsoil with a broadfork before digging to improve water infiltration and reduce labor.
Dig the trench
Dig along your marked line to create a gentle, U-shaped or V-shaped channel. The key is keeping the swale level along its length so water doesn’t rush toward one end. Remove soil as you dig and set it aside on the downhill side of the trench to create a berm that helps redirect water into the swale.
Loosen the swale floor
Once dug, use a garden fork or broadfork to break up the compacted floor of the swale to a depth of 8-12 inches. This dramatically improves water infiltration and allows roots to penetrate deeper, supporting the plants you’ll add next.
Amend with organic matter
Spread 2-4 inches of compost, aged manure, or leaf mold along the swale floor and gently work it into the loosened soil. Organic matter improves water retention and creates a nutrient-rich environment for plants while increasing microbial activity that strengthens soil structure.
Plant along the swale edges
Plant nitrogen-fixing trees, shrubs, or deep-rooted perennials along both sides of your swale, particularly on the downhill side. Species like alder, willow, or comfrey thrive in moist spots and help stabilize the swale while their roots further improve water infiltration and prevent erosion over time.
Mulch and monitor
Apply 3-4 inches of wood chip or straw mulch inside the swale to retain moisture, suppress weeds, and continue building soil as it decomposes. Monitor your swale during the first season after heavy rains to ensure water is infiltrating properly and adjust vegetation as needed.
- Use a simple water level (garden hose filled with water) to find true contour if you don’t have a transit level — tie one end to a stake at your starting point and walk the slope until the water level in the hose is even.
- Plant fast-growing nitrogen-fixers like comfrey or alder cuttings immediately after construction; they’ll help stabilize the swale and can be harvested for mulch within 1-2 years.
- If your swale isn’t infiltrating water fast enough, it may be sitting on clay; dig deeper, add sand to break up clay layers, or consider installing a perforated drain line along the swale floor.
What to Look For in Swale-Building Tools and Plants
- Digging tool quality: A sharp spade with a solid wooden or fiberglass handle makes swale digging 50% faster and reduces fatigue. Look for tools with reinforced sockets and blades that hold an edge; you’ll use this tool heavily during the build.
- Level accuracy: For swale contours, you need a tool that can detect elevation changes as small as 1/4 inch over 10 feet. A quality spirit level or water level gives you the precision needed to keep water in your swale instead of losing it to runoff.
- Plant hardiness for your zone: Choose native or well-adapted species that thrive in consistently moist soil and your climate zone. Deep-rooted perennials and nitrogen-fixing trees provide the most benefit; check your USDA zone and local rainfall patterns before selecting.
- Organic soil amendments: Source compost or aged manure from trusted suppliers to avoid introducing weed seeds or pathogens into your swale. Well-made compost should be dark, crumbly, and smell earthy — a sign of complete decomposition.
Spear & Jackson Neverbend Digging Spade
Best for: Serious swale builders and homesteaders
The gold standard for swale digging, this British-made spade features a reinforced fiberglass handle and hardened steel blade that slices through soil and clay with minimal effort. The sharp edge means less swinging, less fatigue, and faster completion. Heavy-duty construction means it’ll last decades of repeated use. Professional landscapers and permaculture designers choose this spade for major earth-works because the blade geometry and balance reduce the strain of digging hundreds of feet of swale.
Check Current Price on Amazon →Fiskars Steel D-Handle Spade
Best for: First-time builders on a budget
A solid, affordable entry point for swale construction. Fiskars spades offer decent steel quality and comfortable D-handle design at half the price of premium brands. The blade won’t hold as fine an edge as forged options, but it’s reliable for lighter soil and won’t break the bank. Good choice if you’re unsure about committing to a major earth-works project or testing swale viability on a smaller section first.
Check Current Price on Amazon →Gardena Water Level with 100 Feet Hose
Best for: DIY builders without surveying experience
This ingenious tool eliminates the need for expensive levels or transit equipment. Fill the clear vinyl hose with water, attach the ends to stakes at different points on your slope, and the water surface shows you true level across any distance. Easy to use, incredibly accurate, and costs a fraction of surveying tools. Perfect for marking contours on sloped property where traditional levels aren’t practical. The 100-foot length covers most residential swale projects.
Check Current Price on Amazon →Leica Lino L2P Cross Line Laser Level
Best for: Precision-focused builders and large-scale projects
For those who want cutting-edge accuracy and speed, this self-leveling laser projects a perfect horizontal and vertical line across your swale site, making contour marking nearly foolproof. Battery-powered and accurate to within 1/16 inch at 30 feet, it eliminates guesswork and takes 1/3 the time of manual leveling. Especially valuable if you’re building multiple swales or working on complex slopes where precision directly affects water flow and infiltration success.
Check Current Price on Amazon →Start Your Swale Project This Season
A permaculture swale is one of the highest-impact projects you can build on sloped property, turning wasted runoff into stored soil moisture and improved fertility. The tools are simple, the technique is forgiving, and the rewards compound year after year as water accumulates, soil deepens, and your planted species establish. Start with accurate contour marking and quality digging tools — these two elements determine 80% of your swale’s long-term success.
Begin small if you’re new to earth-works: a 50-75 foot test swale teaches you how water behaves on your specific slope without overwhelming your schedule or budget. Once you see how water infiltrates and plants respond during dry spells, you’ll understand exactly where to place your next swale for maximum benefit. Many homesteaders find themselves building a second and third swale within a few years, each one more efficient than the last.
Frequently Asked Questions
How long does a permaculture swale take to build?
A 100-foot swale typically takes 4-8 hours for one person, depending on soil type and terrain. Clay and rocky soil take longer; loose, sandy soil goes faster. Most homesteaders complete a full swale in a weekend with help from a friend. Adding plants and mulch adds 2-3 additional hours.
Will a swale work on flat property?
True swales require at least a 2-5% slope to function effectively and keep water from pooling in one spot. On flat land, consider building rain gardens or check dams instead, which capture water in localized areas. If your slope is very gentle, dig your swale slightly deeper and ensure excellent soil amendment to maximize infiltration.
What plants grow best in swales?
Nitrogen-fixing trees and shrubs like alder, willow, comfrey, and black locust thrive in moist swale conditions and improve soil over time. Zone-appropriate perennials like bee balm, joe-pye weed, and sedges also work well. Avoid shallow-rooted annuals; deep roots maximize water infiltration and swale stability.
How often should I maintain my swale?
Check your swale after heavy rains to ensure water infiltrates properly and isn’t pooling or overflowing. Refresh mulch annually and manage plant growth so vegetation doesn’t block water flow. Most well-built swales need minimal maintenance beyond these seasonal checks and plant harvesting.
Can I build a swale in winter?
Avoid digging swales in frozen or waterlogged soil — you’ll compact the earth and reduce infiltration. Fall or spring are ideal when soil is moist but workable. Winter works in mild climates; just ensure soil isn’t frozen and water drainage is visible before committing to a swale path.
As an Amazon Associate, Build & Bloom earns from qualifying purchases. We only recommend products we genuinely think are useful. Prices and availability vary; check Amazon for the latest.
Leave a Reply