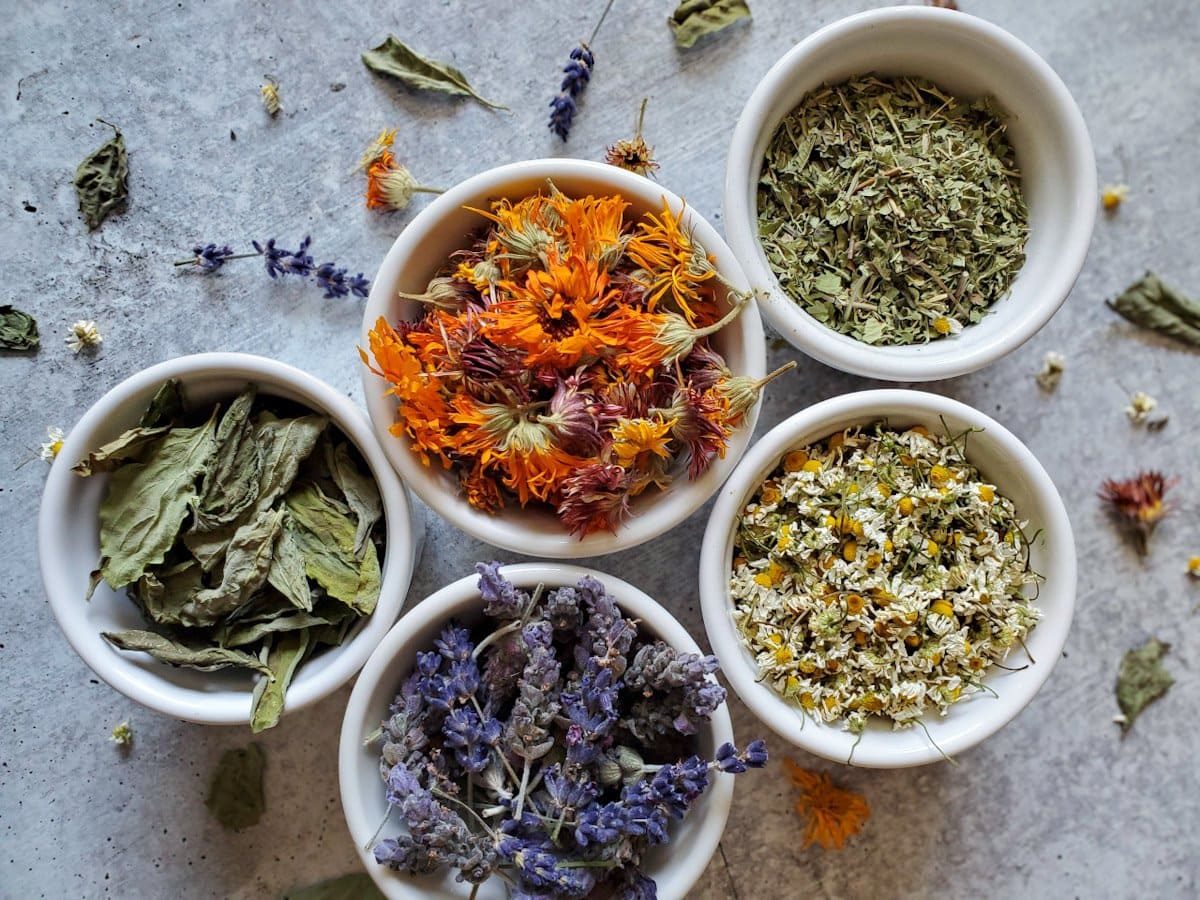

Fresh herbs add incredible flavor to your cooking, but they’re only available for a few months each year–unless you dry them. Learning to dry your own herbs means you’ll have homegrown oregano, basil, thyme, and rosemary ready whenever you need them, at a fraction of the cost of store-bought dried herbs. The best part? You probably have everything you need at home right now.
4 Methods for Drying Fresh Herbs
Each drying method works differently depending on your timeline and available equipment. Choose the approach that fits your schedule and setup.
What You Will Need
- Fresh herbs (basil, oregano, thyme, rosemary, dill, and parsley all dry well)
- Clean kitchen towels or paper towels for patting herbs dry
- String, twine, or rubber bands for bundling
- A warm, dark, well-ventilated space (for air drying)
- Optional: dehydrator, oven, or microwave depending on your chosen method
Methods
Air Drying (14 days, no equipment needed)
Harvest herb stems in the morning after dew has dried. Rinse gently and pat completely dry with a clean towel. Bundle 4-6 stems together and secure with string near the base of the leaves. Hang upside down in a warm, dark room with good air circulation (50-70% humidity is ideal). Leaves should crumble easily between your fingers when fully dry.
Oven Drying (2-4 hours, uses your oven)
Preheat your oven to its lowest setting (150-200F is ideal). Rinse and pat herbs completely dry. Strip leaves from woody stems and spread in a single layer on a baking sheet. Place in the oven with the door slightly cracked open to allow moisture to escape. Check every 30 minutes–herbs are done when leaves are crispy and crumble easily. Cool completely before storing.
Dehydrator Method (4-8 hours, uses a dehydrator)
This method offers the most control and preserves color and flavor exceptionally well. Rinse and thoroughly dry your herbs. Arrange leaves in a single layer on dehydrator trays without overlapping. Set temperature to 95-115F and run until leaves are papery and crumble easily. Check at the 4-hour mark and remove any finished trays first.
Microwave Drying (3-5 minutes, fastest method)
Rinse herbs and pat very dry. Place a single layer of leaves between paper towels. Microwave on 50% power in 30-second intervals, checking and rotating between bursts. Watch carefully–microwaving is fast and herbs can burn quickly. Stop when leaves crumble easily. Let cool completely as they’ll continue drying slightly.
Prepare for Storage
Once herbs are completely cool, crumble leaves into smaller pieces if desired (leaving some whole preserves more flavor). Store in airtight glass jars away from direct light and heat. Label with the herb type and drying date. Properly dried herbs stay potent for 6-12 months.
- Harvest herbs just before they flower for peak flavor and potency–this is when essential oils are most concentrated.
- Never wash herbs until right before drying, and ensure they’re completely dry to prevent mold growth during storage.
- Air drying works best for hardy herbs like rosemary, thyme, oregano, and sage; use heat methods for tender herbs like basil and parsley to preserve color.
What to Look For in Herb Drying Equipment
- Even Heat Distribution: Quality dehydrators and ovens provide consistent temperature control, preventing some herbs from over-drying while others remain moist. Look for equipment with adjustable thermostat settings.
- Air Circulation Design: Proper airflow is critical for removing moisture without damaging delicate leaves. Dehydrators with multiple fan configurations and ventilation options work more effectively than basic models.
- Capacity and Space: Consider how many herbs you’ll dry at once. Larger trays and stackable designs let you process bigger harvests without multiple batches.
- Ease of Cleaning: Removable, dishwasher-safe trays and smooth surfaces make cleanup faster and encourage regular use. This becomes important during peak harvest season.
Cosori Food Dehydrator Machine (6-Tray Stainless Steel)
Best for: Serious herb gardeners who want professional-quality results
The Cosori 6-tray dehydrator offers precise temperature control from 95-158F, making it perfect for drying delicate herbs while preserving color and flavor. Its quiet operation and digital timer let you set it and forget it. The stainless steel construction is durable and easy to clean, and the compact footprint fits most kitchen counters. Users consistently praise the even drying and quick turnaround time.
Check Current Price on Amazon →Nesco Snackmaster Pro Food Dehydrator
Best for: Budget-conscious gardeners new to herb drying
At half the price of premium dehydrators, the Nesco Snackmaster delivers reliable performance for occasional herb drying. Its expandable tray system grows with your needs, and the adjustable thermostat handles everything from basil to rosemary. While it takes longer than high-end models, many homesteaders find it perfectly adequate for seasonal use.
Check Current Price on Amazon →Amazon Basics Kitchen Twine (Natural Cotton)
Best for: Air-drying herbs without special equipment
For the simplest herb-drying method, you just need good twine to bundle and hang your herbs. This natural cotton twine is food-safe, won’t leave residue on leaves, and is strong enough to support herb bundles without snapping. It’s affordable, comes in a generous roll, and works for every air-drying project from herbs to flowers.
Check Current Price on Amazon →Excalibur 3926TB 9-Tray Food Dehydrator
Best for: High-volume herb producers and serious food preservationists
The Excalibur is the gold standard for herb drying, with 15 square feet of drying space across 9 trays. Its horizontal airflow design ensures every tray receives consistent heat and circulation, eliminating the need to rotate trays mid-cycle. The timer goes up to 26 hours, and the stainless steel exterior is built to last decades. This is an investment piece for dedicated homesteaders.
Check Current Price on Amazon →COLZER Food Dehydrator Machine (6 Trays, Digital Display)
Best for: Gardeners wanting mid-range quality without premium pricing
The COLZER dehydrator splits the difference between budget and luxury models, offering digital temperature control and a reliable 6-tray system at a mid-range price. Its transparent door lets you monitor progress without opening it, and the quiet operation won’t dominate your kitchen. It’s particularly praised for even drying and easy assembly.
Check Current Price on Amazon →Presto 06300 Dehydro Plus Food Dehydrator
Best for: Small kitchens and apartment dwellers
This ultra-compact dehydrator takes up minimal counter space while still offering thermostat control and adjustable heat settings. Its 4-tray capacity is perfect for small-scale herb drying, and the lightweight design means you can store it easily between uses. Ideal for apartment gardeners or those with limited counter real estate.
Check Current Price on Amazon →OXO Good Grips Salad Spinner
Best for: Quickly drying freshly harvested herbs before processing
A quality salad spinner is essential for removing excess moisture from freshly harvested herbs before drying. The OXO design is comfortable to grip and uses centrifugal force to spin away water droplets without bruising delicate leaves. This prep step prevents moisture-related issues and speeds up the drying process significantly.
Check Current Price on Amazon →L’Equip Biochef Radiant Air Fryer and Dehydrator
Best for: Multi-tasking cooks who want dehydrating plus air frying
This premium hybrid appliance dries herbs beautifully while also functioning as an air fryer, giving you two kitchen powerhouses in one. The advanced heating technology ensures precise temperature control, and the sleek design complements modern kitchens. At the higher price point, it’s ideal if you want dehydration plus expanded cooking capabilities.
Check Current Price on Amazon →Start Drying Your Herbs This Week
Drying fresh herbs from your garden is one of the easiest ways to extend your harvest and eliminate waste. Whether you choose the no-equipment air-drying method or invest in a quality dehydrator, you’ll be rewarded with shelf-stable herbs that taste infinitely better than grocery store alternatives. The beauty of having four different methods is flexibility–start with whichever fits your space and schedule, then experiment with the others.
The key to success is understanding that drying is simply removing moisture without damaging flavor and nutrition. Harvest at the right time, ensure your herbs are completely clean and dry before processing, and monitor closely during the drying phase. Once you’ve dried your first batch and tasted the concentrated flavor in a winter soup or tea, you’ll wonder why you didn’t start sooner. Your future self will thank you every time you reach for homegrown dried basil in January.
Frequently Asked Questions
Can I dry any fresh herb, or are some better than others?
Hardy herbs like thyme, oregano, rosemary, and sage dry beautifully with any method and retain strong flavor. Tender herbs like basil, parsley, and cilantro are trickier–they lose flavor quickly with high heat, so air drying or low-temperature dehydrating works best. Dill and fennel work well too, though they take longer than woody herbs.
How do I know when my herbs are completely dry?
Properly dried herbs should crumble easily between your fingers and leaves should feel papery and brittle, not leathery. If they bend without breaking, they still contain moisture and will mold in storage. When in doubt, dry them longer–over-drying doesn’t hurt flavor as much as under-drying damages shelf life.
What’s the best way to store dried herbs long-term?
Store dried herbs in airtight glass jars (dark or opaque glass is best) in a cool, dark cabinet away from heat and humidity. Avoid plastic containers, which can degrade herbs’ flavor. Whole leaves stay potent longer than crumbled leaves, so crush them only when you’re ready to use them. Properly stored herbs last 6-12 months.
Can I dry herbs in my regular kitchen oven?
Yes, though it’s the least precise method. Preheat to the lowest setting (typically 150-200F) and prop the door slightly open to let moisture escape. Check every 15-30 minutes because ovens vary significantly and herbs can burn quickly. A dehydrator gives much better results, but oven drying works in a pinch.
Is microwave drying safe and does it preserve flavor?
Microwave drying is safe and incredibly fast (3-5 minutes), but it can scorch delicate herbs and sometimes creates uneven results. It works best for hardy herbs and when you’re in a time crunch. For maximum flavor preservation, air drying or low-temperature dehydrating are superior, but microwave is convenient when you need dried herbs immediately.
As an Amazon Associate, Build & Bloom earns from qualifying purchases. We only recommend products we genuinely think are useful. Prices and availability vary; check Amazon for the latest.
Leave a Reply