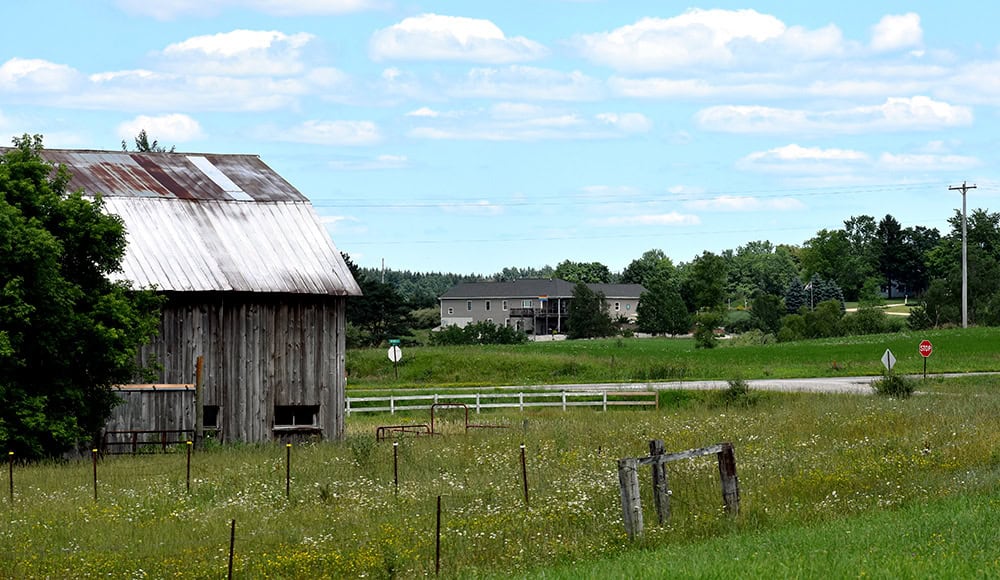

You don’t need 50 acres and total isolation to embrace the homesteading lifestyle. Thousands of people are discovering that homesteading works perfectly on suburban lots, small acreage, or semi-rural properties where you keep some modern conveniences while dramatically increasing your self-sufficiency. If you’ve felt like homesteading was out of reach because you’re not fully rural, this guide reveals exactly how to make it work right where you are.
7 Core Principles for Semi-Rural Homesteading
Semi-rural homesteading is about maximizing self-sufficiency within realistic constraints. These principles form the foundation of a successful homestead that fits your actual lifestyle and property size.
Key Concepts
- Understanding local zoning laws and HOA restrictions before planning any animal or garden projects
- Knowledge of microclimate and soil conditions specific to your property
- Community resources including local extension offices, farmer networks, and skill-sharing groups
- Basic infrastructure assessment: water access, sunlight patterns, and existing garden beds or structures
Principles
Start by assessing your actual constraints and resources
Before buying a single seed or animal, honestly evaluate what your property, zoning laws, and lifestyle actually allow. Contact your local planning department to understand restrictions on gardens, chickens, goats, or other livestock. Map sunlight patterns across your property over several weeks to identify the best garden locations. Identify water sources and existing structures that could be repurposed.
Prioritize food production in high-yield areas
Rather than spreading efforts thin across decorative landscaping, concentrate on edible plants that give maximum caloric or nutritional return for the space invested. Raised beds, container gardens, and vertical growing systems produce significantly more food per square foot than traditional gardens. Focus on crops your family actually eats and that thrive in your climate zone.
Choose backyard livestock that matches your lifestyle
Not every property can support goats or cows, and not every homesteader wants daily animal care. Chickens are often the sweet spot for semi-rural properties, requiring minimal space and producing eggs consistently. Rabbits, bees, and ducks are other options that fit smaller spaces. Be realistic about the time commitment and always check local regulations first.
Build food preservation skills aligned with your harvest
Growing food is only half the equation; preserving it extends your self-sufficiency through winter months. Learn canning, freezing, dehydrating, or fermentation techniques that match your available equipment and time. Start small with one preservation method rather than trying to do everything simultaneously.
Connect with local agricultural and homesteading communities
Your neighbors, local extension office, and online homesteading groups become invaluable resources. They understand your regional climate, share seeds and expertise, and create accountability. Many semi-rural homesteaders pool resources for bulk purchases, animal care support, and equipment sharing.
Embrace a hybrid approach to modern utilities and self-sufficiency
Semi-rural homesteading isn’t all-or-nothing. You might keep grid electricity and municipal water while producing 40 percent of your food and heating water with solar. This pragmatic balance reduces overwhelm and creates a sustainable lifestyle you can actually maintain long-term.
Plan for incremental expansion over multiple seasons
Successful semi-rural homesteads grow gradually, not overnight. Add one new element per season, allowing time to develop skills and identify what works on your property. This approach prevents burnout and lets you build systems that are actually manageable within your real schedule.
- Start a garden journal documenting what grows well, soil conditions, and harvest dates for your specific microclimate so you make data-driven decisions each season.
- Use succession planting (staggered sowings) to extend your harvest window rather than having all crops mature simultaneously.
- Attend one local agricultural workshop or extension class to accelerate your learning curve and make connections with experienced homesteaders in your area.
What to Look For in Semi-Rural Homesteading Equipment
- Raised beds or containers: Choose materials that last multiple seasons (cedar, composite, or metal) rather than cheap plastic. Measure your available sunlight before buying, aiming for 6+ hours daily. Consider height and accessibility if you have mobility concerns.
- Soil testing kit or service: Before investing in amendments or planting, test your existing soil pH and nutrient levels. Local extension offices often provide affordable soil testing, saving you money on unnecessary fertilizers while ensuring better plant growth.
- Food preservation equipment: Start with one method suited to your most abundant crop. Water bath canner or pressure canner for beginners, dehydrator for herbs and vegetables, or fermentation jars for quick wins. Quality equipment pays dividends over years of use.
- Basic hand tools and small-scale power tools: Quality hand tools (spade, hoe, pruners) handle 80 percent of garden work and require no fuel or electricity. Small power tools like drills and tillers save time on bigger projects. Invest in a few quality pieces rather than cheaply-made tool sets.
Greenes Fence Cedar Raised Garden Bed Kit
Best for: Beginners and established semi-rural homesteaders building food production beds
Pre-cut cedar raised beds eliminate guesswork and reduce installation time while providing durable, chemical-free growing space. Available in multiple sizes (4×8, 4×4, 2×8) and heights, these fit diverse property layouts and accessibility needs. Cedar naturally resists rot and lasts 10+ years with minimal maintenance. The modular design lets you expand incrementally without replacing existing beds.
Check Current Price on Amazon →Gardman Metal Raised Garden Bed
Best for: Cost-conscious homesteaders starting their first beds
Affordable galvanized steel construction delivers durability without premium pricing. Lightweight assembly takes minutes, and the rust-resistant finish lasts multiple seasons. While metal conducts heat faster than wood (requiring soil monitoring in hot climates), the price point lets you build multiple beds to test different planting areas before committing to expensive cedar installations.
Check Current Price on Amazon →Jobe’s Organics Raised Bed Garden Soil
Best for: First-time gardeners filling new beds with quality soil
Pre-mixed raised bed soil eliminates guesswork about amendments and ratios. This blend includes peat moss, compost, and perlite specifically formulated for raised gardens, supporting water drainage and nutrient availability. Each bag covers approximately 8 square feet at 6 inches depth, simplifying the math for bed sizing. Organic certification ensures no synthetic chemicals affect your homegrown food.
Check Current Price on Amazon →Ball Water Bath Canning Starter Kit
Best for: Home canners preserving jams, pickles, and high-acid foods
Complete canning kit includes the canner pot, jar lifter, bubble remover, canning funnel, and detailed instructions for safe food preservation. The stainless steel construction withstands repeated use, and included documentation teaches proper sterilization and processing times. This single kit covers everything needed to begin preserving your garden harvest without additional equipment purchases.
Check Current Price on Amazon →Start Your Semi-Rural Homestead Today
Semi-rural homesteading transforms suburban and small-acreage properties into productive food sources while fitting realistic modern lifestyles. You don’t need to abandon grid electricity, municipal water, or your day job to dramatically increase your family’s self-sufficiency. Start by assessing your actual constraints, choosing one or two high-yield crops or animals suited to your property, and building skills incrementally over multiple seasons.
The homesteaders thriving in suburban and semi-rural settings aren’t waiting for perfect circumstances or larger properties. They’re growing food in raised beds, preserving harvests through strategic food storage, connecting with neighbors, and building resilience one season at a time. Your journey toward homesteading begins exactly where you are right now, with honest assessment and realistic expectations. The equipment, knowledge, and community support exist to make it work on your property.
Frequently Asked Questions
Can I homestead on a 1/4 acre suburban lot?
Absolutely. Raised beds, containers, and vertical growing produce substantial food on small spaces. A well-designed quarter-acre can yield 30-40 percent of a family’s produce annually, especially with succession planting and high-yield crops like tomatoes, beans, and squash.
What animals work best for semi-rural properties?
Chickens are ideal for most semi-rural settings, requiring minimal space and producing consistent eggs. Rabbits, bees, and ducks are excellent alternatives depending on zoning and time availability. Always check local regulations before acquiring any livestock, as rules vary significantly by municipality.
Do I need expensive equipment to start homesteading?
No. Gardening hand tools, basic seeds, and soil are your minimum investment. Raised beds, food preservation equipment, and power tools can be added incrementally as your confidence and needs grow. Many successful semi-rural homesteads started with under $200 in initial equipment.
How long before a homestead becomes self-sufficient?
Most semi-rural homesteads reach 30-40 percent food self-sufficiency in year two, with substantial improvement in years three and four as soil improves and systems mature. Complete self-sufficiency is a long-term goal; focus on incremental progress rather than expecting immediate results.
What’s the biggest mistake semi-rural homesteaders make?
Over-expanding too quickly, planting more than can be harvested or preserved. Start with one or two new elements per season, allowing time to develop skills and identify what actually works on your property before adding more complexity.
As an Amazon Associate, Build & Bloom earns from qualifying purchases. We only recommend products we genuinely think are useful. Prices and availability vary; check Amazon for the latest.
Leave a Reply