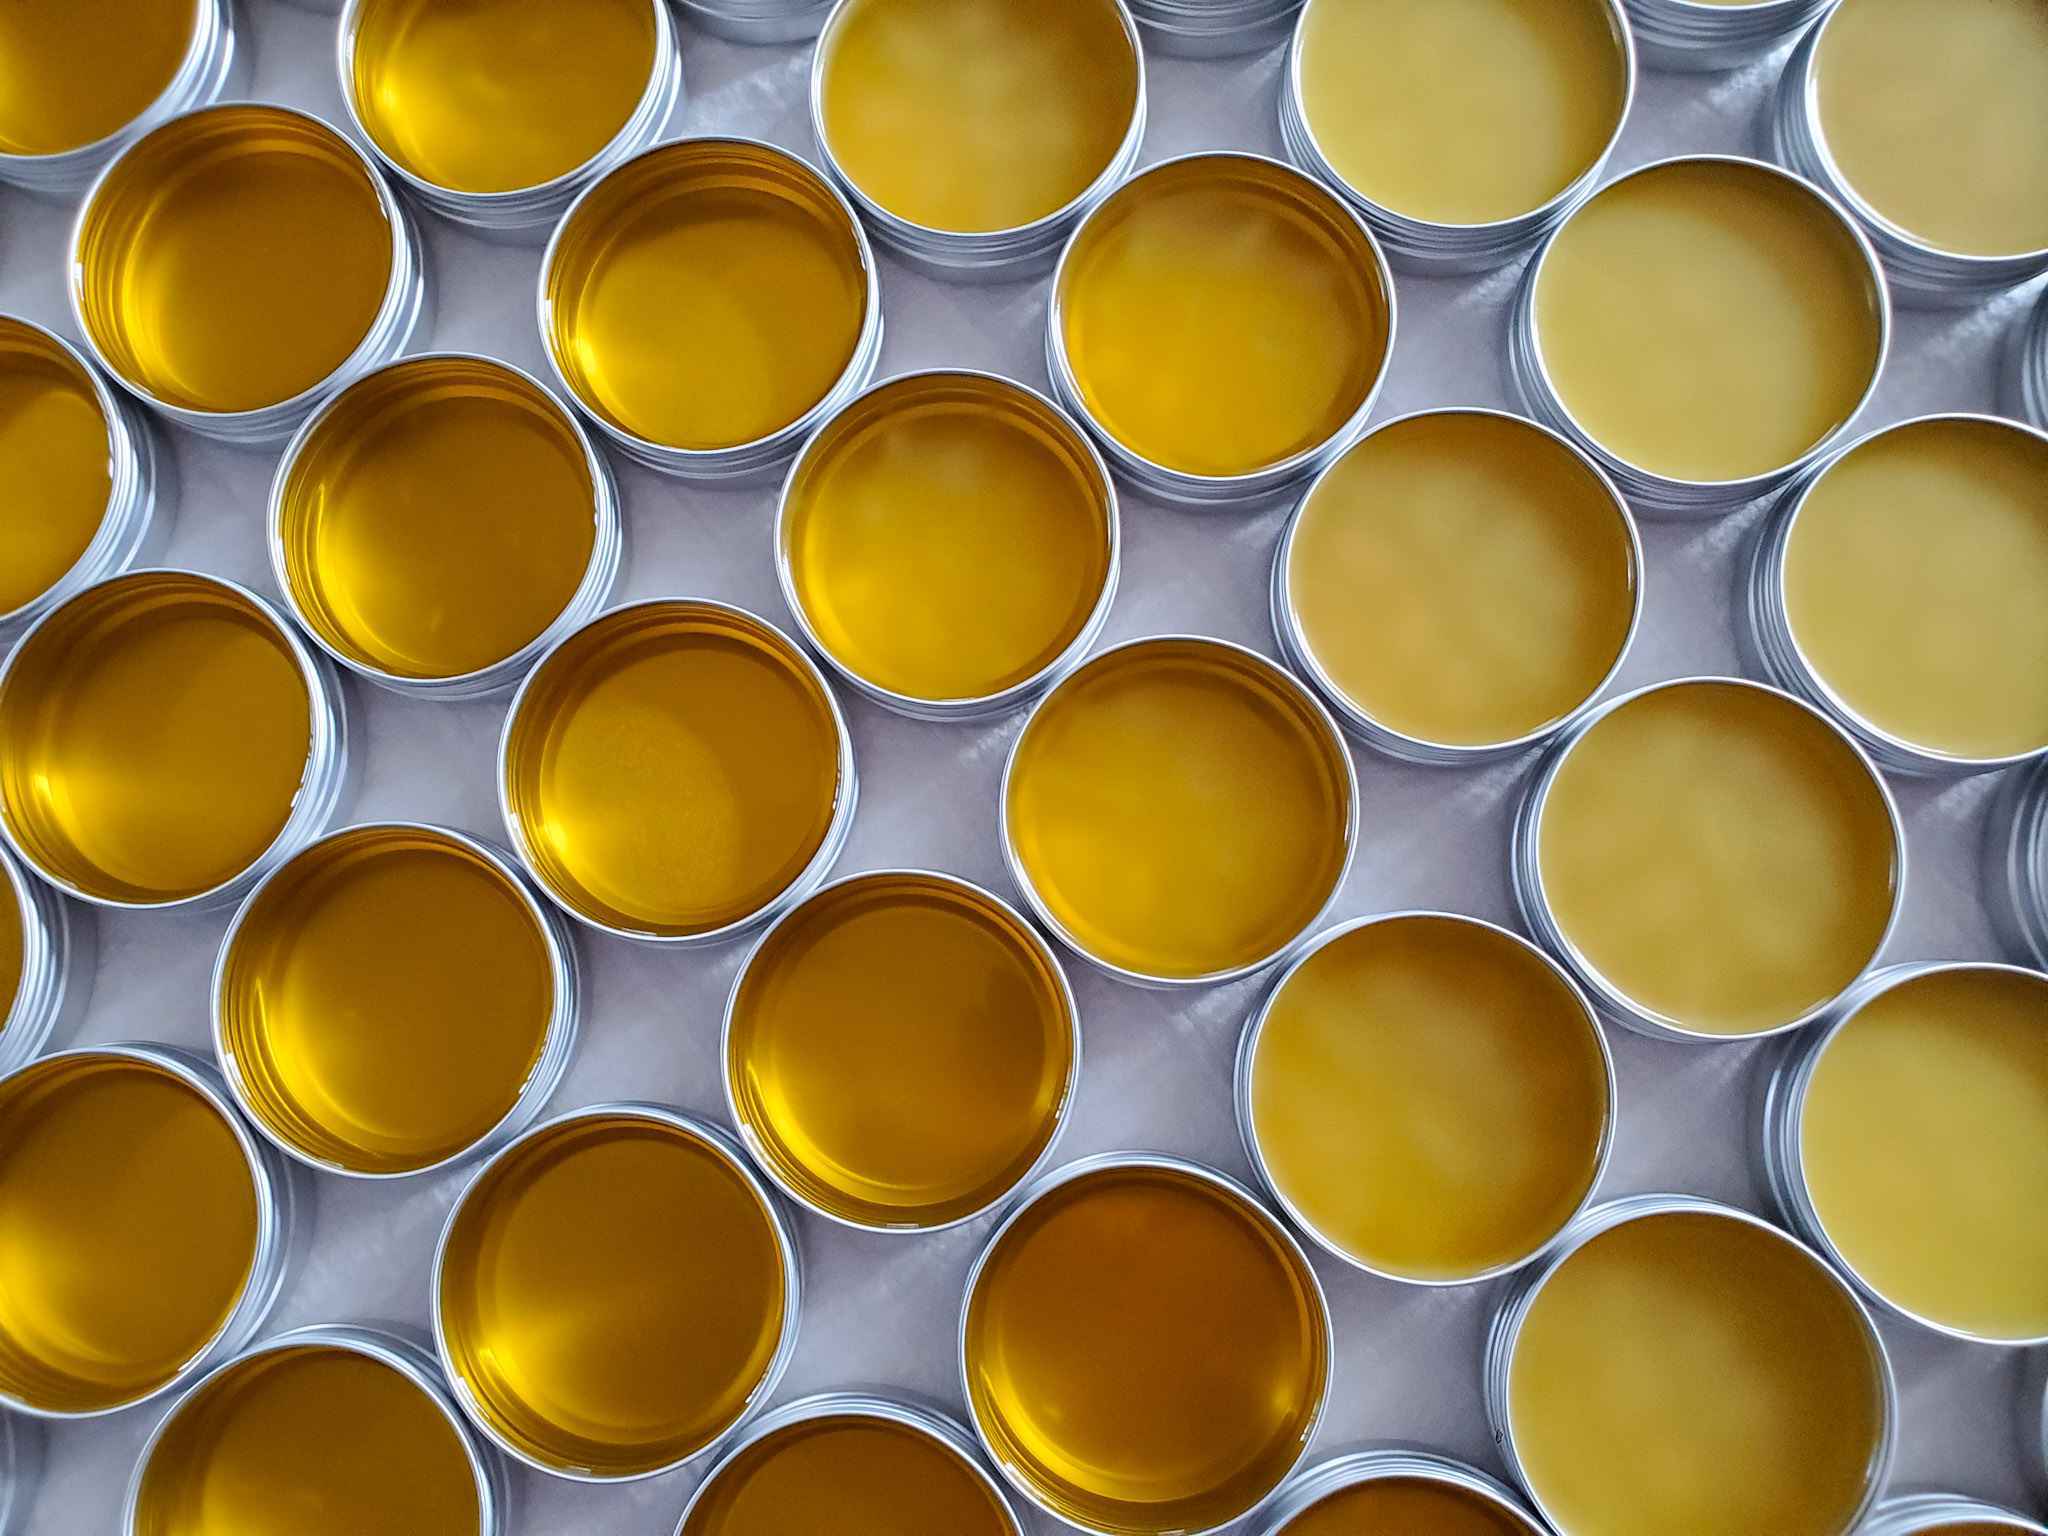

Making your own herbal salve feels like alchemy, but it’s actually a straightforward process that takes just a few basic ingredients and tools. Whether you’re creating a soothing balm for dry skin, a muscle rub for sore joints, or a general-purpose healing salve, the fundamental technique remains the same. Once you master this flexible method, you’ll be able to customize salves with whatever medicinal herbs you’re growing or have on hand.
How to Make Herbal Salve at Home
This method uses gentle heat to infuse herbs into oil, then combines that infused oil with beeswax for a smooth, spreadable consistency. The whole process takes about 2-3 hours from start to finish.
Ingredients & Materials
- Dried herbs (calendula, comfrey, plantain, or lavender work well) – about 1 cup loosely packed
- Carrier oil (olive, coconut, or sweet almond oil) – 1 to 1.5 cups
- Beeswax pellets or grated beeswax – approximately 2-3 tablespoons per cup of infused oil
- Double boiler or makeshift water bath (pot with heatproof bowl)
- Cheesecloth or fine mesh strainer
- Glass jars for storage
Steps
Prepare your herbs
Measure out your dried herbs into the top pot of your double boiler or into a heatproof bowl. Make sure the herbs are fully dried (any moisture will introduce water into your final salve and reduce shelf life). Crumble them slightly with your fingers to increase surface area.
Pour in the oil
Add your carrier oil to the herbs, stirring gently to coat everything evenly. The oil should cover the herbs completely with about a half-inch of liquid above them. If your herbs absorb the oil quickly, add a bit more.
Heat gently for infusion
Fill the bottom pot of your double boiler with water and bring it to a low simmer. Place your herb-oil mixture in the top pot and maintain low heat for 1-2 hours. Stir occasionally and keep the water level consistent in the bottom pot. The goal is gentle, steady warmth, not high heat that will cook the herbs.
Strain out the plant material
Remove from heat and let cool slightly until you can handle it comfortably. Pour the warm oil through cheesecloth or a fine mesh strainer into a clean container, pressing gently on the herbs to extract as much infused oil as possible. Discard the spent plant material.
Measure and calculate beeswax
Measure your strained infused oil into a measuring cup. A standard ratio is 1 ounce of beeswax per 4 ounces of oil, though this varies based on climate and desired firmness. Cold climates may want a bit more beeswax; warm climates may use less. Plan for 2-3 tablespoons per cup of oil as a starting point.
Melt beeswax into the oil
Return the infused oil to your double boiler over low heat. Add the beeswax pellets and stir constantly until completely melted and well combined. This typically takes 10-15 minutes. Make sure there are no visible beeswax flakes remaining.
Pour and set
While still warm, carefully pour the mixture into clean, dry glass jars. Work quickly but carefully, as the salve will begin to thicken as it cools. Leave a bit of headspace in each jar. Allow to cool completely at room temperature (this usually takes 2-4 hours) before capping.
Test consistency and store
Once fully cooled, test the firmness by touching it with a clean finger. It should be spreadable but hold its shape. If it’s too soft, you can remelt and add more beeswax; if too firm, remelt and add a bit more oil. Store in a cool place, out of direct sunlight, for up to one year.
- Use a kitchen scale to weigh your oil and beeswax for more accurate, repeatable results across batches.
- Add essential oils at the very end (after cooling slightly but before pouring) for enhanced scent and therapeutic properties – use 10-15 drops per cup of salve.
- Label your jars with the herb blend and date made so you remember what worked best and don’t accidentally use expired stock.
What to Look For in Salve-Making Equipment
- Double boiler setup: A proper double boiler or a DIY version (bowl over pot of water) prevents scorching and ensures even, gentle heat. Look for stainless steel construction that won’t react with oils.
- High-quality beeswax: Raw, unfiltered beeswax from reputable beekeepers or suppliers contains beneficial compounds lost in heavily processed versions. Check for a natural honey scent and golden color.
- Fine mesh strainer or cheesecloth: You need something that removes all plant material without clogging. Cheesecloth is economical and reusable; fine mesh strainers work well for repeated use.
- Glass storage jars: Glass preserves the integrity of your salve better than plastic, which can leach chemicals into oils. Look for dark amber or cobalt blue glass to protect from light degradation.
Cuisinart Stainless Steel Double Boiler
Best for: Anyone making salves regularly
This professional-grade double boiler set features stainless steel construction that heats evenly without hot spots. The 2-quart capacity is perfect for batches of herbal salve, and the fitted lid helps retain heat during the infusion process. The separate insert bowl allows you to infuse herbs while the bottom pot maintains consistent water temperature, making temperature control reliable and foolproof.
Check Current Price on Amazon →Winco Stainless Steel Double Boiler with Glass Insert
Best for: Budget-conscious beginners
Offering excellent value without compromising quality, this double boiler includes a glass insert that lets you monitor your infusion without lifting the lid. The stainless steel construction is durable and affordable, making it ideal for someone testing the salve-making hobby before investing heavily. The glass insert is particularly useful for watching herb infusion progress.
Check Current Price on Amazon →OXO Good Grips Stainless Steel Mixing Bowl Set
Best for: DIY double boiler builders
If you already own a pot, this three-piece stainless steel mixing bowl set gives you everything needed to create a makeshift double boiler at minimal cost. The bowls are sized to fit securely over standard pots, and the stainless steel won’t react with oils or beeswax. Perfect for testing recipes before buying a dedicated double boiler.
Check Current Price on Amazon →All-Clad Stainless Steel Double Boiler
Best for: Serious herbalists making large batches
All-Clad’s premium double boiler features exceptional heat distribution and professional-grade construction. The larger capacity accommodates bigger infusion batches, and the precision engineering ensures perfect temperature control for delicate herb infusions. While pricier, the longevity and performance make it a worthwhile investment for dedicated salve makers.
Check Current Price on Amazon →Get Started Making Your Own Herbal Salves Today
Making herbal salve is one of the most rewarding homesteading projects you can tackle. The process is forgiving, the results are immediately useful, and the joy of applying something you’ve made with your own hands is unmatched. With just a few basic supplies and a couple of hours, you’ll have created a shelf-stable product that rivals any store-bought option at a fraction of the cost.
Start with a simple single-herb salve to master the technique, then experiment with custom blends tailored to your family’s needs. Once you’ve made your first batch, you’ll understand why herbalists and homesteaders return to this recipe again and again. The flexibility means you can create salves for every season, every need, and every preference that emerges as you grow more confident in your skills.
Frequently Asked Questions
How long does homemade herbal salve last?
Properly made salve stored in a cool, dark place lasts 1-2 years. The beeswax acts as a natural preservative, and dried herbs have no moisture to promote spoilage. Always use clean jars and keep the salve covered to prevent contamination.
Can I use fresh herbs instead of dried?
Fresh herbs contain water that can introduce moisture into your salve, shortening shelf life and potentially promoting mold. Dried herbs are recommended, but if using fresh, pat them very dry and infuse for only 30-45 minutes at lower heat to minimize water content.
What’s the difference between salve, balm, and ointment?
Salve and balm are essentially the same thing (herbs infused in oil and beeswax). Ointment typically refers to a medicated preparation with higher water content, while salve/balm is purely oil and wax-based, making it more shelf-stable and suitable for dry skin.
Can I add essential oils to my salve?
Yes, essential oils enhance both scent and therapeutic properties. Add 10-15 drops per cup of salve after the mixture cools slightly but before pouring into jars. Never add essential oils directly to hot salve, as heat can diminish their benefits.
What if my finished salve is too soft or too hard?
Too soft: remelt and add more beeswax in small increments. Too hard: remelt and add more infused oil. Always adjust in small amounts and test again, as beeswax ratio changes dramatically affect final texture.
As an Amazon Associate, Build & Bloom earns from qualifying purchases. We only recommend products we genuinely think are useful. Prices and availability vary; check Amazon for the latest.
Leave a Reply