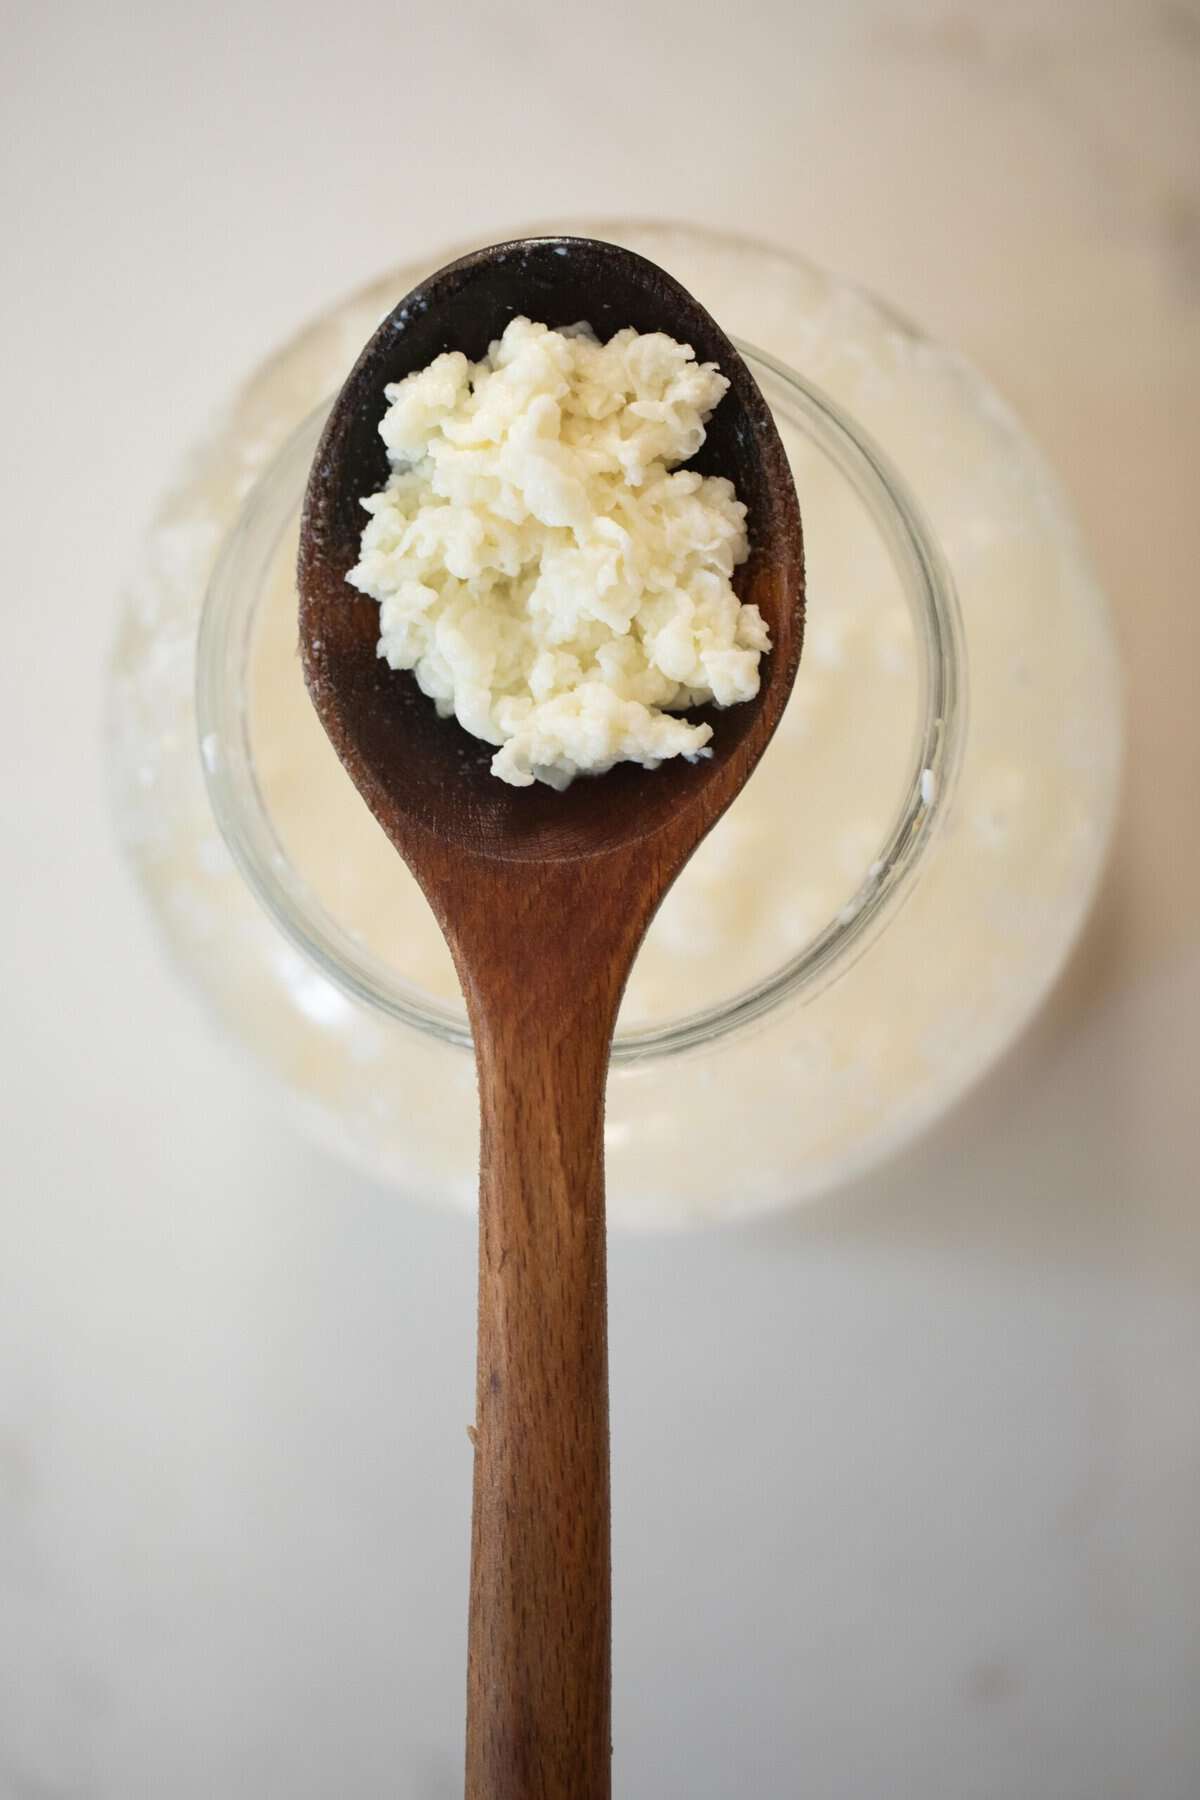

If you’re interested in gut health and fermented foods, milk kefir is one of the easiest probiotic cultures to maintain at home. Unlike yogurt or kombucha, kefir requires minimal equipment and just a few minutes of daily attention. Once you have active kefir grains, you can produce a steady supply of this nutritious drink indefinitely, saving money compared to store-bought versions while maintaining complete control over ingredients and fermentation strength.
How to Make Milk Kefir at Home
Making milk kefir is straightforward once you have live kefir grains. The process involves fermenting milk with these beneficial cultures, then straining and repeating. Most batches take 12-24 hours depending on room temperature and desired tanginess.
What You Will Need
- Live milk kefir grains (1-2 tablespoons per batch)
- Whole or 2% milk (1-2 cups per batch)
- A glass jar (quart-sized or larger)
- A fine mesh strainer or coffee filter
- A spoon or stirring utensil (non-metal recommended)
- A clean cloth or coffee filter for covering the jar
Steps
Add Kefir Grains to Your Jar
Place your live kefir grains into a clean glass jar. If you’re starting fresh, use about 1-2 tablespoons of grains per cup of milk. The exact ratio is flexible; more grains ferment faster, while fewer grains create a slower, longer fermentation with potentially more sour results.
Pour in Room-Temperature Milk
Add your milk to the jar, covering the kefir grains completely. Use whole or 2% milk for best results, as the fat content helps the cultures thrive. Stir gently to distribute the grains throughout the milk.
Cover and Leave to Ferment
Place a cloth or filter over the jar opening and secure it loosely with a rubber band. This allows the culture to breathe while keeping dust and insects out. Set the jar in a warm spot away from direct sunlight, ideally between 68-78 degrees Fahrenheit.
Monitor the Fermentation
After 12 hours, check your kefir by tilting the jar. You should notice the milk beginning to thicken slightly. Taste a small amount to gauge fermentation progress. The longer it sits, the tangier and thinner it becomes. Most people prefer fermentation between 12-24 hours.
Strain Out the Grains
Once fermentation reaches your preferred tanginess, pour the kefir through a mesh strainer into a clean jar. The grains will collect in the strainer while the finished kefir liquid passes through. Save the grains for your next batch immediately.
Bottle and Refrigerate Your Kefir
Transfer the strained kefir into bottles or jars and refrigerate. It will keep for up to 2 weeks in the fridge, though it continues to slowly ferment and may become slightly more sour over time.
Start Your Next Batch
Immediately after straining, repeat the process by adding your grains to fresh milk. This keeps your culture active and healthy. If you need a break, store grains in milk in the refrigerator for up to 2 weeks.
- Use filtered or dechlorinated water if your tap water is heavily chlorinated, as chlorine can inhibit kefir grain activity
- Keep grains active between batches by feeding them milk every 12-24 hours, even if you’re not consuming the kefir yet
- Secondary ferment finished kefir in sealed bottles with fruit or juice for 24 hours at room temperature to create carbonation and additional flavor
What to Look For in Kefir-Making Equipment
- Kefir Grain Quality: Active, healthy kefir grains are essential. Look for grains that are cream-colored and plump, not dried or discolored. Source from reputable suppliers who guarantee viability and provide clear care instructions.
- Jar Material and Size: Glass jars are ideal because they’re non-reactive with fermentation acids and allow you to observe fermentation progress. A quart-sized jar (32 oz) provides enough volume for 1-2 cups of kefir while being easy to handle.
- Strainer Mesh Size: You need a fine mesh strainer that allows liquid through but captures kefir grains. Mesh smaller than 1mm prevents grains from escaping while remaining easy to rinse and maintain.
- Storage and Secondary Bottles: Glass bottles with tight-sealing lids make it easy to store finished kefir and perform secondary fermentation. Swing-top bottles or mason jars with lids work well for this purpose.
Cultures for Health Milk Kefir Grains Starter Kit
Best for: Anyone starting their kefir journey
This complete kit includes active milk kefir grains, detailed instructions, and a reusable cloth strainer. The grains are guaranteed viable and come with email support for beginners. The kit provides everything needed to start fermenting within hours, making it the most comprehensive starter option available. Perfect for those who want guaranteed success without hunting for individual components.
Check Current Price on Amazon →Live Kefir Grains by Gem Cultures
Best for: Budget-conscious fermenting beginners
Gem Cultures offers fresh, active kefir grains at a lower price point than premium suppliers. The grains are carefully packaged and include basic care instructions. While you’ll need to source your own jar and strainer separately, these high-quality grains ferment reliably and represent excellent value for ongoing culture maintenance.
Check Current Price on Amazon →Bormioli Rocco Fido Jar 1.5 Liter
Best for: First-time kefir makers
This Italian-made glass jar features an airtight swing-top closure and sturdy construction. The 1.5-liter size is ideal for kefir fermentation batches without being too large for beginners to manage. The clear glass lets you watch fermentation progress, and the closure keeps your culture sealed during fermentation and storage.
Check Current Price on Amazon →Body Ecology Milk Kefir Starter Culture Powder
Best for: Those preferring powdered starter cultures
Body Ecology offers a premium powdered kefir culture that reconstitutes into active grains over several batches. This option appeals to those concerned about grain viability or who prefer a different fermentation approach. The culture comes from a trusted brand with decades of fermentation expertise, though it requires more patience during the initial reconstitution phase.
Check Current Price on Amazon →Start Your Kefir Practice Today
Making milk kefir at home transforms a simple fermentation process into a sustainable source of probiotics, enzymes, and beneficial bacteria. The initial investment in quality kefir grains and basic glassware pays for itself within weeks compared to buying commercial kefir. Once established, your grain culture requires minimal effort—just daily contact with fresh milk and a few minutes of straining—while continuously rewarding you with delicious, living kefir.
Whether you choose a complete beginner kit or source components individually, the best approach is the one you’ll maintain consistently. Start with reliable kefir grains from a reputable supplier, invest in a quality glass jar for fermentation, and commit to the simple daily routine. Within days, you’ll understand why kefir fermentation has remained popular for centuries, and you’ll wonder why you didn’t start sooner.
Frequently Asked Questions
How long do kefir grains last?
Properly maintained kefir grains can last indefinitely, reproducing and growing with each fermentation cycle. They’ve been passed down through families for generations. As long as you feed them milk regularly and store them correctly, your grains will remain active for years.
Can I use non-dairy milk like coconut or almond milk?
Milk kefir grains specifically require dairy milk to thrive, as they feed on lactose. Non-dairy milks don’t provide the necessary nutrients, and grains will eventually become inactive. For non-dairy fermented beverages, water kefir is a better choice.
What causes kefir to separate into whey and curds?
Over-fermentation or warmer temperatures cause kefir to separate as the cultures work more aggressively. This is normal and the kefir is still safe to drink. Shake it up or strain it separately; reduce fermentation time next batch if you prefer a smoother consistency.
Do I need to wash my kefir grains?
A gentle rinse with filtered water is optional but many people skip it entirely to preserve beneficial bacteria. If you do rinse, use lukewarm filtered water and avoid soap. Never use hot water, as heat damages the cultures.
Can I flavour my kefir after fermentation?
Yes, flavoring finished kefir is popular. Add fruit juice, honey, vanilla, or herbs to bottled kefir and seal it tightly for 24 hours at room temperature to create carbonation and blend flavors. Strain out any solids before drinking.
As an Amazon Associate, Build & Bloom earns from qualifying purchases. We only recommend products we genuinely think are useful. Prices and availability vary; check Amazon for the latest.
Leave a Reply