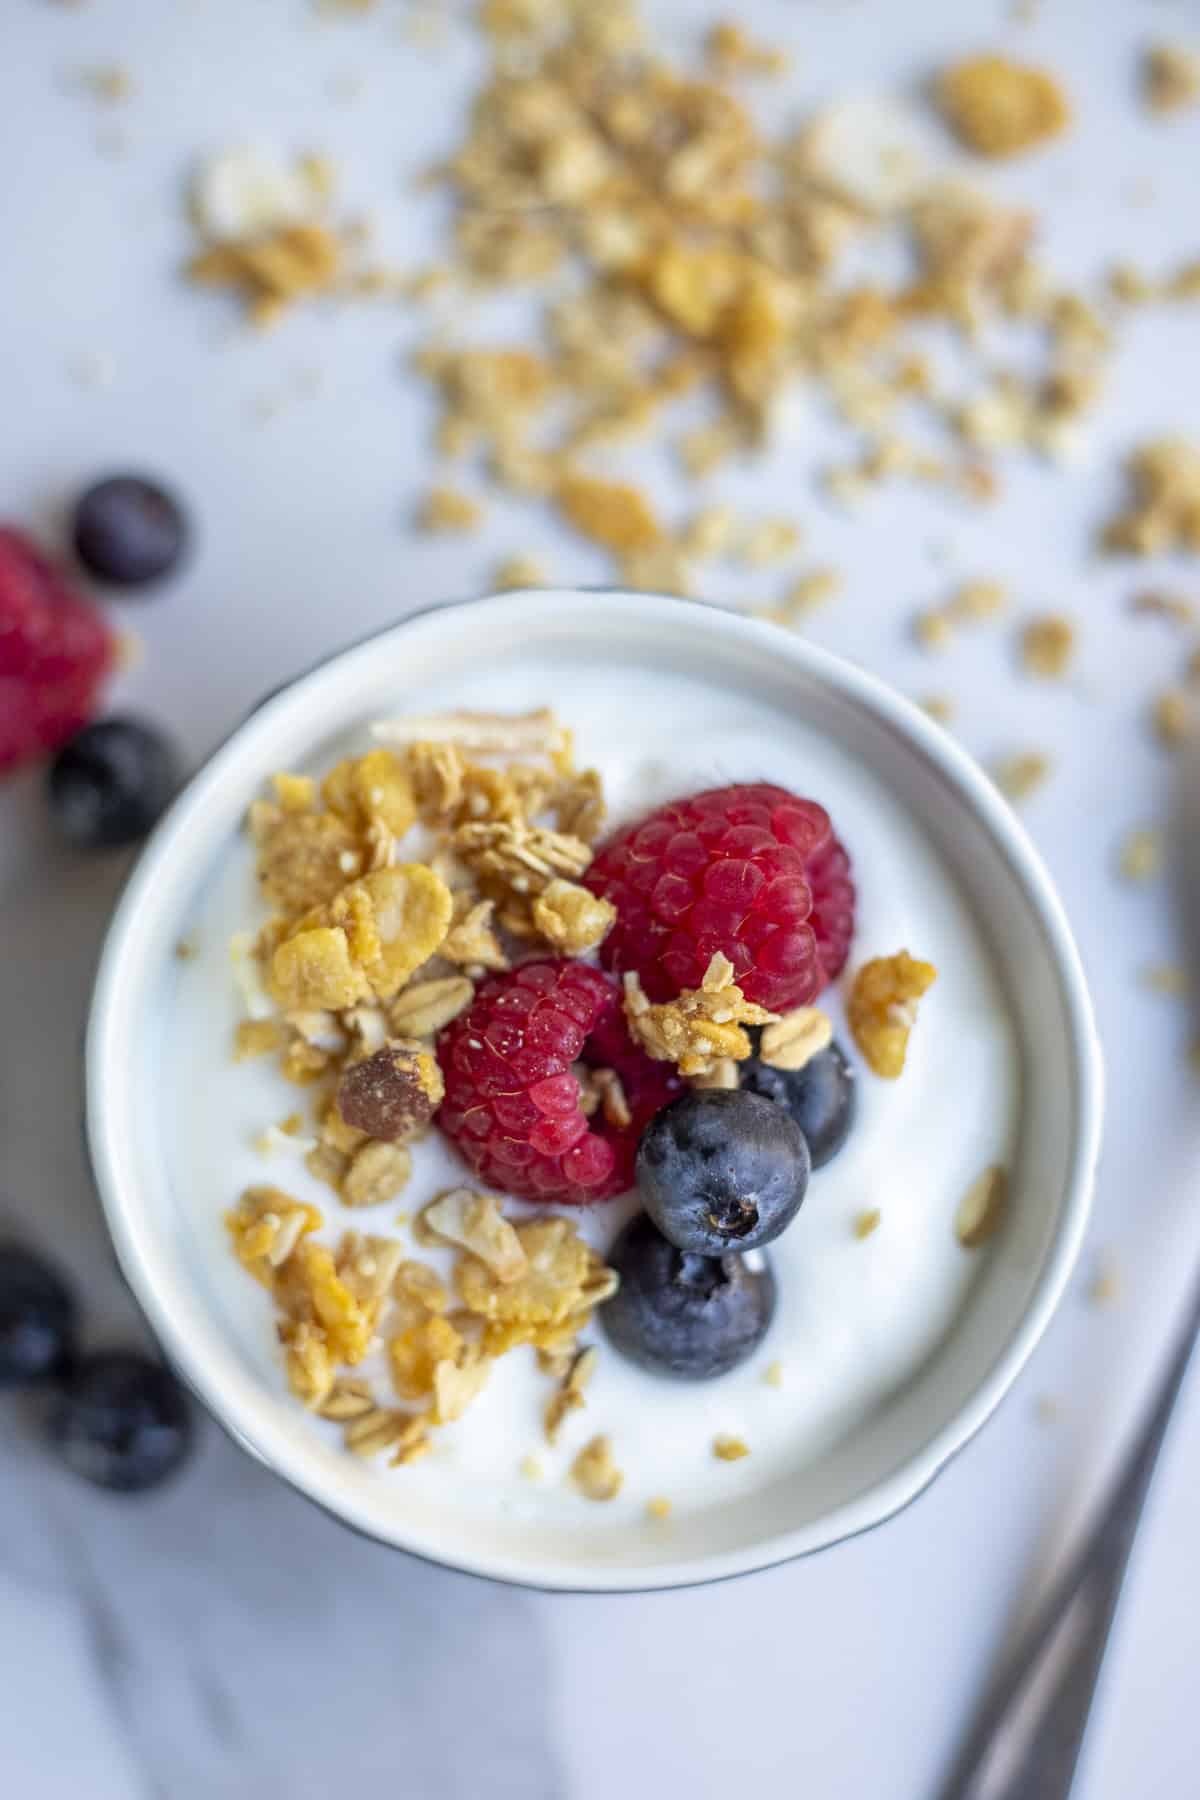

Store-bought yogurt can be expensive, overly sweet, and loaded with ingredients you can’t pronounce. The good news? Making yogurt at home is simpler than you think, and the result tastes fresher and creamier than most commercial brands. With just milk, a starter culture, and a few hours of hands-off time, you’ll have homemade yogurt that costs a fraction of the price and delivers exactly the texture and flavor you want.
How to Make Thick and Creamy Yogurt at Home
Yogurt relies on two critical steps: heating milk to kill competing bacteria, then maintaining a warm temperature so beneficial cultures can thrive. Follow these steps for consistent, creamy results every time.
Ingredients
- 1 quart whole milk (higher fat content = creamier yogurt)
- 2-3 tablespoons plain yogurt with live active cultures, or 1/4 teaspoon powdered yogurt starter
- Optional: 1/4 cup heavy cream for extra richness
- Optional: 2 tablespoons powdered milk to increase thickness
Method
Heat the milk to 185°F
Pour milk into a heavy-bottomed pot and slowly heat while stirring occasionally. Use a reliable thermometer to reach 185°F. This temperature denatures whey proteins, which makes the final yogurt thicker and creamier. Do not let the milk boil over.
Cool the milk to 110°F
Remove the pot from heat and let it cool to around 110°F. You can speed this by placing the pot in an ice bath for 10-15 minutes, stirring gently. If the milk gets too hot, the cultures will die; if it’s too cool, fermentation will slow dramatically.
Prepare your starter culture
If using yogurt as starter, remove it from the refrigerator and let it warm to room temperature. Whisk 2-3 tablespoons of the starter yogurt with a small amount of the cooled milk in a separate bowl until smooth. This distributes the cultures evenly.
Combine starter with the milk
Gently pour the starter mixture back into the pot of cooled milk, stirring slowly to distribute the cultures throughout. Avoid vigorous stirring, which can break down the proteins forming in the yogurt.
Incubate at 110°F for 6-12 hours
Pour the yogurt mixture into jars or a thermal container and keep it at a steady 110°F for incubation. You can use an oven with the light on, a yogurt maker, a cooler with warm water bottles, or a slow cooker set to low. The longer it incubates, the tangier and thicker it becomes.
Check for doneness and set the texture
After 6 hours, tilt the jar gently. The yogurt is ready when it coats the side and doesn’t run immediately. Once set, move jars to the refrigerator to stop fermentation and chill. Refrigerated yogurt will continue to set and thicken slightly as it cools.
Strain for extra thickness (optional)
For Greek-style yogurt, line a fine-mesh strainer with cheesecloth, pour in the yogurt, and let it drain in the refrigerator for 4-8 hours. The longer you strain, the thicker and creamier the final product. Save the whey for cooking or baking.
Store and enjoy
Transfer strained or unstrained yogurt to clean jars and refrigerate. Homemade yogurt keeps for 2-3 weeks. Reserve 2-3 tablespoons as a starter for your next batch to keep a continuous culture going.
- Use whole milk or add heavy cream for the creamiest texture. Skim milk produces thinner, less satisfying yogurt.
- Invest in a reliable instant-read thermometer; both the heating and cooling steps depend on accuracy to avoid watery or grainy results.
- Save a small portion of each batch as your starter for the next batch. After 5-7 generations, refresh your culture with fresh powdered starter to maintain strength.
What to Look For in Yogurt-Making Equipment
- Thermometer Accuracy: An instant-read thermometer with 1-2 degree precision is essential for hitting the exact temperatures yogurt requires. Poor thermometry leads to failed batches and wasted milk.
- Incubation Method: Choose between a dedicated yogurt maker, slow cooker, oven, or thermal cooler. Yogurt makers offer set-and-forget convenience, while coolers are affordable but require manual water bottle management.
- Pot Material and Size: A heavy-bottomed stainless steel or enameled cast iron pot with at least 2-quart capacity distributes heat evenly and prevents scorching during the heating step.
- Cheesecloth Quality: For straining, tightly woven cheesecloth (or a dedicated yogurt strainer bag) prevents fine curds from escaping while whey drains cleanly.
Thermapen ONE Instant Read Meat Thermometer
Best for: Anyone serious about yogurt consistency
The Thermapen ONE delivers ±0.5°F accuracy in just 3 seconds, with a rotating display and waterproof design. Its probe reaches the exact temperatures yogurt demands, and its backlit screen works in low light. This is the most reliable thermometer for consistent, creamy results. Every serious yogurt maker should own one.
Check Current Price on Amazon →Instant Read Meat Thermometer by ThermoPro
Best for: Budget-conscious beginners
ThermoPro’s digital thermometer offers ±1°F accuracy at a fraction of the Thermapen price. Fast response time and a clear LCD display make it easy to monitor milk temperature. While not as premium, it’s reliable enough for consistent yogurt batches and works equally well for grilling and cooking.
Check Current Price on Amazon →Dash Express Yogurt Maker
Best for: First-time yogurt makers who want foolproof results
This compact yogurt maker includes 6 glass jars, an automatic timer, and precise temperature control that removes all guesswork. Simply add milk and starter, set it, and walk away. The included recipe book provides guidance for different yogurt styles. Hands-off operation means nearly 100% success rate for beginners.
Check Current Price on Amazon →Luvele Pure Plus Digital Yogurt Maker
Best for: Serious yogurt enthusiasts who want variety
The Luvele Pure Plus features precise digital temperature control from 68°F to 176°F, allowing you to make not just yogurt but also cheese, kefir, and fermented vegetables. Holds 2 liters, includes glass jars, and offers timer flexibility from 1 to 99 hours. Perfect for exploring the full spectrum of fermentation projects.
Check Current Price on Amazon →Final Recommendation
Making yogurt at home transforms your breakfast routine and saves money in the long run. The most critical investment is a reliable thermometer like the Thermapen ONE; everything else is secondary. Combine it with a heavy-bottomed pot, quality milk, and consistent incubation, and you’ll produce yogurt that tastes fresher and creamier than store brands at half the cost.
Whether you choose a dedicated yogurt maker for convenience or build a setup with a cooler and water bottles for simplicity, the process is forgiving once you understand the fundamentals. Start with one batch, refine your technique, and soon you’ll have a continuous supply of thick, creamy yogurt ready whenever you need it. Your gut will thank you, and your wallet will too.
Frequently Asked Questions
Can I use low-fat or skim milk for yogurt?
Yes, but the result will be thinner and less creamy. To compensate, add 1/4 cup powdered milk or use a yogurt strainer for 6-8 hours to achieve thickness. Whole milk or milk with added cream produces the best texture naturally.
What happens if my yogurt turns out watery?
Watery yogurt usually results from incorrect incubation temperature, too short fermentation time, or weak starter culture. Try fermenting 2 hours longer, verify your incubator reaches 110°F, and refresh your starter with new powdered culture.
How long does homemade yogurt last in the refrigerator?
Properly stored yogurt keeps for 2-3 weeks in sealed jars. The taste becomes tangier over time as fermentation continues slowly. Always save 2-3 tablespoons as starter before the end of the shelf life.
Can I make yogurt without a yogurt maker?
Absolutely. Use an oven with the light on, a slow cooker on the lowest setting, a cooler with warm water bottles, or wrap jars in towels in a warm spot. The key is maintaining 110°F consistently for 6-12 hours.
Why did my yogurt curdle or separate?
Curdling usually happens from overheating after fermentation is complete. Move yogurt to the refrigerator immediately once it sets. Separation (whey pooling) is normal and simply means it’s ready; stir gently to reincorporate or strain for thicker yogurt.
As an Amazon Associate, Build & Bloom earns from qualifying purchases. We only recommend products we genuinely think are useful. Prices and availability vary; check Amazon for the latest.
Leave a Reply