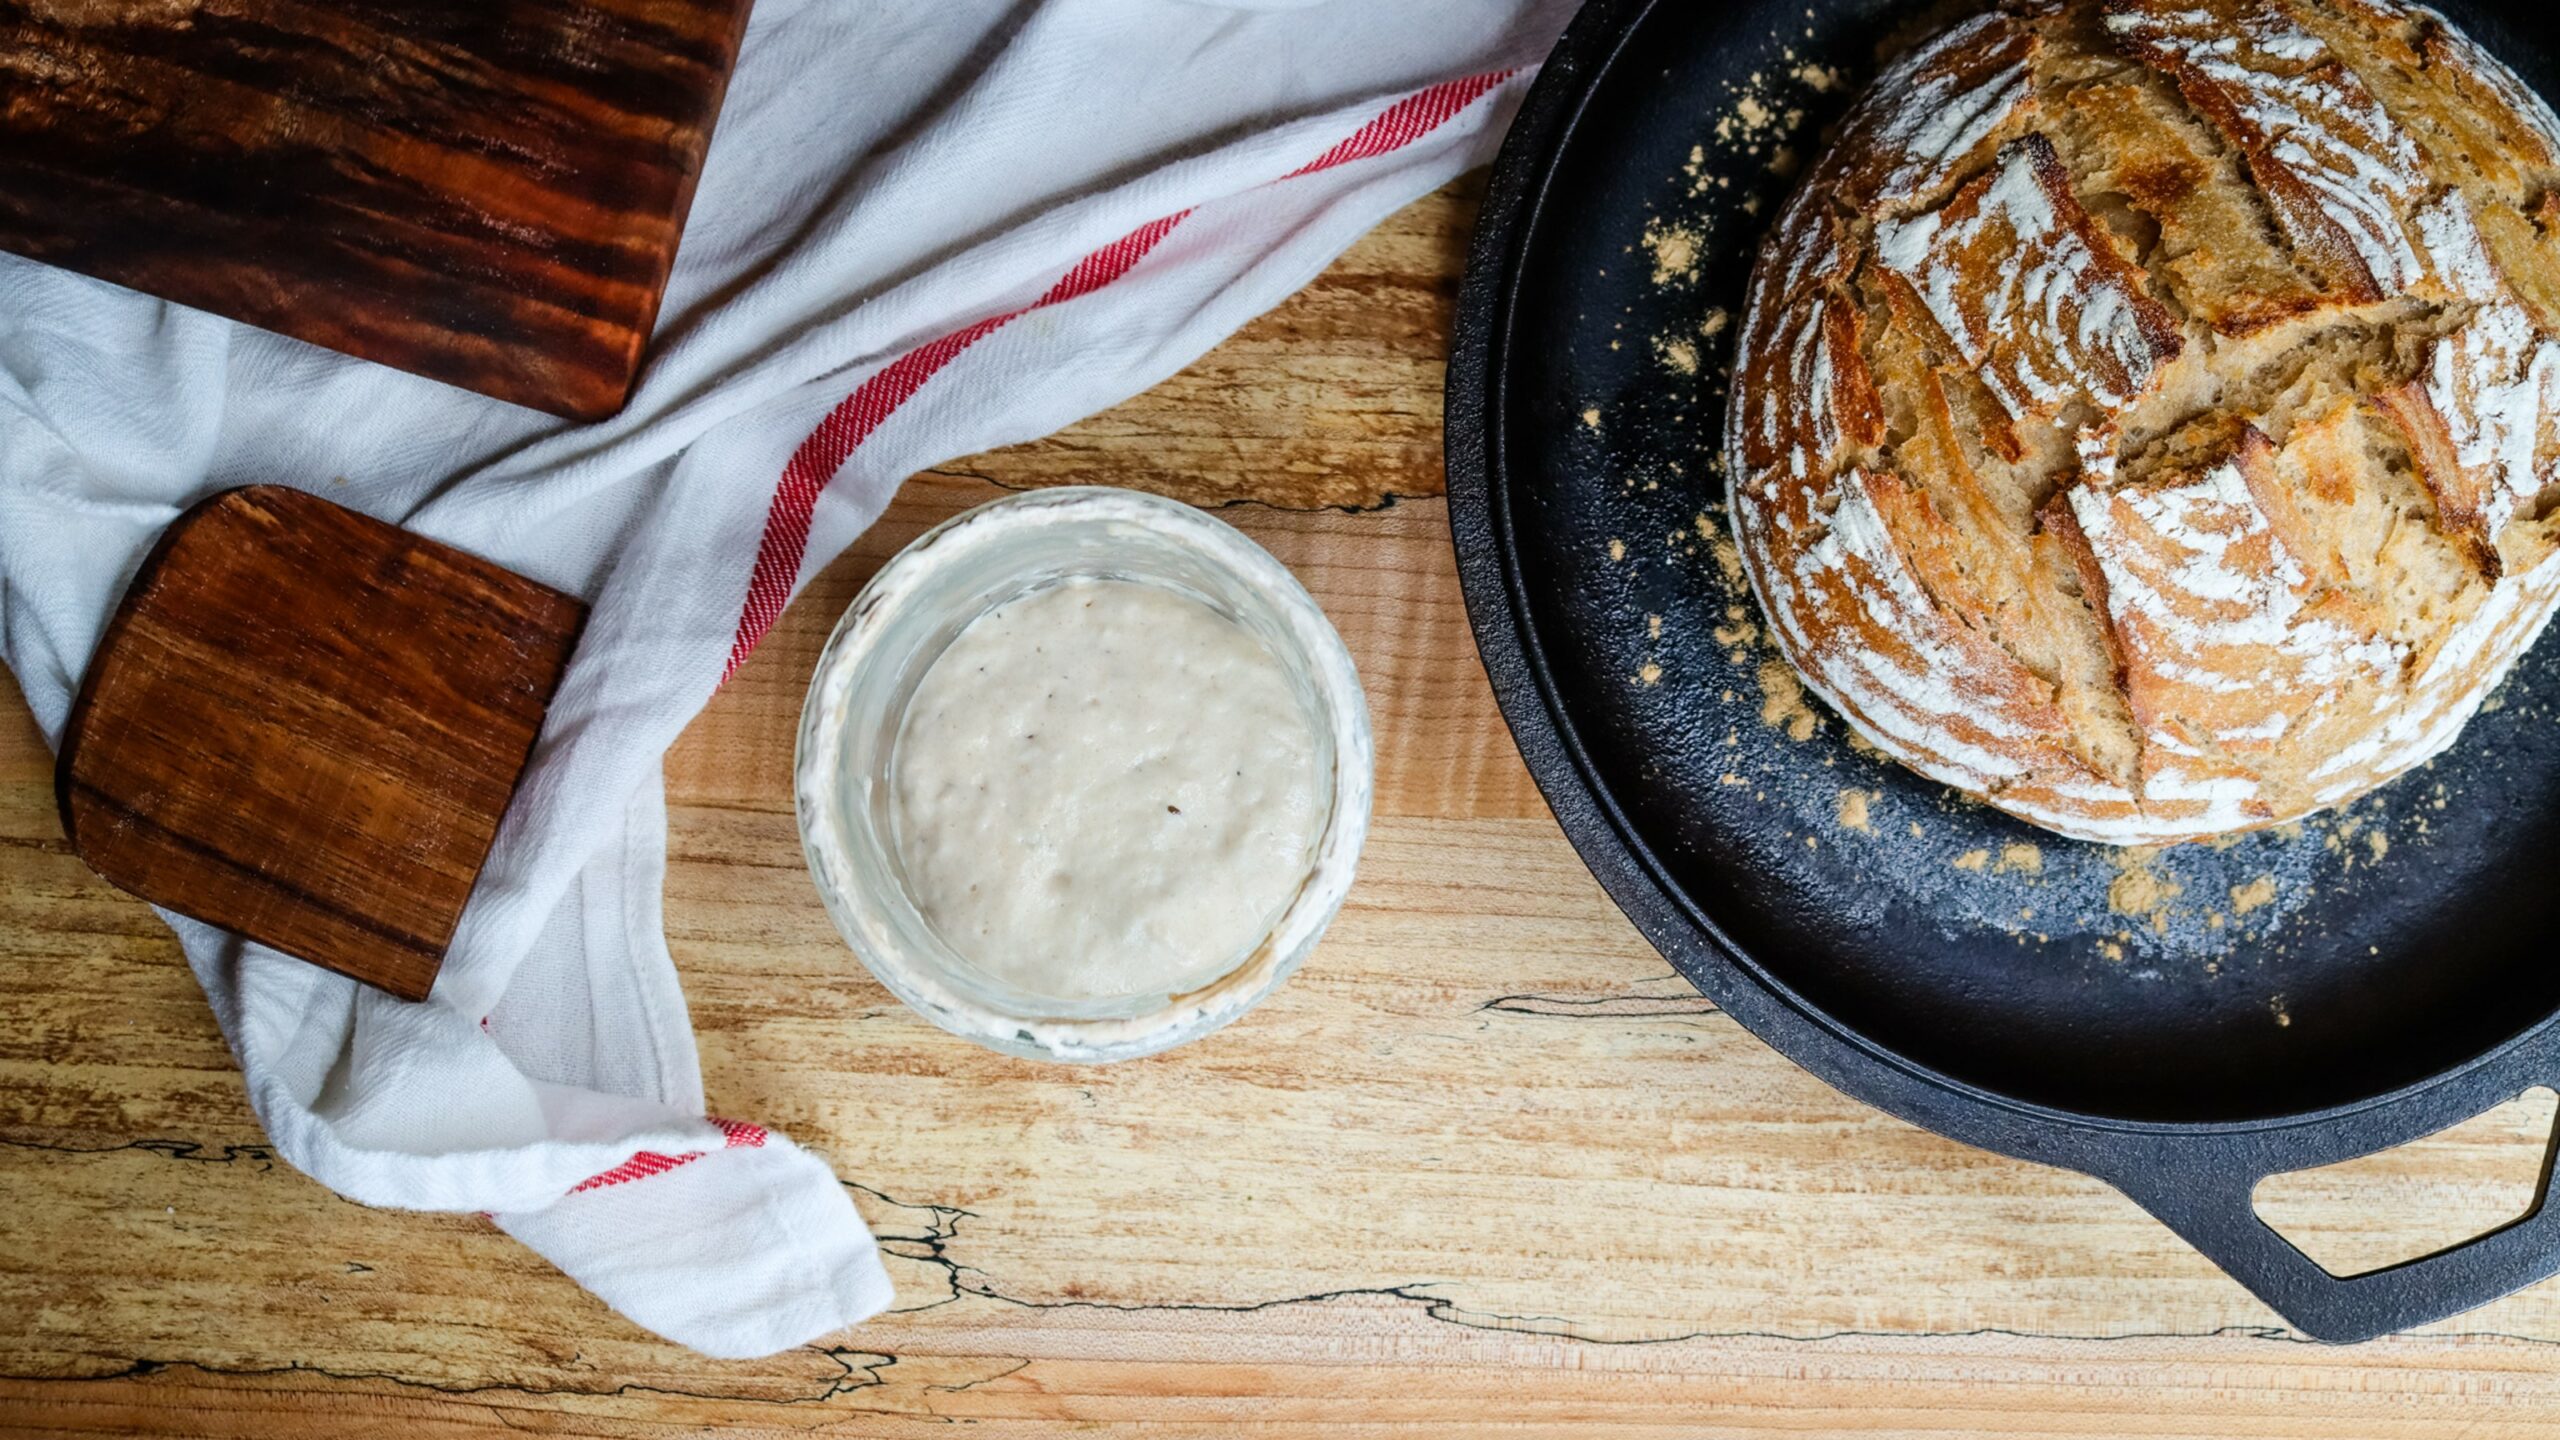

You’ve neglected your sourdough starter for weeks—or maybe months—and now it’s just a crusty, brownish liquid sitting at the back of your fridge. Don’t panic. Even seemingly dead starters can be brought back to life with patience and consistent feeding. Whether your starter went dormant during a busy season or got forgotten during a move, this guide will walk you through the revival process so you can get back to baking delicious, tangy loaves.
Steps to Revive Your Sourdough Starter
Reviving a neglected starter takes 5-7 days of regular feeding. The key is patience and consistency—your starter needs to rebuild its population of wild yeast and beneficial bacteria.
Materials You Will Need
- Your dormant sourdough starter (even if it looks terrible)
- All-purpose or whole wheat flour
- Filtered or dechlorinated water at room temperature
- A clean glass jar with a loose-fitting lid
- A kitchen scale (optional but helpful for consistency)
- A spoon for stirring
Revival Process
Examine and scoop your starter
Remove your starter from the refrigerator and look past any dark liquid (called ‘hooch’) sitting on top—this is normal and means the yeast has been hungry. Scoop out about half a cup of the starter, discarding the rest or using it for a discard recipe. If your jar is very small, use whatever you can access.
Feed with equal parts flour and water
Add equal amounts of flour and water to your starter—aim for about 50 grams each (roughly 1/4 cup) if measuring by weight, or 1/4 cup of each if measuring by volume. Stir well until all the flour is incorporated and there are no dry pockets. The mixture should look thick and pancake-batter-like.
Cover loosely and wait 24 hours
Place a loose cover on your jar (a coffee filter held with a rubber band works perfectly) and leave it at room temperature, away from direct sunlight. A warm kitchen (68-75°F) is ideal. Over the next 24 hours, you may or may not see activity—don’t worry if there are no bubbles yet.
Discard half and feed again
After 24 hours, discard approximately half of the mixture (you can compost it or save it for sourdough discard recipes). Feed again with equal parts flour and water, using the same amounts as before. You’re now establishing a feeding rhythm.
Repeat daily for 5-7 days
Continue the discard-and-feed routine every 24 hours. By day 2 or 3, you should start seeing bubbles and smelling a pleasant sour aroma. The activity may be sporadic at first, but it will increase. Some starters revive faster than others depending on how long they’ve been dormant and storage conditions.
Watch for consistent rising and falling
Your starter is ready to use when it reliably rises and falls after feeding, typically doubling in size within 4-8 hours of being fed. The surface should be covered in bubbles and smell pleasantly sour with no off-putting odors. This usually takes 5-7 days, but dormant starters can take up to 2 weeks.
Return to normal feeding schedule
Once your starter is active and predictable, move it back to the refrigerator and feed it once a week if you’re storing long-term, or once or twice daily if you’re baking regularly. Always use the discard-and-feed method to maintain a healthy, balanced culture.
- If your starter is very neglected, the first few feedings may produce a dark liquid or smell like nail polish remover (acetone)—both are completely normal and will resolve with consistent feeding.
- Keep your kitchen warm during revival. A temperature between 70-75°F speeds up fermentation; if your kitchen is cold, place the jar in an unheated oven with the light on or near a warm spot.
- Use filtered or dechlorinated water if possible, as chlorine can inhibit yeast activity. If you only have tap water, leave it out for 24 hours before using to allow chlorine to dissipate.
What to Look For in Sourdough Starter Supplies
- Glass Jar Size: A quart-sized (32 oz) glass jar is ideal for storing and maintaining a sourdough starter. It allows room for expansion during fermentation without being so large that the starter spreads too thin. Avoid narrow-mouth containers that make scooping difficult.
- Flour Type: Use unbleached all-purpose or bread flour for consistent, reliable feeding. Whole wheat or rye flour can be used occasionally for a flavor boost, but they ferment faster and may cause your feedings to be unpredictable. Avoid bleached flour, which can slow fermentation.
- Water Quality: Filtered or bottled water is preferred because chlorine in tap water can inhibit yeast and bacterial growth. If using tap water, allow it to sit uncovered for at least 24 hours so chlorine can evaporate. Hard water with high mineral content works fine and may even benefit your starter.
- Measuring Accuracy: A kitchen scale accurate to at least 1 gram removes guesswork from feeding ratios and produces more predictable results. Volume measurements (cups and spoons) vary by technique and ingredient density, making weight-based feeding more reliable long-term.
Bormioli Rocco Fido Glass Jar with Airtight Lid, 1 Liter
Best for: Anyone reviving a starter who wants a durable, reliable container
This Italian glass jar is purpose-built for fermentation with a hinged, airtight lid that seals without being too tight—perfect for allowing gases to escape while keeping contaminants out. The 1-liter (34 oz) capacity gives your starter plenty of room to rise without overflow, and the wide mouth makes feeding and scooping easy. The glass is heavy and durable, and the jar is dishwasher safe. This is the gold standard for sourdough starters and will last for years.
Check Current Price on Amazon →Rubbermaid Brilliance Airtight Food Storage Container, 8-Cup
Best for: Budget-conscious bakers who don’t mind plastic
This clear plastic container is affordable, stackable, and has a truly airtight seal—though not ideal for fermentation since it locks in gases. You can keep the lid loose during feeding to allow gas escape, then seal it tightly for refrigerator storage. The wide mouth makes scooping easy, and the graduated measurements on the side help you track starter volume. Perfect for starters on a tight budget or as a temporary revival container.
Check Current Price on Amazon →OXO Good Grips Liquid Measuring Cup with Markings, 2 Cup
Best for: First-time sourdough bakers who want foolproof volume measurements
This heat-resistant plastic measuring cup features clear volume markings and a sturdy handle, making it impossible to misread your flour and water ratios during feedings. The wide spout pours cleanly without splashing, and the non-slip base keeps it stable on counters. While not as precise as weight-based feeding, this cup removes most guesswork and is easy to clean. Affordable and durable for years of use.
Check Current Price on Amazon →Escali Primo Precise Digital Kitchen Scale
Best for: Serious bakers who want consistency and precision in every feeding
This compact digital scale displays weight in ounces, grams, and other units with accuracy to 0.05 ounces (1 gram). The extra-large display is easy to read, and the tare function lets you zero out your jar to measure ingredients directly into it without a separate bowl. It runs on AAA batteries and auto-shuts off to save power. Fast, reliable, and compact enough to leave on your counter permanently.
Check Current Price on Amazon →Your Starter Is Ready to Bake
Reviving a neglected sourdough starter is one of the most rewarding discoveries a baker can make. What looked like a lost cause just days ago is now a living, breathing culture ready to transform flour and water into complex, flavorful bread. The key to success is consistency—daily feeding for a week, using simple ingredients (flour and water), and patience as the wild yeast and bacteria rebuild their populations. There’s no mystery here, only reliable biology.
Now that your starter is active and predictable, you’re ready to pull out your favorite sourdough bread recipe and bake. The effort you invested in revival will pay dividends in every loaf you make. Keep your starter fed, stored properly in a glass jar, and it will faithfully feed your family for years to come. Welcome back to the sourdough game.
Frequently Asked Questions
How long does it really take to revive a sourdough starter?
Most starters show signs of life within 3-5 days of consistent feeding, but full revival typically takes 5-7 days. Very dormant starters that have been neglected for months may take up to 2 weeks. Warmer kitchens speed the process; cooler temperatures slow it down. Patience is key—don’t rush to bake until your starter doubles reliably after feeding.
What if my starter smells like nail polish remover or has a dark liquid on top?
Both are completely normal signs of a hungry, dormant starter. The dark liquid (called ‘hooch’) is alcohol produced by yeast and means your starter needs feeding. The acetone smell will disappear after one or two feedings as the microbial balance restores. Simply stir it all together or pour off the liquid, then feed as normal.
Can I speed up the revival process by using warmer water or keeping it in a warm spot?
Yes—fermentation accelerates in warmth. Keeping your starter at 72-75°F (22-24°C) speeds revival by 1-2 days compared to cooler temperatures. You can place your jar in a proofing box, on top of the refrigerator, or near a heating vent. However, don’t exceed 85°F, as extreme heat can harm the cultures. Consistency matters more than speed.
Do I need to use filtered water, or will tap water work?
Tap water works fine if chlorine has been allowed to evaporate (let it sit uncovered for 24 hours before using). Filtered or bottled water is ideal because chlorine can inhibit yeast growth and slow revival. If your tap water is heavily chlorinated, you’ll notice slower activity, but the starter will still revive—just more slowly.
Once my starter is revived, how often should I feed it to keep it active?
If baking weekly or more, feed your starter once or twice daily at room temperature. If storing in the refrigerator long-term, feed once a week. Before baking, remove from the fridge and feed 1-2 times at room temperature until it’s bubbly and active (usually 4-8 hours). A well-maintained starter lasts indefinitely and can be passed down for generations.
As an Amazon Associate, Build & Bloom earns from qualifying purchases. We only recommend products we genuinely think are useful. Prices and availability vary; check Amazon for the latest.
Leave a Reply