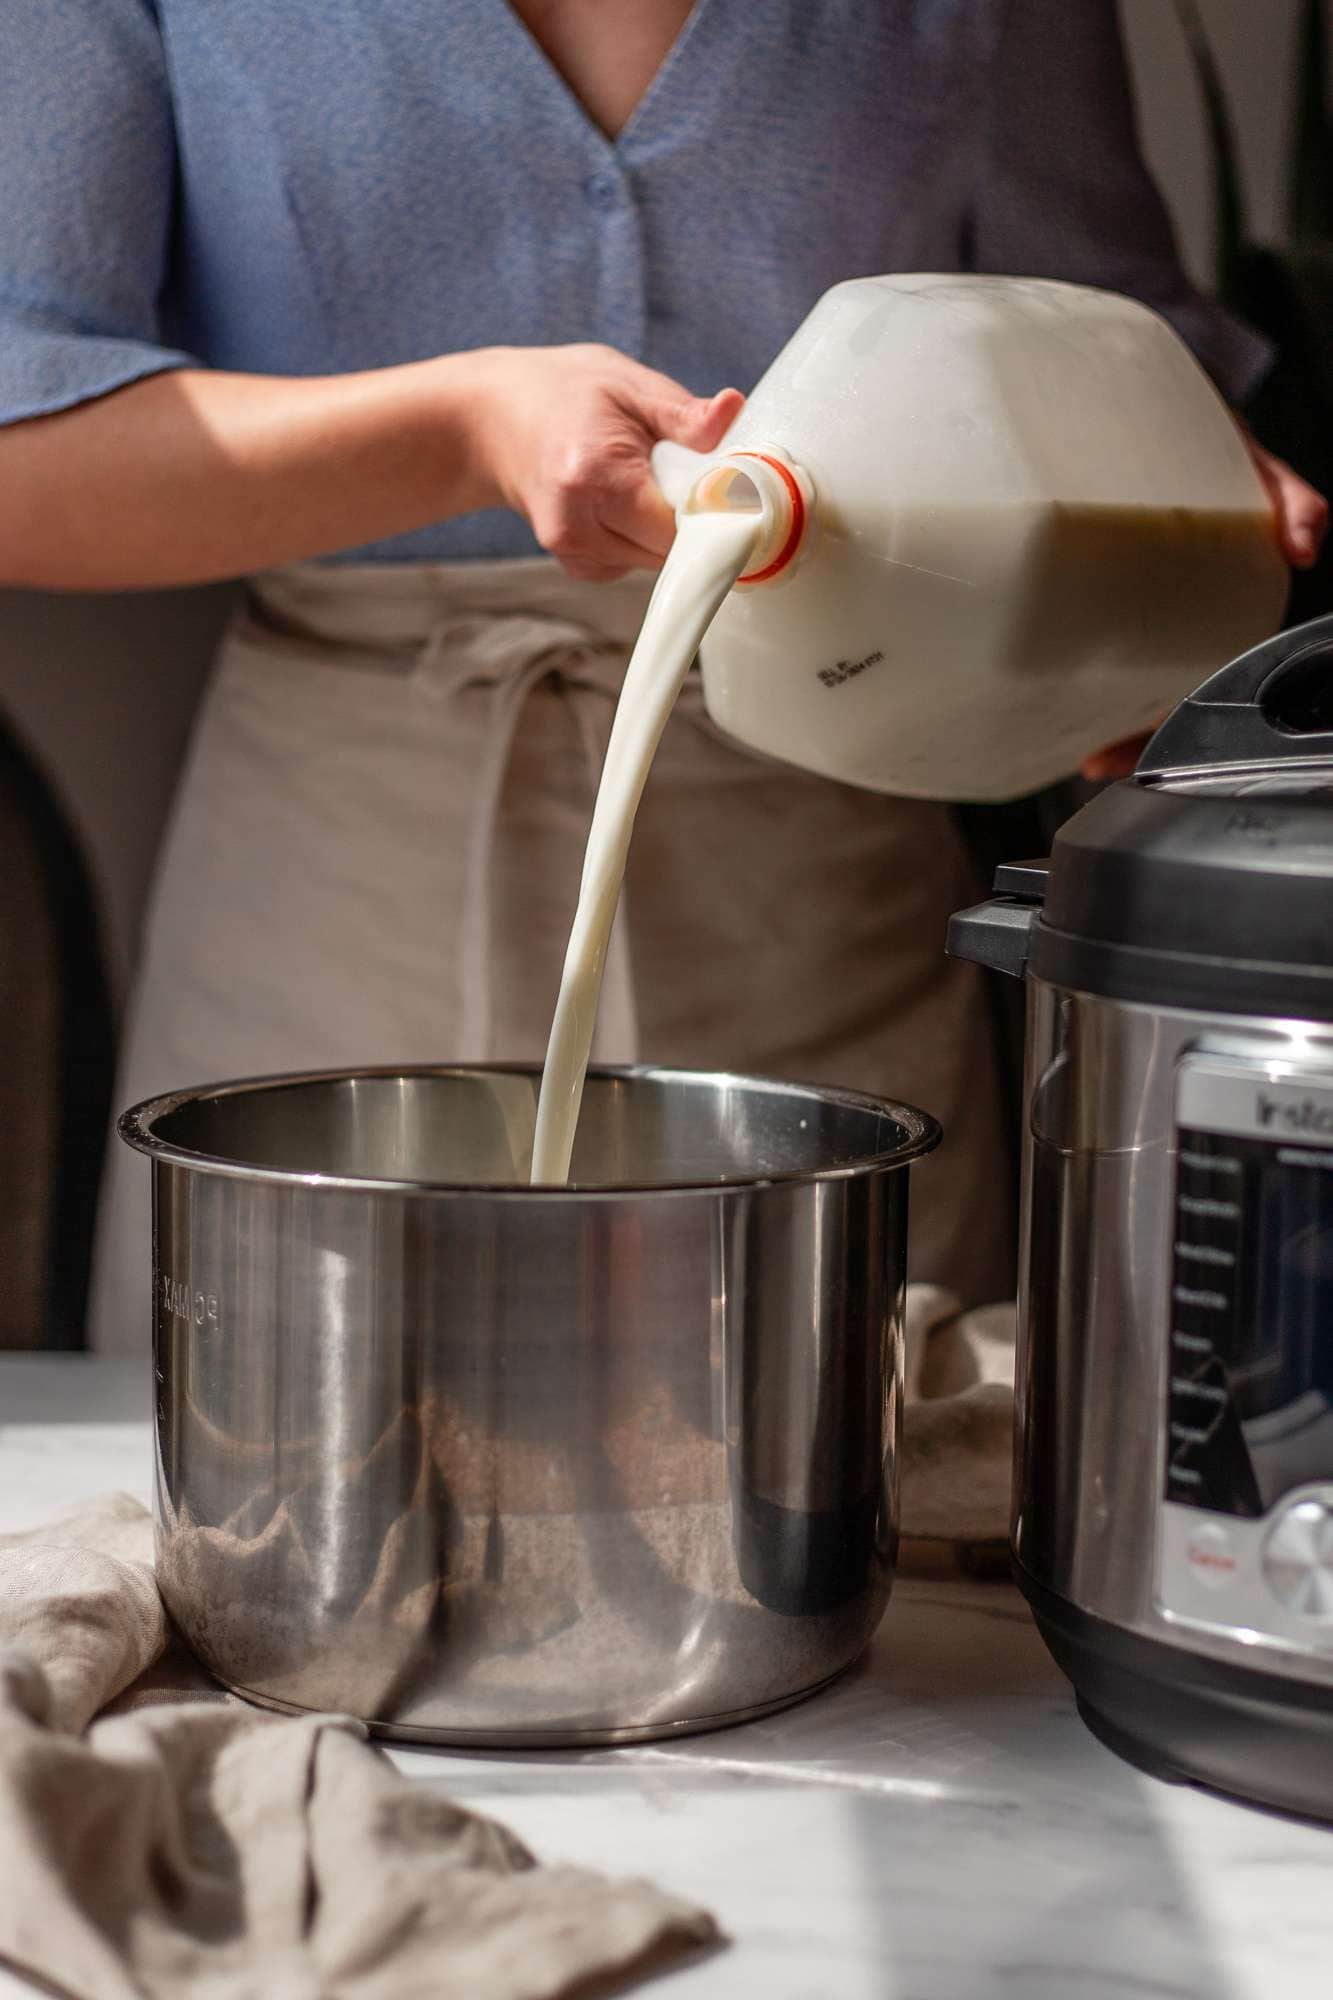

Store-bought yogurt costs add up fast, especially if your family goes through multiple containers per week. The good news? Making yogurt at home in an Instant Pot is surprisingly simple, requires just two ingredients, and produces a creamy result for a fraction of the retail price. Once you dial in the technique, you’ll wonder why you ever bought commercial yogurt again.
How to Make Instant Pot Yogurt from Scratch
This method uses the yogurt-making function built into most pressure cookers, eliminating the guesswork and reducing hands-on time to under 10 minutes.
Ingredients
- 1 gallon whole milk (full-fat works best for creamy texture)
- 1/4 cup plain yogurt with live active cultures (as starter culture)
- Thermometer for monitoring milk temperature
- Clean glass jar or container that fits inside your cooker
- Cheesecloth (optional, for straining if you prefer Greek-style thickness)
Method
Heat the Milk to Scalding
Pour milk into a heat-safe container and place it in your pressure cooker using the saute function. Heat until the milk reaches 180-185°F, stirring occasionally to prevent scorching on the bottom. This step denatures the proteins and eliminates competing bacteria that could interfere with yogurt development.
Cool the Milk to Inoculation Temperature
Remove the container from heat and allow the milk to cool to 110-115°F. This typically takes 20-30 minutes at room temperature. You can speed this up by placing the container in an ice bath, but be patient and check temperature regularly with your thermometer.
Activate the Starter Culture
In a small bowl, whisk together your plain yogurt starter with a few tablespoons of the warm milk until smooth and lump-free. This tempers the culture and distributes it evenly when added back to the full batch.
Combine Starter with Milk
Pour the starter mixture back into the main container of warm milk, stirring gently but thoroughly for about one minute. Avoid vigorous mixing, which can break the developing yogurt strands, but ensure the culture is fully incorporated throughout.
Begin Incubation in the Pressure Cooker
Add water to the bottom of your pressure cooker base (about 1 cup), then place the trivet inside. Set your milk-filled container on the trivet. Select the yogurt function on your cooker and set the timer for 8-12 hours depending on your desired tanginess—longer fermentation produces a more sour yogurt.
Chill the Finished Yogurt
When the incubation cycle completes, carefully remove the container and refrigerate for at least 4 hours before serving. The yogurt will continue to thicken slightly as it cools. The cold temperature halts fermentation and develops the final texture.
Strain for Creamier Consistency (Optional)
If you prefer thick, Greek-style yogurt, line a fine-mesh strainer with cheesecloth and pour the finished yogurt through it. Strain for 2-8 hours depending on desired thickness, then transfer the strained yogurt to a container. Save the whey for baking or smoothies.
- Reserve 1/4 cup of each batch as starter culture for your next batch—this eliminates the need to buy starter yogurt repeatedly and saves even more money
- If your yogurt turns out too thin, you likely didn’t heat the initial milk hot enough or your incubation temperature was too low; milk heated to at least 180F sets proteins for better texture
- Flavored yogurt is easy: add jam, honey, or vanilla extract after the yogurt has cooled and chilled, rather than before fermentation, which prevents flavor compounds from breaking down
What to Look For When Buying Yogurt-Making Equipment
- Pressure Cooker Model with Yogurt Function: Not all pressure cookers have a dedicated yogurt setting. Check that your model explicitly lists ‘yogurt’ or ‘fermentation’ mode in the manual or product description. This function maintains precise incubation temperature without requiring external equipment.
- Thermometer Accuracy and Speed: A reliable thermometer is essential for hitting the correct milk temperatures. Look for instant-read models with a temperature range of at least 40-220F and accuracy within 1-2 degrees to avoid under or over-heating your milk.
- Container Size and Material: Your fermentation container must fit inside the pressure cooker with room for the trivet underneath. Glass containers are ideal because they don’t retain flavors or odors. Choose a container that holds at least one quart but no more than your cooker’s capacity.
- Additional Accessories for Straining: If you plan to make Greek-style yogurt, quality cheesecloth or fine-mesh strainers will streamline the process. Heavy-duty cheesecloth that won’t shred during draining and reusable strainers save money over time compared to single-use options.
Instant Pot Duo Plus 9-in-1 Electric Pressure Cooker
Best for: First-time yogurt makers who want a reliable, proven cooker
The Instant Pot Duo Plus is the gold standard for home yogurt making. It includes a dedicated yogurt function that maintains steady incubation temperature without manual adjustment. The 8-quart capacity handles full-gallon batches with room to spare, and the stainless steel inner pot is durable enough for years of use. Its widespread popularity means extensive online troubleshooting resources and recipe communities exist to help you succeed. The touchscreen interface is intuitive, and the pressure-cooking versatility means this device pays for itself with countless other kitchen tasks.
Check Current Price on Amazon →InstaPot LUX80 8-Quart Multi-Use Pressure Cooker
Best for: Budget-conscious homesteaders who need basic yogurt functionality
The InstaPot LUX80 delivers essential yogurt-making features at a lower price point than premium models. It includes a yogurt setting and sufficient capacity for large batches. While it lacks some of the bells and whistles of pricier models, it performs the core fermentation function reliably. The mechanical buttons are straightforward, and the simpler design means fewer potential failure points. This is an excellent choice if you’re testing the yogurt-making hobby before investing in a premium unit.
Check Current Price on Amazon →Instant Pot Pro Plus 11-in-1 Programmable Pressure Cooker
Best for: Advanced cooks who want maximum customization and capacity
The Instant Pot Pro Plus offers the largest capacity and most granular temperature controls available. The 11 cooking functions include precise yogurt modes where you can manually set time and temperature, allowing experimentation with different fermentation profiles. The stainless steel construction and larger 10-quart capacity mean you can make multiple batches simultaneously or experiment with different cultures side-by-side. The built-in timer and alert system ensure you never forget about your batch, and the expanded recipe library provides inspiration beyond basic yogurt.
Check Current Price on Amazon →Cosori Electric Pressure Cooker 8 Quart with Yogurt Mode
Best for: Complete beginners who prioritize ease of use and customer support
Cosori’s 8-quart pressure cooker includes a straightforward yogurt function with preset timing options, eliminating guesswork. The large, color-coded display walks you through each step, and the included recipe booklet features a dedicated yogurt section with troubleshooting tips. Customer service is responsive and helpful, which matters when you’re learning. The cooker’s slightly lower price than Instant Pot models makes it accessible for first-time buyers testing the hobby without major financial commitment.
Check Current Price on Amazon →Making Your First Batch
The beauty of Instant Pot yogurt is that it requires just two ingredients, one reliable appliance, and a few hours of hands-off fermentation. Your pressure cooker does virtually all the work once you’ve heated and cooled the milk properly. Start with a full gallon of quality milk and a fresh yogurt culture, follow the temperature guidelines carefully, and you’ll have creamy, delicious yogurt for a fraction of store prices within your first attempt. Most people achieve excellent results on their second or third batch once the rhythm becomes familiar.
Investing in a quality pressure cooker with proven yogurt function is the single most important decision. The Instant Pot Duo Plus remains the industry standard for good reason—reliable performance, widespread community support, and proven longevity mean you’re buying confidence alongside capability. Pair it with an accurate thermometer, and you have everything needed to become your household’s yogurt producer. Within a month of regular batches, you’ll recover your equipment investment through savings alone.
Frequently Asked Questions
How much money will I actually save making yogurt at home?
A gallon of milk costs approximately 3-5 dollars and produces roughly the equivalent of 12-16 cups of yogurt. Store-bought yogurt typically costs 0.50-1.00 per 6-ounce cup, meaning that same milk makes 48-64 ounces for less than the cost of 2-3 store-bought containers. Savings accumulate quickly for families consuming yogurt regularly, and using reserved batches as starter culture eliminates repeat purchases of expensive yogurt cultures.
What type of milk makes the best yogurt?
Whole milk or 2% milk produces the creamiest yogurt with the best mouthfeel. Ultra-pasteurized milk sometimes fails to set properly because the high-heat treatment damages the protein structure needed for yogurt to thicken. Standard pasteurized whole milk is ideal. Some people use non-dairy milk alternatives, but results vary significantly and they often require added thickeners or gelatin to achieve proper consistency.
Can I reuse yogurt from my own batches as starter culture indefinitely?
Yes, for about 5-7 generations of yogurt. Each time you use a batch as starter, the cultures weaken slightly. After 5-7 batches, your cultures may become weak and fermentation slows. At that point, buy a fresh starter yogurt or freeze a backup batch in ice cube trays specifically for future starter use. This eliminates needing to repurchase starter yogurt frequently while maintaining strong cultures.
Why did my yogurt turn out too thin or watery?
Thin yogurt usually results from insufficient milk heating (you need at least 180F to denature proteins), starter culture that was too old or inactive, or incubation temperature that was too low. Double-check your thermometer accuracy and ensure your yogurt starter was purchased recently or frozen properly. Slightly thin yogurt can be strained through cheesecloth to thicken it, or use it as liquid yogurt for smoothies or baking.
How long does homemade yogurt stay fresh in the refrigerator?
Properly made yogurt lasts 2-3 weeks refrigerated in a clean, airtight container. The acidic environment and lack of preservatives mean it may separate slightly over time, but this is normal and doesn’t indicate spoilage. If visible mold appears or the smell becomes off, discard the batch. Always use clean utensils when scooping to prevent contamination and extend shelf life.
As an Amazon Associate, Build & Bloom earns from qualifying purchases. We only recommend products we genuinely think are useful. Prices and availability vary; check Amazon for the latest.
Leave a Reply