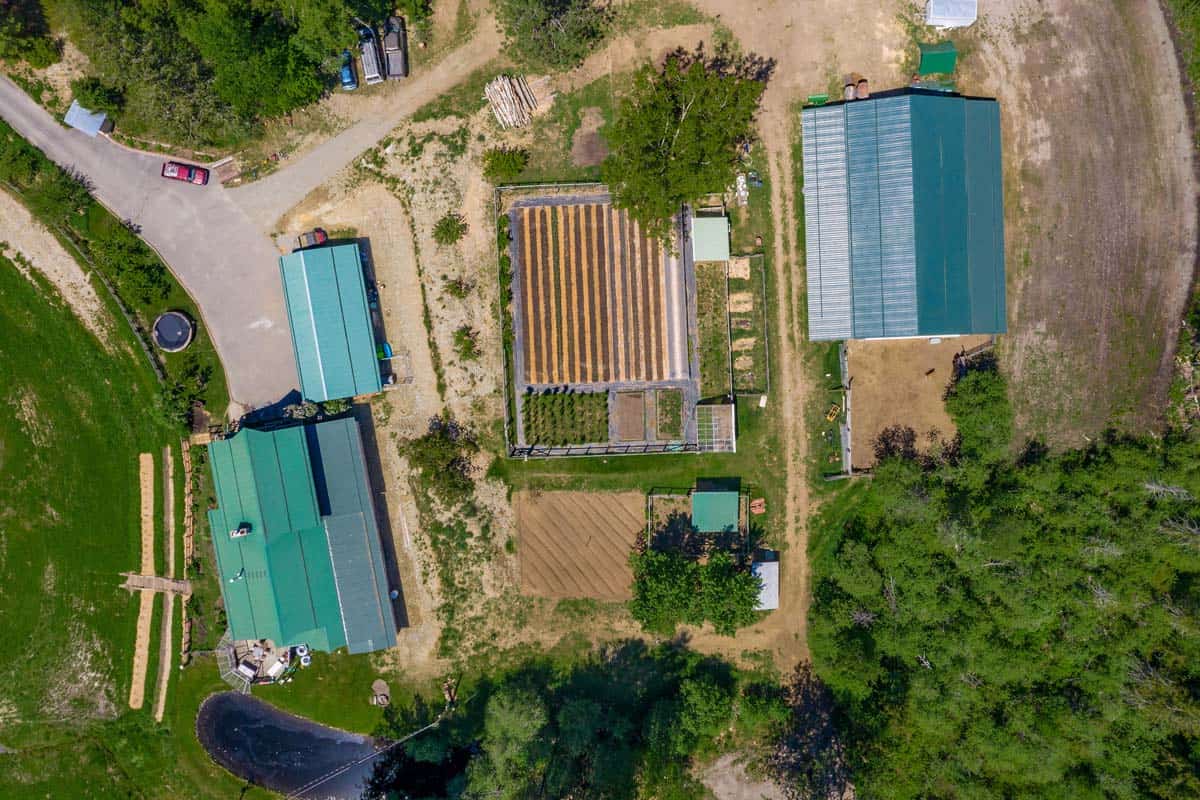

If your homestead feels chaotic—with the chicken coop too far from the kitchen, your garden beds scattered randomly, and work taking twice as long as it should—you’re missing a crucial organizational framework. Permaculture zones transform your land into an efficient, sustainable system by placing elements based on how often you visit them and how much they need tending. Whether you’re managing an acre or five, understanding these zones will save you hours of daily work and help your homestead thrive.
The 5 Permaculture Zones Explained
Permaculture zones provide a proven system for arranging your homestead elements. By understanding each zone and its purpose, you can design layouts that work with your natural patterns and energy.
Key Concepts
- Zone 0 (The House) – Your home and immediate living spaces requiring daily access and intensive management
- Zone 1 (Intensive Garden) – High-maintenance plants visited multiple times daily, located within 50 feet of your house
- Zone 2 (Perennial Plants & Animals) – Food-producing trees, berry bushes, and livestock requiring regular but less frequent care
- Zone 3 (Extensive Agriculture) – Large-scale crops and pastures visited weekly or monthly with minimal intervention
- Zone 4 (Semi-Wild) – Light harvesting areas requiring occasional visits for firewood, wild foods, or animal grazing
- Zone 5 (Wild) – Completely unmanaged natural space serving as wildlife habitat and visual boundary
Principles
Start with Zone 0 and Map Your Daily Routes
Begin by identifying your home and marking the paths you naturally walk each day. These natural traffic patterns reveal where Zone 1 should go. Most homesteaders visit Zone 1 multiple times daily to harvest herbs, check on seedlings, or water vegetables. Place this zone immediately adjacent to your home, preferably visible from your kitchen window so you can monitor it while cooking and eating.
Position Zone 1 for Maximum Daily Visibility and Access
Your intensive garden should occupy the space requiring the most observation and intervention. Herb gardens, salad greens, young fruit trees, and tender perennials belong here. Keep this zone within a 50-foot walk from your back door. The easier it is to pop outside for a quick harvest, the more likely you’ll maintain it and catch pest problems early.
Place Zone 2 Beyond Daily Paths but Within Weekly Reach
Fruit and nut trees, berry bushes, established perennials, and small livestock like chickens or rabbits fit here. You’ll visit Zone 2 several times per week for feeding, egg collection, and harvesting. This zone should be 50 to 150 feet from your home, arranged so you can monitor animal welfare and plant health without constant attention. Windbreaks and shelter belts work well here.
Reserve Zone 3 for Pasture and Field Crops
Larger livestock, grain crops, and extensive vegetable production belong in Zone 3, which receives weekly or monthly visits. This zone extends from about 150 feet to the edge of your property. Because you manage it less intensively, you can allow animals to rotate through pastures and crops to grow in larger blocks with mechanical harvesting potential.
Create Zones 4 and 5 as Management Gradients
Zone 4 transitions from managed to wild space, serving as a harvesting area for firewood, medicinal plants, nuts, and wild foods. Zone 5 remains completely natural, supporting native wildlife and serving as a visual boundary. Together, these outer zones reduce your labor costs while providing ecological benefits like water retention, erosion control, and pollinator habitat.
Account for Slope, Water, and Sun Exposure
Adjust your zone placement to work with your land’s natural features. North-facing slopes suit shade plants and animal shelter; south-facing areas work for sun-loving gardens. Low points collect water, making them ideal for drainage and livestock watering. Steep slopes might skip Zone 1 entirely and go straight to Zone 2 or 3. Your zones should flow with your terrain, not against it.
- Draw your zones on paper first using concentric circles around your home, then adjust based on actual topography, water sources, and existing features before beginning any construction or planting.
- Start with just Zones 0, 1, and 2 if you’re new to homesteading. You can expand outward to Zones 3, 4, and 5 as your systems mature and you understand your actual daily patterns.
- Revisit your zone plan after one full growing season. Real-world observation of where you actually spend time and energy will reveal improvements that theory alone cannot provide.
Tools for Mapping and Planning Your Zones
- Measuring Tape or Rope: Accurately measure distances from your home to proposed garden areas, animal shelters, and resource locations. A 100-foot measuring tape lets you physically mark zone boundaries and verify your paper plan works on the ground.
- Surveying or Planning Graph Paper: Specialized paper with pre-printed grids makes it easy to draw to scale and plan zone layouts. Property-specific surveys help you identify slopes, existing structures, and water flow before committing to your design.
- Landscape Marking Paint or Flags: Temporary markers let you visualize zone boundaries and test your layout before making permanent improvements like building structures or planting trees. This prevents costly mistakes.
- Digital Mapping Software or Apps: Tools like Google Earth Pro or specialized permaculture apps let you overlay satellite imagery with your zone plan, helping you account for slope, sun angle, water drainage, and existing features at no cost.
Keson 100-Foot Fiberglass Measuring Tape with Stand
Best for: Homesteaders mapping zone distances and layout
This heavy-duty measuring tape extends 100 feet, perfect for marking actual distances between your home and proposed zones. The built-in stand keeps it steady on uneven ground, and the fiberglass construction resists kinks and breaking. Accuracy matters when designing your permaculture zones—this tape delivers reliable measurements whether you’re working alone or with help.
Check Current Price on Amazon →Speedball Illustration & Design Pad Graph Paper Pad
Best for: Planning permaculture zones on paper before implementation
Pre-printed graph paper makes scaling your homestead layout simple and accurate. At a fraction of professional survey costs, this pad lets you sketch zones, calculate distances, and test multiple designs. The large format accommodates detailed notes about slope, water sources, and existing features.
Check Current Price on Amazon →Rust-Oleum Fluorescent Pink Marking Paint Spray
Best for: Temporarily marking zone boundaries on the ground
Bright, visible spray paint temporarily marks zone boundaries so you can walk your property and evaluate the layout before commitment. The fluorescent color stays visible in most conditions, and it fades naturally over weeks without permanent damage to grass or soil.
Check Current Price on Amazon →Google Earth Pro (Free Desktop Version)
Best for: Analyzing your property’s features and sun angle
Download free satellite imagery of your homestead and overlay your zone plan. Measure distances, analyze slope using 3D terrain, track sun movement throughout the year, and identify water drainage patterns. The time-lapse feature shows seasonal changes. More powerful than Google Maps for serious planning.
Check Current Price on Amazon →Design Your Permaculture Zones This Week
Permaculture zones transform homestead chaos into organized, sustainable productivity. By placing your home, gardens, animals, and resources according to how often you visit and how much they need tending, you reclaim hours of weekly labor and create systems that improve over time. Start by mapping your current daily patterns and marking distances from your home. Your paper plan doesn’t need to be perfect—it needs to reflect your reality.
The power of zones reveals itself in the first month. When your herb garden and vegetable seedlings sit steps from your kitchen, you harvest them more often and catch problems early. When chickens occupy Zone 2 instead of a distant backyard, egg collection becomes a quick, pleasant routine instead of a chore. When perennial trees and bushes thrive in Zone 2 with minimal fuss, you stop fighting against your land’s natural patterns. Spend this week measuring your property, sketching your zones, and testing the layout on the ground. Your future self—the one who isn’t exhausted from inefficient homestead management—will thank you.
Frequently Asked Questions
How do I handle a small property where all zones can’t fit?
Prioritize Zones 0, 1, and 2 first. You can compress or skip Zones 3, 4, and 5 on smaller properties. Many homesteaders on 1-2 acres create intensive Zones 1 and 2 with minimal space for Zone 3, allowing neighbors’ larger fields to serve that function.
Can zones curve or have irregular shapes instead of circles?
Absolutely. Concentric circles are conceptual guides, not rigid requirements. Adapt zone shapes to your terrain, existing structures, water sources, and natural traffic patterns. An L-shaped Zone 1 following your home’s footprint works better than forcing a circle.
What if my property slopes dramatically in one direction?
Slope changes your zone layout significantly. South-facing slopes receive more sun and suit intense gardens. North slopes work for shade-tolerant plants and animal shelter. Water naturally flows downslope—position water-loving plants and livestock watering areas accordingly.
Should I change my zones if I realize my initial plan doesn’t match reality?
Yes, and this is expected. Live with your initial layout for at least one season. Your actual walking patterns, energy levels, and daily priorities will reveal refinements. Adjust plantings and structures gradually as you learn what works for your unique situation.
How do I prevent Zone 1 from growing into Zone 2?
Use physical barriers like pathways, hedges, or fencing to define zone boundaries. Clear sight lines and intentional transitions help you maintain the energy and management level appropriate for each zone. Without boundaries, the intensive zone creeps outward and becomes unsustainable.
As an Amazon Associate, Build & Bloom earns from qualifying purchases. We only recommend products we genuinely think are useful. Prices and availability vary; check Amazon for the latest.
Leave a Reply