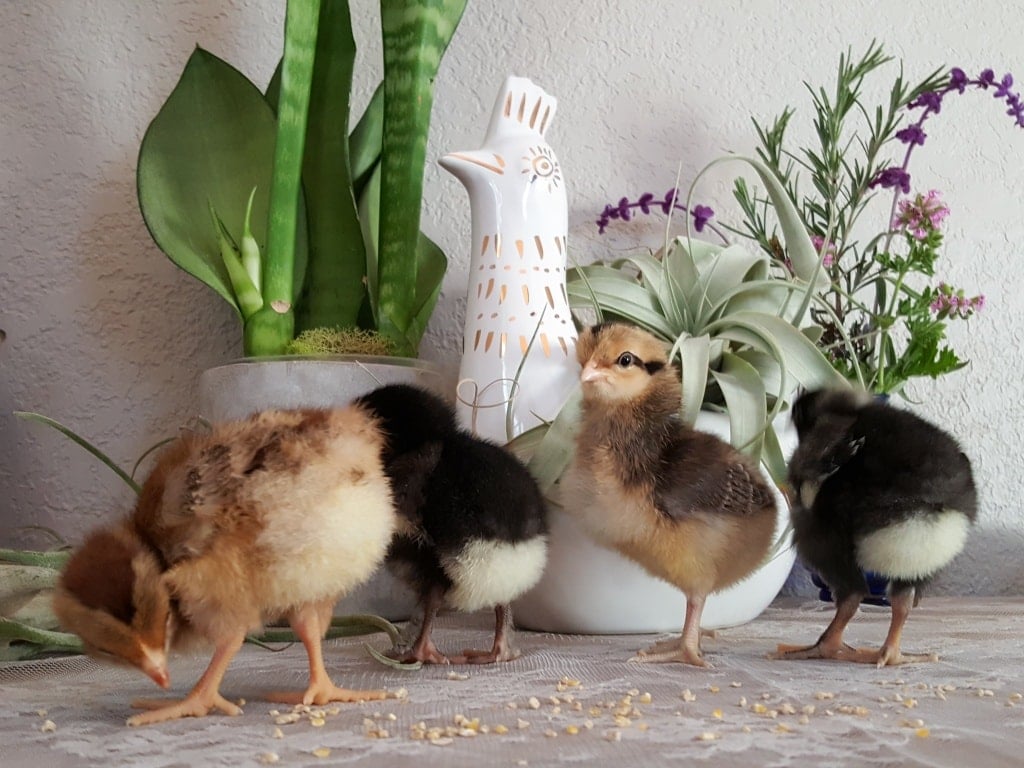

Bringing home your first batch of baby chicks is exciting–but those fuzzy little creatures are surprisingly fragile. Without a proper brooder setup, chicks can become stressed, sick, or fail to thrive within days. The good news: building a functional brooder isn’t complicated or expensive. You just need to understand the essentials: heat management, space, bedding, and ventilation. This guide walks you through exactly what to do on day one and how to keep your chicks healthy through their first critical weeks.
How to Build and Manage a Chick Brooder
A brooder is simply a contained space that mimics a mother hen’s warmth and protection. Whether you use a cardboard box, plastic storage container, or wooden frame, the principles remain the same.
What You Will Need
- A brooder container large enough for all chicks (minimum 0.5 square feet per chick, ideally 1 square foot each)
- A heat lamp with adjustable stand or mounting hardware
- Clean bedding material such as pine shavings or sand (avoid cedar and chlorinated softwood)
- Waterer and feeder designed for chicks (prevents drowning and contamination)
- A reliable thermometer to monitor temperature at chick level
- Food formulated for chicks (starter crumble, medicated or non-medicated based on your needs)
Steps
Prepare Your Brooder Container
Choose a container with solid walls and a top that allows air circulation. A cardboard box works for small flocks; larger operations benefit from stock tanks or wooden frames. The container must be escape-proof and large enough that chicks never touch the heat lamp directly. Ensure at least one side has adequate ventilation to prevent ammonia buildup, but avoid drafts at chick level.
Set Up Heat and Temperature Control
Mount your heat lamp 8-12 inches above the brooder floor. On day one, the temperature at chick level should reach 95°F. Use your thermometer to verify this before adding chicks. The lamp should create a warm zone where chicks can huddle, with a cooler area to retreat to. Reduce temperature by 5°F each week until chicks are fully feathered (around week 6-8).
Add Bedding and Create Clean Environment
Spread 2-3 inches of clean bedding evenly across the brooder floor. Change bedding daily or every other day, as wet and soiled litter breeds disease and respiratory problems. Chicks produce significant waste, so frequent cleaning is non-negotiable. Watch for ammonia smell–if you notice it, the brooder needs immediate cleaning.
Install Waterer and Feeder
Place the waterer and feeder on opposite sides of the brooder to encourage movement and reduce contamination. Ensure chicks can access both easily without tipping them over. Fill the waterer with room-temperature water on day one. Some keepers dip each chick’s beak into water upon arrival to ensure they know where to drink.
Introduce Chicks on Day One
Place chicks gently in the brooder near the waterer so they discover it immediately. Watch for huddling behavior: if all chicks cluster directly under the lamp, the temperature is too cool and needs adjustment. If they scatter to the edges, the lamp is too hot. The right temperature creates a balanced group with some chicks under the lamp and others exploring.
Monitor Health and Behavior Daily
Observe chicks for lethargy, labored breathing, or diarrhea–all signs of temperature stress or illness. Healthy chicks are active, eating regularly, and alert. Check the brooder multiple times daily during the first week to catch problems early. Remove any dead or injured chicks immediately and isolate sick ones if possible.
Manage Temperature Decline Weekly
Starting in week two, reduce the heat lamp temperature by 5°F each week. Raise the lamp higher or reduce daily heat lamp runtime. By week 6-8, depending on outdoor conditions and chick development, chicks should be ready to transition to a coop. Watch for signs they no longer need heat: they avoid the lamp area and spend time exploring the cooler zone.
- Use a 100-watt incandescent or ceramic heat lamp; LED lights don’t radiate enough warmth. Red or clear bulbs are preferable to avoid startling chicks.
- Never use a heat pad or heating pad as your primary heat source–they don’t warm the entire brooder space and create dangerous hot spots.
- Keep a backup heat lamp and bulb on hand. A failed heat lamp in cold weather can kill your entire flock within hours.
What to Look For in Brooder Equipment
- Heat Lamp Quality and Safety: Choose a lamp with a ceramic socket rated for high heat. Metal fixtures should be rust-resistant and include a sturdy stand or mounting hardware. Look for lamps with adjustable height or dimmer compatibility to fine-tune temperature control. Avoid cheap plastic fixtures that can melt or fail.
- Thermometer Accuracy: Invest in a reliable digital or dial thermometer with a probe that can be positioned at chick level. Infrared thermometers are convenient for spot-checking, but a fixed thermometer gives you continuous temperature data. Accuracy within 1-2 degrees is essential since chicks are sensitive to temperature swings.
- Waterer and Feeder Design: Select waterers and feeders sized for chicks, not adult birds. Look for designs that minimize spillage and contamination, such as nipple drinkers or bell fountains paired with shallow feeders. Avoid deep containers where chicks can drown or track bedding into food and water.
- Brooder Container Durability: Whether you choose a plastic storage tub, cardboard box, or custom wooden frame, ensure it’s sturdy enough to contain active chicks without collapsing. Plastic and wooden options last multiple seasons; cardboard works for one batch. Ventilation and escape-proof design are equally important as material strength.
Zoomed Repti Infrared Heat Lamp with Ceramic Socket
Best for: Any chick brooder setup requiring reliable, adjustable heat
The Zoomed Repti lamp features a high-quality ceramic socket rated for 150 watts, making it durable and long-lasting even with frequent on-off cycles. The aluminum reflector focuses heat downward for efficient warming, and the adjustable height allows precise temperature control. It includes a sturdy clamp stand that mounts securely to brooder edges, and the ceramic socket accepts standard incandescent or ceramic bulbs. This lamp is the workhorse of poultry brooding and handles the demands of daily use without overheating or failing.
Check Current Price on Amazon →Farm Innovators Model 2500 Heated Waterer
Best for: New chicken keepers who want to prevent water freezing and contamination
This heated waterer maintains water temperature, preventing chicks from chilling when drinking cold water. The plastic base keeps bedding out of the water supply, and the wide, shallow design prevents drowning. At 4.75 gallons, it holds enough water for a small flock over several days, reducing daily refill frequency. The heating element uses minimal electricity and operates on a standard outlet. It’s designed for cold-weather use but works equally well in brooders where consistent water temperature supports chick health.
Check Current Price on Amazon →Miller Manufacturing Plastic Chick Feeder
Best for: Budget-conscious keepers raising small flocks
This simple, durable plastic feeder holds enough starter crumble for a day and prevents chicks from trampling food into bedding. The shallow pan design lets chicks access feed easily without wasting it. At just a few dollars, it’s an economical choice that lasts multiple seasons. The red color attracts chicks to the feed location, and the compact size fits perfectly in small brooders. While basic in design, it performs the essential function reliably and requires minimal maintenance.
Check Current Price on Amazon →Accurate Digital Thermometer with Probe
Best for: Precise temperature monitoring essential to chick survival
This battery-powered digital thermometer displays temperature in large numerals and includes a 3-foot probe that you position directly at chick level. The unit reads in both Fahrenheit and Celsius and maintains memory of high and low temperatures, helping you spot fluctuations. Its compact design clips to brooder edges, and the 3-foot probe range accommodates larger brooders. Accuracy within 1 degree is critical for maintaining the 95°F day-one standard, and this unit delivers consistent, reliable readings.
Check Current Price on Amazon →Success Starts with Setup
Raising healthy chicks begins the moment they arrive home. A well-designed brooder with proper heat, clean bedding, accessible food and water, and careful daily monitoring sets the foundation for strong, productive birds. Your investment in a good heat lamp and thermometer pays dividends in reduced mortality and better growth. Many keepers find that the first few weeks of brooding are actually the most rewarding–watching fuzzy chicks grow and develop is addictive, and the lessons you learn now shape your entire poultry operation.
Remember that chicks are hardy creatures, but they respond poorly to neglect and extreme temperature swings. Check your brooder multiple times daily, especially the first week. Document temperatures and observations, and don’t hesitate to adjust your setup if chicks show signs of stress. By week six or eight, when they’re ready to transition to a coop, you’ll have healthy, vigorous birds ready to thrive. That strong start makes all the difference in a successful homestead flock.
Frequently Asked Questions
What temperature should a chick brooder be on day one?
On day one, maintain 95°F at chick level (measured at the warmest spot near the heat lamp). Reduce by 5°F each week. By week six, chicks should be fully feathered and can tolerate cooler temperatures without supplemental heat, depending on outdoor conditions.
How many chicks can I raise in a single brooder?
Aim for 0.5 to 1 square foot per chick. A 2×4-foot brooder safely holds 8-16 chicks, depending on their size and age. Overcrowding increases disease risk, mortality, and cannibalistic pecking. Provide more space as chicks grow, or split them into multiple brooders.
Can I use a regular light bulb instead of a heat lamp?
No. Regular incandescent bulbs don’t generate enough radiant heat to warm a brooder space. You need a dedicated heat lamp with a reflector. 100-watt incandescent or ceramic heat lamps are the minimum; higher wattages work for larger brooders.
What bedding material is safest for chicks?
Pine shavings and sand are safe and absorbent. Avoid cedar and chlorinated softwood, which are toxic to chicks. Paper bedding and straw work but retain moisture. Change bedding daily or every other day to prevent ammonia buildup and respiratory disease.
How do I know if my chicks are too hot or too cold?
Cold chicks huddle directly under the heat lamp and peep loudly. Hot chicks scatter to the edges, pant, and avoid the lamp area. Correctly heated chicks are spread throughout the brooder, active, and quiet except during natural peeping. Adjust the lamp height or use a dimmer to achieve this balance.
As an Amazon Associate, Build & Bloom earns from qualifying purchases. We only recommend products we genuinely think are useful. Prices and availability vary; check Amazon for the latest.
Leave a Reply