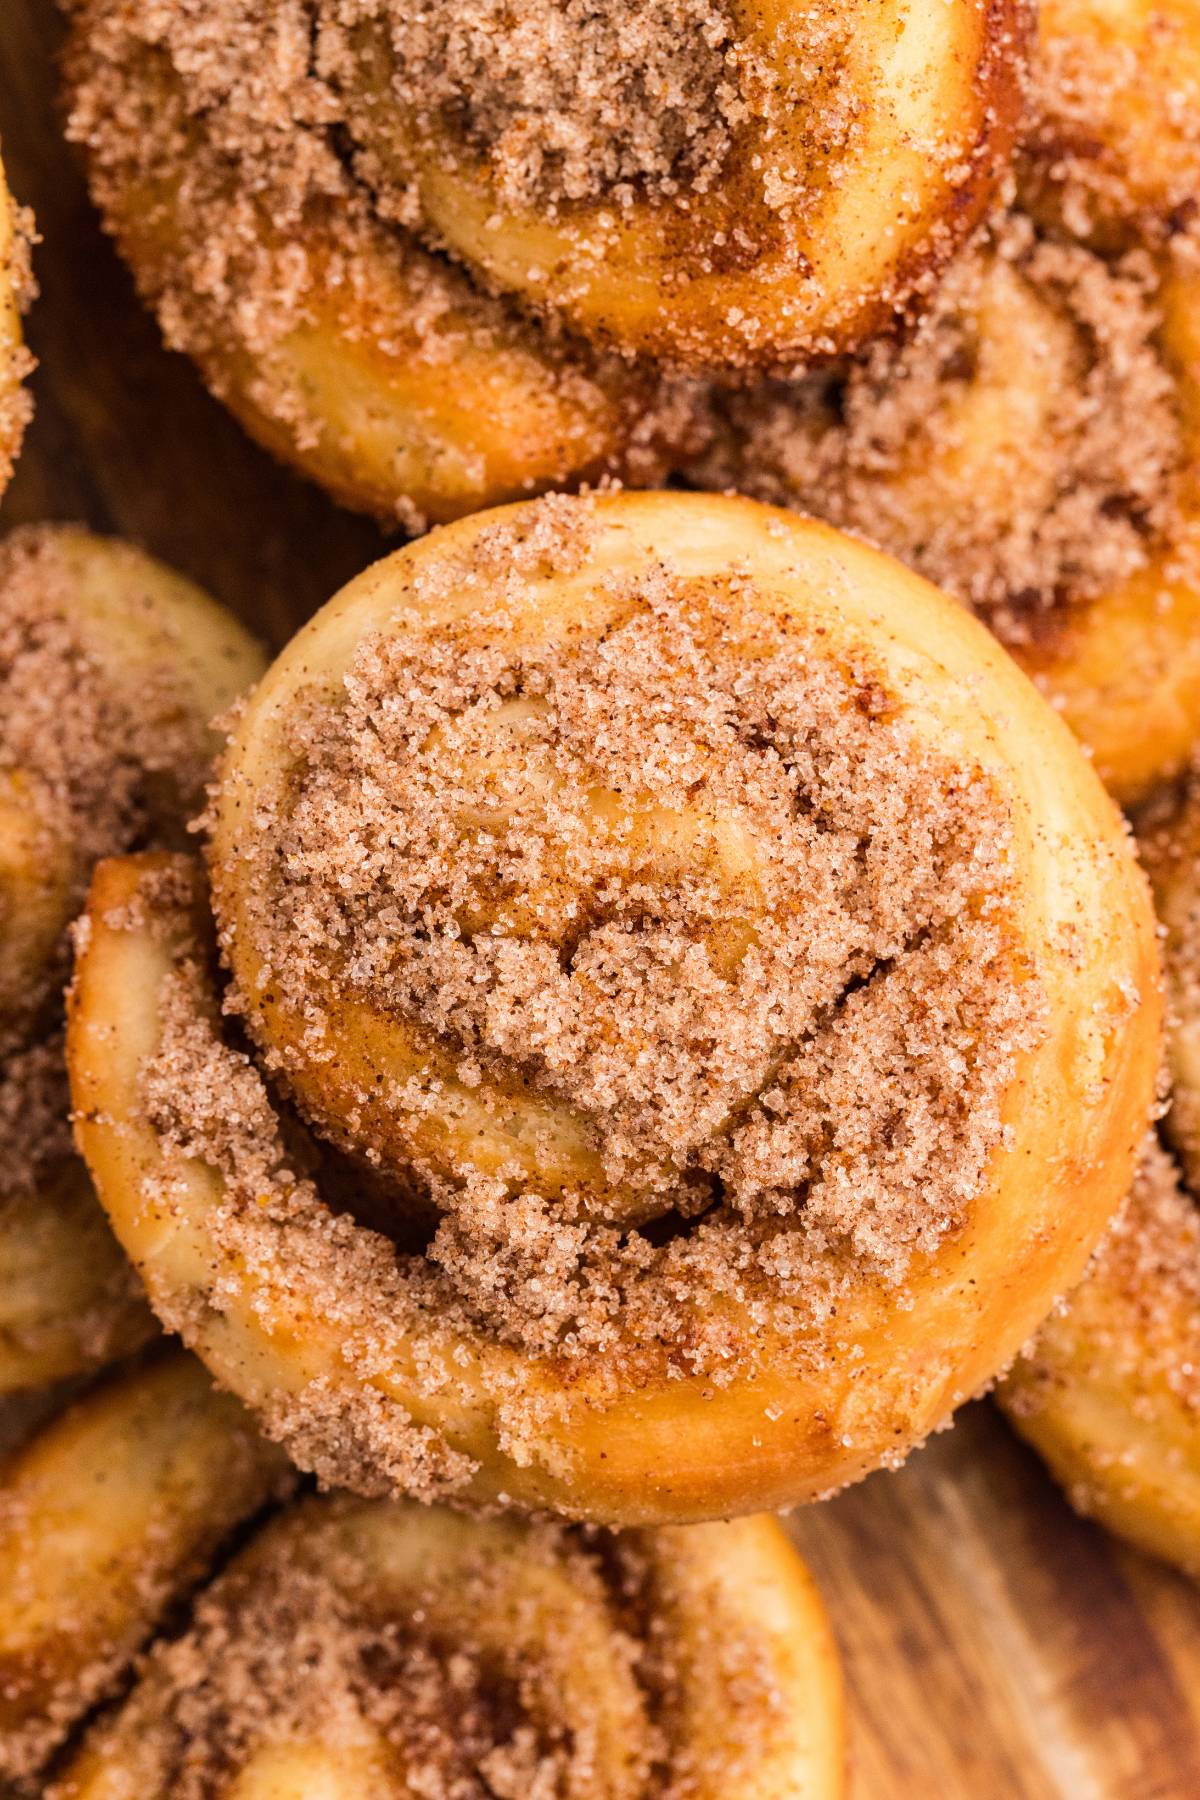

If you’ve been feeding a sourdough starter, you probably have visions of crusty bread loaves. But one of the most impressive (and delicious) uses for that starter is morning buns—those spiral pastries with crispy, caramelized edges and a pillowy center that seem impossible to make at home. The truth? They’re closer to achievable than you think, and they taste noticeably better than bakery versions because your sourdough starter brings depth and complexity to every bite. This guide walks you through the entire process, from mixing the dough to pulling golden-brown buns from your oven.
How to Make Sourdough Morning Buns
Sourdough morning buns require patience but minimal active time. The dough rests overnight, allowing the sourdough flavor to develop while you sleep, and lamination creates those beautiful, crispy layers.
Ingredients
- 1 cup active sourdough starter (fed 4-8 hours prior, bubbly and doubling)
- 3/4 cup whole milk, warmed
- 3 tablespoons granulated sugar
- 1 1/2 teaspoons salt
- 2 3/4 cups all-purpose flour
- 6 tablespoons cold butter, plus 4 tablespoons for filling and topping
- 1/3 cup granulated sugar mixed with 1 tablespoon ground cinnamon (for filling)
Method
Mix the dough base
Combine your active sourdough starter, warm milk, sugar, and salt in a large mixing bowl. Stir until evenly combined. Add the flour gradually, mixing until a shaggy dough forms with no dry flour visible. Let this mixture rest for 20 minutes to allow the flour to fully hydrate.
Knead and develop gluten
Using your hands or a stand mixer with a dough hook, knead the dough for 8-10 minutes until it becomes smooth and elastic. The dough should spring back slowly when poked. This develops the gluten structure needed for those tender, flaky layers.
Laminate with butter
Roll out the dough into a rough rectangle. Dot the 6 tablespoons of cold butter over the surface and fold the dough onto itself (like folding a letter into thirds), then rotate 90 degrees and fold again. Repeat this folding and rotating 4-6 times, chilling for 15 minutes between folds if the dough becomes too warm.
Shape and fill
Roll the laminated dough into an 8×12-inch rectangle. Spread the softened butter over the surface, then sprinkle the cinnamon-sugar filling evenly across. Roll tightly from one long edge, then cut into 8-10 equal pieces. Place cut-side up in a parchment-lined baking pan.
Cold overnight proof
Cover the shaped buns loosely with plastic wrap and refrigerate overnight (or up to 24 hours). This slow proof develops flavor and makes them easier to bake. The buns should rise slightly but not double during this time.
Bring to room temperature and bake
Remove the buns from the refrigerator 30-45 minutes before baking. They should be slightly puffy but not bursting. Preheat your oven to 375°F. Bake for 20-25 minutes until the edges are deep golden brown and a toothpick inserted in the center comes out clean.
Cool and serve
Transfer the buns to a wire rack for 10 minutes to set. They’ll be fragile when warm but will firm up as they cool. Serve warm or at room temperature with coffee or tea.
- Make sure your sourdough starter is truly active before mixing–it should be roughly doubled in size with visible bubbles and a pleasant sour smell. A weak starter will result in dense, underproofed buns.
- Keep your butter cold during lamination. Warm butter will blend into the dough rather than create distinct layers. If your kitchen is hot, freeze the dough for 15-20 minutes between folds.
- Don’t skip the overnight proof. This is where the sourdough flavor develops and the dough becomes easier to handle. Rushing this step results in less flavor and less impressive texture.
What to Look For in Sourdough Baking Equipment
- Stand mixer capacity: A 5-6 quart capacity allows you to knead sourdough doughs without overflow. Smaller mixers struggle with the thick, sticky consistency of sourdough and may overheat.
- Bench scraper material and edge quality: Stainless steel or rigid plastic scrapers with a sharp, smooth edge help you cut buns cleanly without crushing the laminated layers. Dull or flexible scrapers will mangle the delicate structure.
- Parchment paper quality: Heavy-duty parchment prevents sticking and won’t tear during handling or when you transfer buns to the oven. Thin parchment paper can shred and stick to bottoms.
- Instant-read thermometer accuracy: A reliable thermometer lets you verify your milk temperature for the dough (should be 80-90°F) and check doneness without cutting into the bun, preventing heat loss and moisture escape.
KitchenAid Artisan 5-Quart Stand Mixer
Best for: Sourdough bakers who knead regularly
The 5-quart bowl and powerful motor make laminating dough effortless. The dough hook provides consistent, thorough kneading without the hand fatigue of manual mixing. Spiral motion mimics hand-kneading, developing gluten properly. The tilt-head design allows easy access to the bowl, and the included accessories work well for multiple baking projects. KitchenAid’s reputation for durability means this mixer will handle years of sourdough making.
Check Current Price on Amazon →Oster Planetary Stand Mixer with 6-Quart Stainless Steel Bowl
Best for: Budget-conscious home bakers
Delivers reliable mixing performance at a fraction of premium brand prices. The 6-quart capacity handles large dough batches, and planetary mixing action ensures even distribution of ingredients. Stainless steel construction resists staining from sourdough. While less feature-rich than higher-end models, it performs the essential mixing and kneading tasks needed for morning buns with quiet, steady operation.
Check Current Price on Amazon →OXO Good Grips Bench Scraper
Best for: Home bakers new to lamination
The wide, flat blade with a sharp edge cuts through laminated dough cleanly without crushing delicate layers. Ergonomic handle reduces hand strain during repetitive scraping and portioning. The flat design works equally well for dividing dough and cleaning baking surfaces. At an accessible price point, this stainless steel scraper is an essential tool that belongs in every baker’s drawer and makes the lamination process visibly easier.
Check Current Price on Amazon →Thermapen One Instant Read Thermometer
Best for: Precision-focused bakers
Provides accurate temperature readings in under two seconds, with a waterproof design and backlit display. Essential for verifying milk temperature (80-90°F for optimal fermentation) before mixing and checking internal bun temperature (205°F for doneness). The narrow probe won’t create large holes in finished buns, and the instant reading means less heat loss from the oven. Professional-grade accuracy makes this a worthwhile investment for serious sourdough work.
Check Current Price on Amazon →Wilton Parchment Paper Roll, 15-Inch
Best for: Regular bakers who want durability
A heavy-duty parchment paper roll that resists tearing and sticking through multiple uses. The 15-inch width accommodates most standard baking pans, and the roll format is more economical than pre-cut sheets. Food-grade silicone coating prevents both dough and caramelized sugar from adhering, making bun transfer seamless. This is one of the best value purchases you can make if you bake regularly.
Check Current Price on Amazon →Ateco Stainless Steel Dough Scraper with Wood Handle
Best for: Bakers with limited storage space
A smaller, lighter bench scraper ideal if you prefer working with less bulk. The wood handle provides a comfortable grip and the stainless steel blade still cuts cleanly through laminated dough. Compact design fits easily in a drawer or utensil crock. While slightly less durable than all-metal designs, this option works perfectly for occasional to moderate use and takes up minimal counter or storage space.
Check Current Price on Amazon →Signed Silicone Baking Mat 16.5×11.6 Inch
Best for: Eco-conscious bakers avoiding paper waste
A reusable alternative to parchment paper that eliminates waste while providing excellent non-stick performance. Food-grade silicone withstands hundreds of uses and bakes evenly. The mat can be placed directly on your baking sheet, eliminating the need to line it separately. Particularly useful if you’re baking morning buns frequently and want to reduce paper consumption. Easy to clean and maintains flexibility even after years of use.
Check Current Price on Amazon →Breville Control Grip Stainless Steel Mixing Bowl
Best for: Bakers who want premium bowl replacements
Designed to pair with stand mixers, this stainless steel bowl features a non-slip grip base that prevents movement during mixing. Heavy-gauge construction resists denting from repeated use with tough doughs. The wide mouth design makes dough insertion and removal easy, and the bowl is dishwasher safe. While a premium investment, a quality bowl is worth it if you bake frequently–it will outlast multiple cheaper alternatives and improves the mixing experience noticeably.
Check Current Price on Amazon →Final Recommendation
Sourdough morning buns represent the sweet side of sourdough baking and reward patience with complexity and texture that no commercial bakery can match. The overnight proof develops flavor you simply can’t rush, and the lamination technique–while requiring attention to temperature and timing–is entirely manageable for home bakers. Start with the basic recipe, invest in a reliable bench scraper and stand mixer if you bake frequently, and trust the process. Your first batch may not be perfect, but by your third attempt, you’ll have the rhythm down and the results will astound you.
The real magic of these buns is in the combination of sourdough tang and butter lamination creating something neither ingredient alone can achieve. Your friends will ask for the bakery name. The satisfaction of telling them you made them at home, from scratch, using a culture you maintain yourself, is worth every minute spent folding dough and waiting overnight. Stock your kitchen with the essential tools listed above, feed your starter, and prepare to elevate your weekend breakfast.
Frequently Asked Questions
Can I make these without a stand mixer?
Yes, you can hand-knead the dough, though it will require more effort and time (about 12-15 minutes of vigorous kneading). The lamination process (folding in butter) is actually easier to control by hand, so don’t feel you need a mixer to succeed.
What if my sourdough starter isn’t doubling?
Your starter may need more frequent feedings to become more active. Feed it once or twice daily for 3-5 days, keeping it at room temperature. Once it reliably doubles within 4-8 hours of feeding, it’s ready for baking. Weak starter results in flat, sour-tasting buns.
Can I freeze the shaped buns before the overnight proof?
Yes. Shape the buns, place them on a parchment-lined pan, and freeze uncovered for 2 hours until solid. Then wrap tightly in plastic and freeze for up to 2 weeks. When ready to bake, thaw at room temperature for 1-2 hours, then bake as directed.
Why are my buns dense and not flaky?
Dense buns usually indicate insufficient lamination or inadequate proofing. Make sure you’re folding the dough 4-6 times with chilling between folds, and don’t rush the overnight proof. Also verify your starter is truly active before mixing.
How long do baked morning buns stay fresh?
Store cooled buns in an airtight container at room temperature for 2-3 days. They can be frozen in an airtight bag for up to 1 month. Reheat gently in a 300°F oven for 8-10 minutes to restore texture and warmth.
As an Amazon Associate, Build & Bloom earns from qualifying purchases. We only recommend products we genuinely think are useful. Prices and availability vary; check Amazon for the latest.
Leave a Reply