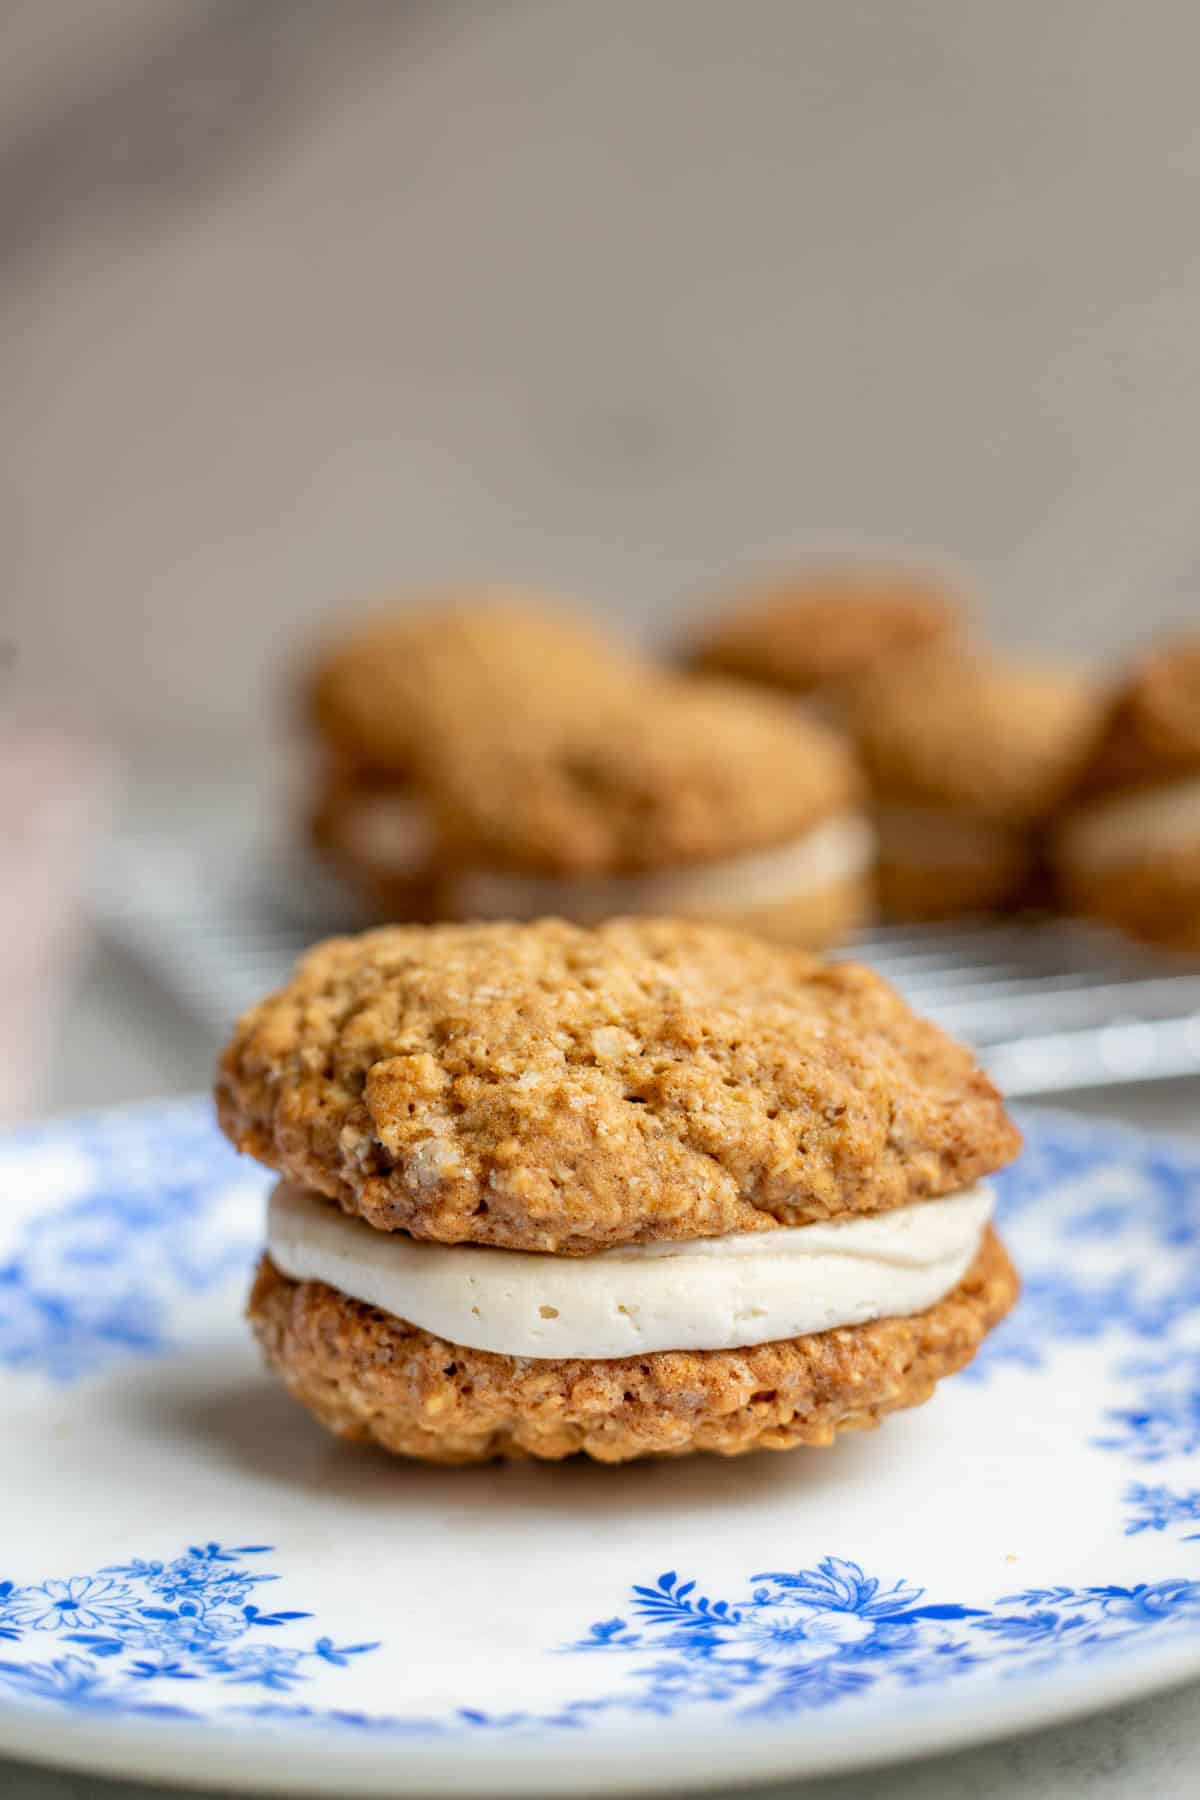

If you’ve been making sourdough bread but haven’t explored what else that active starter can do, you’re missing out. Sourdough oatmeal cream pies are a delightful way to use your discard or mature starter, creating soft, chewy cookie bases that sandwich a rich cream filling. The slight tang from the sourdough complements the buttery oatmeal perfectly, and they’re far easier than you’d expect.
How to Make Sourdough Oatmeal Cream Pies
These hand-held pies come together in two parts: the oatmeal cookie base and the sweet cream filling. Both can be made ahead, making this a flexible recipe for batch baking.
Ingredients
- 1 cup active sourdough starter (fed and bubbly)
- 1/2 cup butter, softened
- 3/4 cup brown sugar
- 1/4 cup granulated sugar
- 1 large egg
- 1 1/2 cups all-purpose flour, 1 cup rolled oats, 1 teaspoon baking soda, 1/2 teaspoon cinnamon, 1/4 teaspoon salt
- For filling: 1/4 cup butter, 1/4 cup vegetable shortening, 1 cup powdered sugar, 2 tablespoons milk, 1 teaspoon vanilla extract
Method
Prepare and mix the base dough
In a large mixing bowl, combine softened butter with both sugars, beating until light and fluffy (about 2 minutes). Add your active sourdough starter and the egg, mixing until fully incorporated. The dough should be thick and creamy at this stage.
Combine dry ingredients
In a separate bowl, whisk together flour, rolled oats, baking soda, cinnamon, and salt. Gradually fold the dry mixture into the wet ingredients until just combined. Do not overmix; a few flour streaks are fine. The dough will be thick and slightly sticky.
Chill the dough
Cover the dough and refrigerate for at least 30 minutes. This makes it easier to handle and improves flavor development. You can chill for up to 24 hours if planning ahead.
Shape the cookie bases
Preheat your oven to 350 degrees Fahrenheit. Lightly flour a work surface and divide dough into 12 equal portions. Roll each piece into a ball, then gently flatten into a 2-inch disc. Place on lined baking sheets spaced 2 inches apart.
Bake the cookies
Bake for 10-12 minutes until the edges are set but the centers remain slightly soft and chewy. The cookies should look slightly underbaked. Remove from oven and cool completely on the baking sheet before moving.
Make the cream filling
While cookies cool, beat softened butter and shortening together until creamy. Gradually add powdered sugar, milk, and vanilla extract, beating until light and fluffy. Taste and adjust sweetness if desired. The filling should have a spreadable frosting-like consistency.
Assemble the pies
Once cookies are completely cool, spread or pipe about 1 tablespoon of cream filling onto the flat side of one cookie. Press another cookie flat-side down on top to create a sandwich. Repeat with remaining cookies and filling.
Store and serve
Arrange finished pies in an airtight container. They keep well at room temperature for 2-3 days or refrigerated for up to a week. The flavors actually improve slightly as they meld together over time.
- Make sure your sourdough starter is at peak activity (bubbly, doubled in size) before using. A sluggish starter will result in denser cookies without the characteristic tangy flavor.
- Don’t skip the chilling step. It prevents spreading and gives the sourdough flavor time to develop, creating more complex taste.
- Slightly underbaked cookies are the key to the perfect texture. They’ll continue cooking slightly on the hot pan and soften further as they cool, giving you that ideal chewy center.
What to Look For in Baking Equipment
- Quality Mixing Bowls: Look for durable stainless steel or heavy ceramic bowls that won’t tip during vigorous mixing. A set with multiple sizes lets you keep wet and dry ingredients separate without washing between steps.
- Reliable Kitchen Scale: Digital scales eliminate guesswork in measuring flour and other ingredients by weight, which is more accurate than volume measurements and ensures consistent results every batch.
- Insulated Baking Sheets: Heavy-duty insulated cookie sheets prevent burning on the bottom while promoting even browning. They’re especially important for delicate sourdough cookies that can brown too quickly.
- Electric Stand Mixer: Saves time and arm strength when creaming butter and sugar, and produces a lighter, fluffier base dough. Essential if you bake frequently or make large batches.
KitchenAid Artisan Series 5-Quart Stand Mixer
Best for: Home bakers who want reliable, consistent results
The gold standard for home baking, this powerful stand mixer creams butter and sugar to perfection and handles sourdough-based doughs with ease. The 5-quart stainless steel bowl accommodates full batches, and the flat beater attachment creates fluffy filling without overworking it. Built to last decades with excellent warranty support.
Check Current Price on Amazon →Sunbeam Products Stand Mixer with Stainless Steel Bowl
Best for: Budget-conscious bakers starting their collection
A no-frills stand mixer that handles the job at half the price of premium brands. The 4-quart bowl and multiple speed settings work well for creaming and mixing batters. While not as durable as high-end models, it’s a solid entry point for occasional bakers.
Check Current Price on Amazon →OXO Good Grips 3-Piece Nested Mixing Bowl Set
Best for: New bakers who want to keep it simple
This three-piece set includes everything you need at an accessible price point. The non-slip bottoms keep bowls steady during mixing, and the measurements molded inside help you track quantities. Dishwasher-safe stainless steel with easy-grip handles.
Check Current Price on Amazon →All-Clad Stainless Steel Mixing Bowl Set
Best for: Serious home bakers seeking heirloom quality
Professional-grade bowls made from the same materials as All-Clad cookware. The polished stainless steel resists dents and discoloration, and the heavy construction feels substantial. Worth the investment if you bake regularly and expect equipment to last a lifetime.
Check Current Price on Amazon →Final Recommendation
Sourdough oatmeal cream pies represent the perfect intersection of resourcefulness and indulgence. You’re using sourdough starter that might otherwise go to waste, transforming it into sophisticated homemade treats that store-bought versions can’t match. The slight tang from the sourdough elevates these far beyond ordinary oatmeal cookies, while the creamy filling makes them special enough for gifting or serving at gatherings.
The equipment investment is minimal compared to the joy of pulling warm cookies from your oven. A good stand mixer and insulated baking sheets will serve you through hundreds of baking projects, making them worthwhile additions to any kitchen. Start with this recipe, then experiment with adding chocolate chips, maple flavoring, or different cream filling variations once you master the base. Your sourdough journey extends far beyond loaves.
Frequently Asked Questions
Can I use sourdough discard for this recipe instead of active starter?
Yes, sourdough discard works great here. The recipe is actually designed to use starter that might otherwise go to waste. Just make sure you’re using discard that’s been stored and fed regularly for best flavor and rise.
How long do sourdough oatmeal cream pies stay fresh?
They keep at room temperature in an airtight container for 2-3 days, or refrigerated for up to a week. The filling keeps them moist and they actually taste better as the flavors meld. Avoid storing in the freezer as the cream filling separates during thawing.
What’s the difference between using butter and shortening in the filling?
Butter provides flavor while shortening creates a lighter, fluffier texture that holds up better in warm weather without melting. Using both together gives you the best of both worlds: taste and stability.
Can I make these without a stand mixer?
Absolutely. Hand-mixing takes longer and requires more arm strength, but works fine. Cream the butter and sugar together vigorously for 3-4 minutes by hand, then fold in remaining ingredients as directed. An electric hand mixer is a nice middle ground option.
Why does my dough spread too much during baking?
This usually means the dough wasn’t chilled long enough or the oven temperature was too low. Always chill for at least 30 minutes and verify your oven temperature with a thermometer. Undercooled dough and low heat are the main culprits.
As an Amazon Associate, Build & Bloom earns from qualifying purchases. We only recommend products we genuinely think are useful. Prices and availability vary; check Amazon for the latest.
Leave a Reply