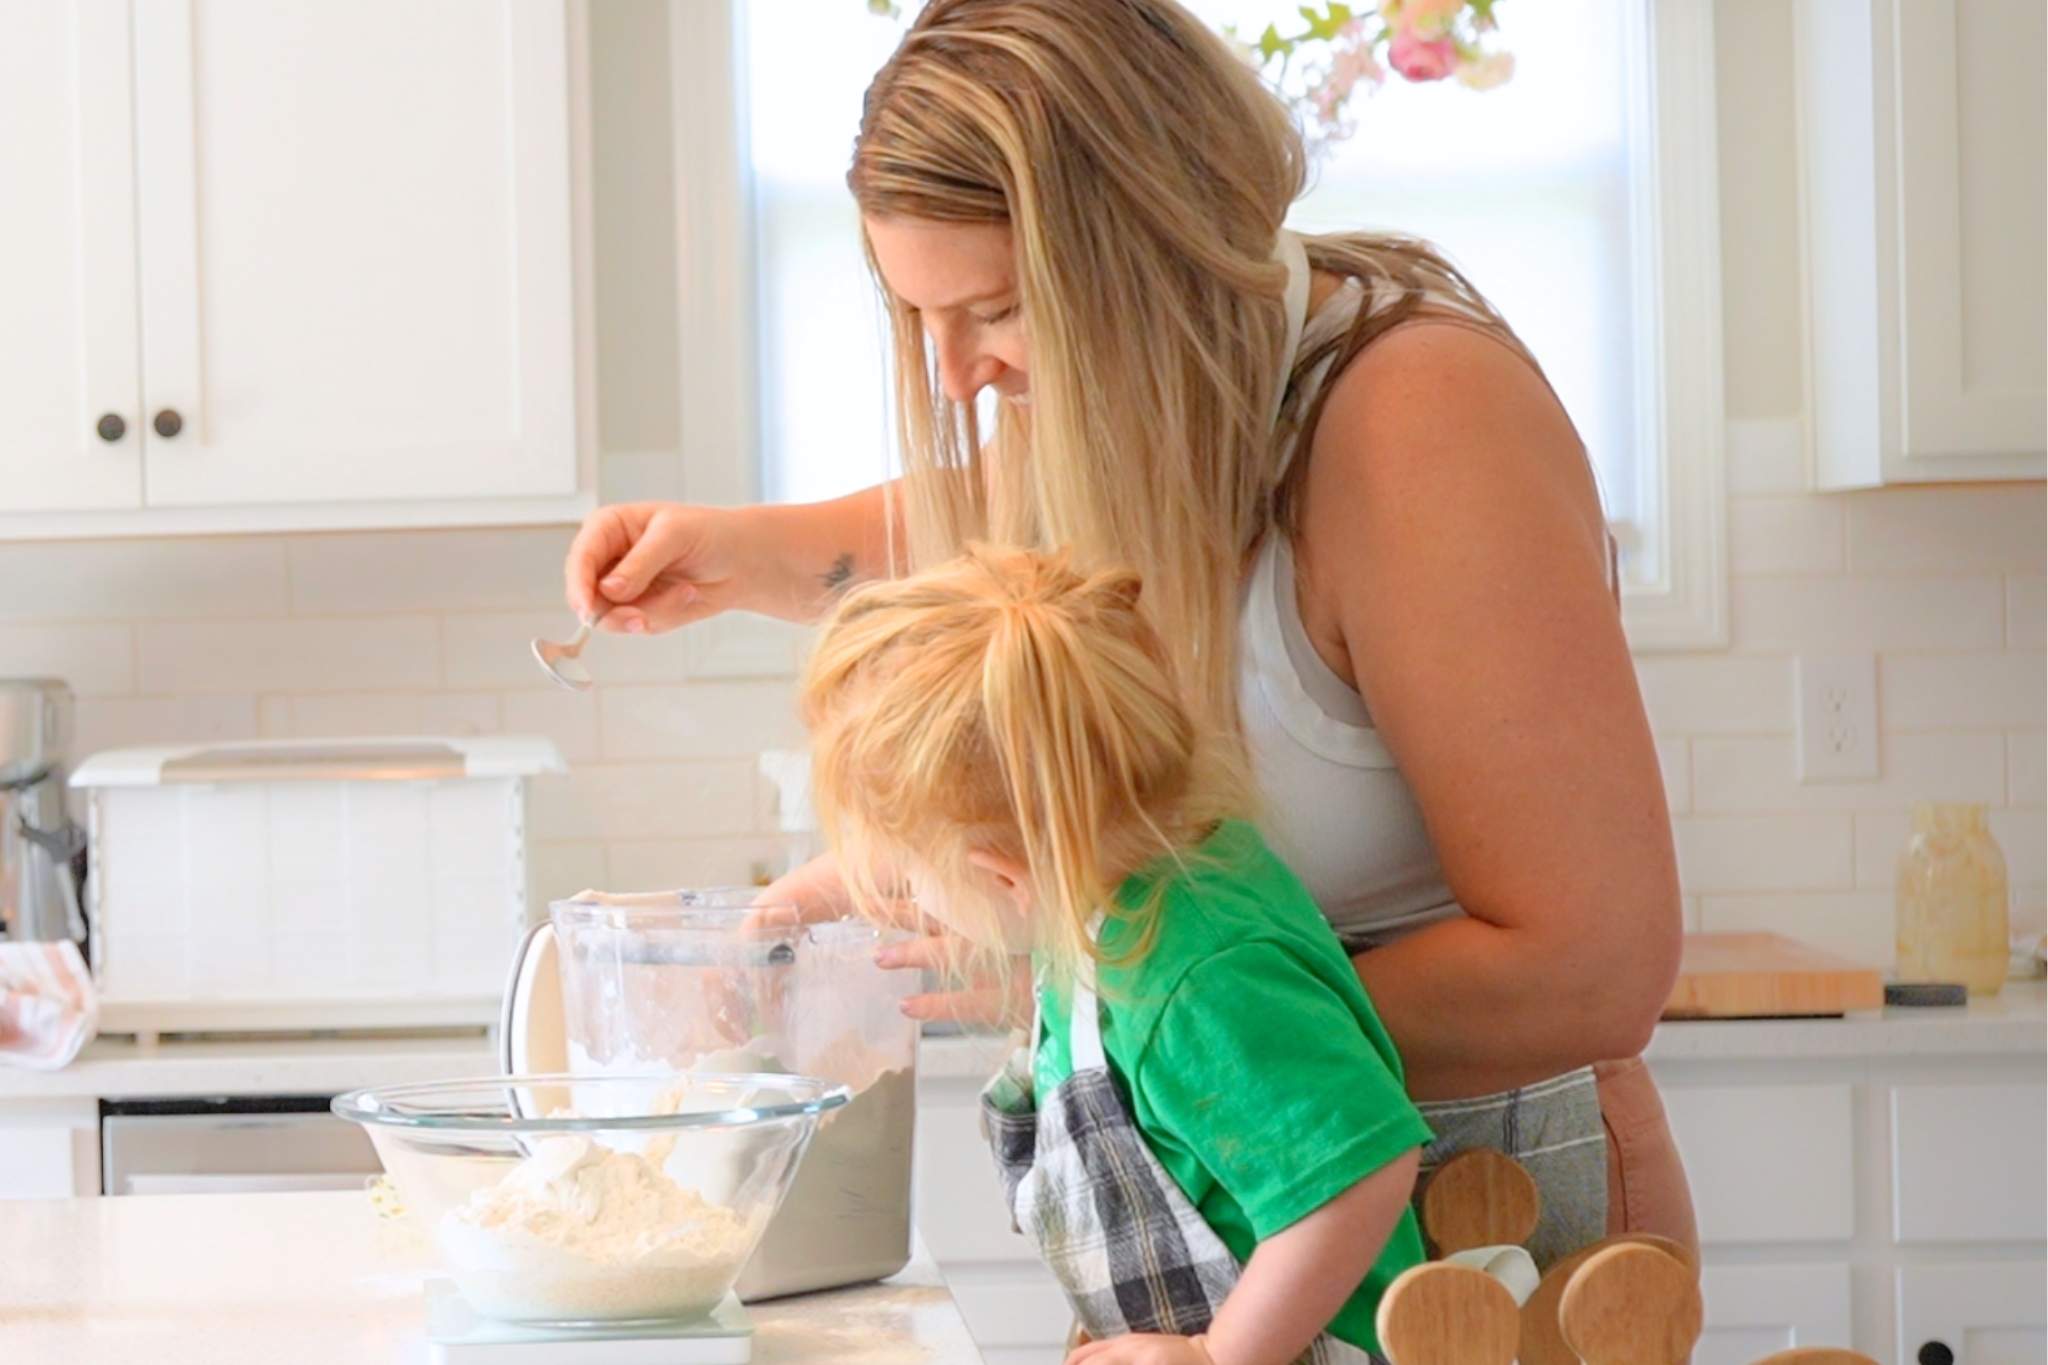

Making sourdough from scratch feels impossible when you’re juggling kids, work, and everything else. Most traditional sourdough recipes demand hours of monitoring and precise timing that doesn’t match real life. The good news: you can bake incredible sourdough using time-shifting techniques that let fermentation happen overnight in your fridge, require just 15 minutes of actual hands-on work, and still deliver that tangy, open crumb everyone craves. These methods are designed specifically for people who want artisan-quality bread without the artisan-level time commitment.
How to Make Time-Saving Sourdough in 5 Easy Steps
This method uses cold fermentation to do most of the work while you sleep, reducing your active time to just a few minutes spread across two days.
Ingredients
- Active sourdough starter (fed 4-8 hours prior, bubbly and peaked)
- Bread flour, 500g (about 3.5 cups)
- Water, 350ml (room temperature)
- Salt, 10g (about 2 teaspoons)
- A large mixing bowl and a banneton or cloth-lined bowl for proofing
Steps
Mix dough the night before
Combine flour and water in a bowl and let sit for 30 minutes (this is called autolyse and develops gluten naturally). Add your active starter and salt, mixing until all flour is incorporated. You’re looking for a shaggy, unified dough–don’t overwork it.
Perform bulk fermentation in the fridge
Transfer dough to a covered container and refrigerate for 12-16 hours. The cold slows yeast activity dramatically while bacteria continue developing flavor. You’ll wake up to dough that’s risen slightly and is much easier to handle than room-temperature dough.
Pre-shape with minimal effort
Remove dough from the fridge and gently turn it onto a lightly floured surface. Do one quick pre-shape by folding it into a loose round, then rest for 20 minutes. This step takes 2 minutes but helps gluten relax before final shaping.
Final shape and cold proof
Shape the dough into a round or batard, sealing the seam. Place it seam-side up in a banneton or bowl lined with a floured cloth. Cover and refrigerate for 4-8 hours (or even overnight again). This extended cold proof builds flavor and makes scoring easier.
Bake straight from the fridge
Preheat your oven and a covered baking vessel to 500F for 30 minutes. Score the cold dough directly from the fridge and bake covered for 20 minutes, then uncovered for 25-30 minutes until deeply golden. The residual moisture in cold dough creates steam naturally.
Cool completely before slicing
Transfer to a wire rack and let cool for at least 1 hour. This isn’t just for aesthetics–the crumb continues setting as it cools, giving you that clean slice rather than a gummy interior.
- Keep your starter fed on a consistent schedule (morning and evening) so it’s always ready. A reliable starter is the foundation of predictable, time-saving baking.
- Use the fridge as your time-management tool. Cold fermentation isn’t a shortcut in flavor–it’s actually superior because slow fermentation develops more complex taste.
- Invest in a banneton basket so dough holds its shape during long cold proofs. This prevents you from having to babysit the dough or worry about it spreading.
What to Look For in Sourdough Baking Equipment
- Dutch Oven or Covered Baker: Essential for trapping steam during the first stage of baking, which creates a crispy crust and proper oven spring. Look for cast iron or enameled ceramic that can handle 500F+ temperatures safely.
- Banneton Proofing Basket: Holds dough in shape during long fermentations without you having to worry about it flattening. Prevents handling stress on the dough and makes scoring much easier right before baking.
- Kitchen Scale: Sourdough success depends on precise ratios, not cups and spoons. A digital scale eliminates guessing and makes recipes reproducible, which is critical when building a reliable routine.
- Lame or Scoring Tool: A sharp blade for scoring dough right before baking controls where your loaf expands and creates that signature artisan appearance. Prevents tearing and improves oven spring.
Staub 5.5-Quart Round Cocotte
Best for: Home bakers prioritizing reliability and heat distribution
This enameled cast iron Dutch oven is purpose-built for bread baking, with excellent heat retention and even browning. The 5.5-quart capacity accommodates most home sourdough loaves, and the tight-fitting lid traps steam perfectly for that crispy crust and open crumb. Staub’s enamel coating is durable enough for decades of use, making it a true investment piece.
Check Current Price on Amazon →Lodge 5-Quart Enameled Cast Iron Dutch Oven
Best for: Budget-conscious bakers who don’t want to compromise on function
Lodge delivers excellent performance at a fraction of premium Dutch oven prices. This 5-quart enameled option heats evenly and holds temperature reliably, producing excellent sourdough results. The slightly rougher enamel finish doesn’t affect baking performance, and it’s built to last through countless loaves.
Check Current Price on Amazon →Banneton Proofing Basket Set by Artisan Sourdough
Best for: First-time sourdough bakers who need a foolproof proofing solution
This two-basket set includes both a round and oval banneton with fitted liners, giving you options for different loaf shapes. The natural cane construction is durable, and the included liners prevent sticking without seasoning. Comes with a bread lame and care instructions, making it a complete starter bundle.
Check Current Price on Amazon →Le Creuset 6.75-Quart Round Dutch Oven
Best for: Serious bakers who bake frequently and want the gold standard
Le Creuset is the premium choice for professional-level home baking. The heavier construction provides unmatched heat distribution, and the vibrant enamel finish is both beautiful and incredibly durable. This larger capacity allows for bigger loaves or multiple smaller ones, and it’s an heirloom piece you’ll pass down.
Check Current Price on Amazon →Start Your Time-Saving Sourdough Journey This Week
Sourdough doesn’t have to demand hours of your day or constant attention. By shifting fermentation to the cold temperatures of your fridge, you’re working with time instead of against it. The cold-fermentation method outlined here delivers bakery-quality results with just 15 minutes of hands-on work spread across two days. Your starter does the heavy lifting overnight, and your fridge becomes your secret weapon for developing deep flavor while you manage everything else on your plate.
Start with a good Dutch oven and a scale–these two tools eliminate most of the guesswork and give you reliable, repeatable results from your first loaf. A banneton basket is the third investment that makes everything easier, transforming a stressful shaping step into something predictable. These tools aren’t luxuries; they’re the foundation of a sourdough practice that actually fits into a busy life. Your next loaf is just one cold fermentation away.
Frequently Asked Questions
How often do I need to feed my starter if I’m using the cold fermentation method?
For this method, feed your starter on a regular 12-hour schedule (morning and evening) and use it when it’s bubbly and peaked, usually 4-8 hours after feeding. The regular feeding creates predictability, and the cold fermentation of the dough itself means you don’t need to stress about starter activity during proofing.
Can I skip the overnight cold proof and bake the same day?
Yes, but you’ll lose some flavor complexity. You can bulk ferment in the fridge for 8 hours, shape, do a cold proof for just 2-4 hours, and bake. This works in a pinch, though the extended cold proof (12+ hours total) develops deeper, more tangy flavor that makes the wait worthwhile.
What if my kitchen is very warm? Will the dough over-ferment?
Cold fermentation is your friend in warm climates. Simply refrigerate the dough immediately after mixing rather than allowing room-temperature bulk fermentation. The fridge keeps fermentation slow and controlled regardless of ambient temperature, making your baking schedule more predictable.
Do I really need a banneton basket, or can I use a bowl?
A banneton is worth the investment because it supports the dough during long fermentations without collapsing, and it’s shaped perfectly for a round loaf. A floured cloth-lined bowl works in a pinch, but you’ll need to support the sides more carefully to prevent spreading, adding stress and handling.
Why does my sourdough crumb sometimes come out dense instead of open?
The most common cause is insufficient gluten development or over-proofing. This method uses cold fermentation to extend time while preventing over-fermentation, and minimal handling during shaping. Make sure your starter is truly active when you use it, and avoid pressing the dough during shaping–gentle handling preserves gas bubbles.
As an Amazon Associate, Build & Bloom earns from qualifying purchases. We only recommend products we genuinely think are useful. Prices and availability vary; check Amazon for the latest.
Leave a Reply