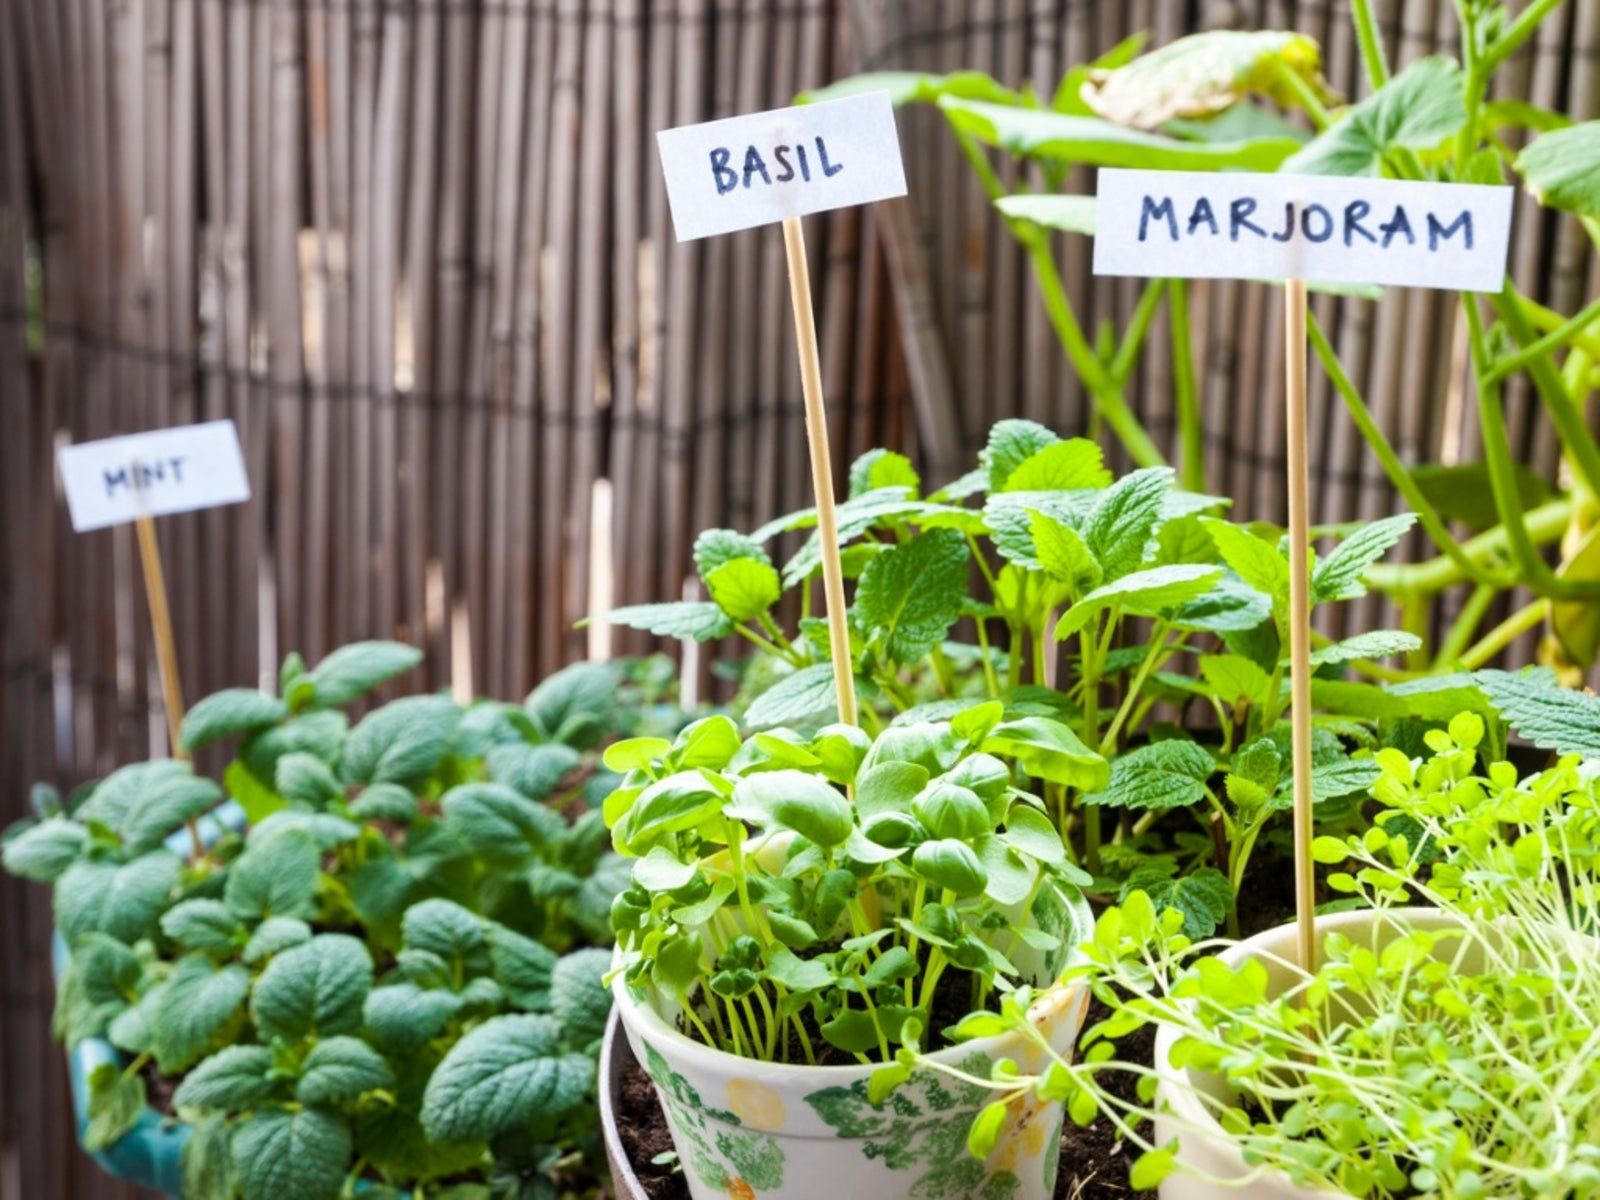

Fresh herbs make all the difference in home cooking, but buying them from the grocery store is expensive and they wilt in days. The good news: growing your own culinary herb garden is simpler than you think, whether you have a sprawling backyard or just a sunny windowsill. This guide walks you through every step, from selecting the right location to harvesting your first leaves.
How to Build and Maintain Your Culinary Herb Garden
A successful culinary herb garden starts with understanding what these plants need: sunlight, proper drainage, and consistent care. Follow these steps to create a thriving herb collection that supplies your kitchen year-round.
What You Will Need
- A location with 6-8 hours of direct sunlight daily (south-facing window or outdoor spot)
- Containers with drainage holes or a raised bed (at least 8-12 inches deep)
- Well-draining potting soil or garden soil mixed with compost
- Herb seedlings or seeds (basil, parsley, thyme, rosemary, oregano, chives recommended)
- Watering can or garden hose with gentle spray
- Basic pruning shears or scissors for harvesting
Steps
Choose Your Growing Location
Select a spot that receives at least six to eight hours of direct sunlight daily. Most culinary herbs are sun-loving plants and will become leggy or weak in shade. If you’re growing indoors, place containers on a south-facing windowsill or under grow lights positioned 6-12 inches above the plants.
Prepare Your Growing Containers or Beds
Fill your containers or raised bed with high-quality, well-draining soil. Mix regular garden soil with compost (roughly equal parts) to improve nutrient content and drainage. Ensure containers have drainage holes at the bottom so excess water can escape; waterlogged roots are the leading cause of herb failure.
Plant Your Herbs Appropriately
Start with seedlings rather than seeds for faster results, especially if you’re new to gardening. Space plants 6-12 inches apart depending on the variety (basil needs less space than rosemary). Plant at the same soil level as they were in their nursery pots, and gently press soil around the base to eliminate air pockets.
Water on a Consistent Schedule
Most culinary herbs prefer soil that’s moist but not waterlogged. Check soil moisture by inserting your finger one inch deep; water when the soil feels dry at that depth. In hot weather, this may mean daily watering for containers, while outdoor beds may need water only twice weekly. Avoid wetting the leaves to prevent fungal issues.
Pinch Out Growing Tips Regularly
Once your herbs reach 6-8 inches tall, pinch off the top inch of growth using your fingers or scissors. This encourages bushier, more productive plants and prevents them from becoming tall and sparse. Perform this pinching every two to three weeks as the plants grow.
Harvest Frequently for Better Production
Begin harvesting leaves once plants are established (usually 3-4 weeks after planting). Pinch leaves from the top of stems for best flavor; harvesting removes the growing tip, which triggers more growth. Never remove more than one-third of the plant at a time, and harvest in the morning when essential oils are most concentrated.
Monitor for Pests and Disease
Check the underside of leaves weekly for common pests like spider mites or aphids. At first sign of infestation, spray affected areas with water or apply insecticidal soap. Ensure good air circulation around plants by spacing them properly and removing lower leaves to prevent fungal diseases.
Fertilize Every 2-3 Weeks During Growing Season
Once herbs are actively growing, feed them with a balanced liquid fertilizer diluted to half strength every two to three weeks. This replaces nutrients the plants have absorbed and supports continued production. Reduce fertilizing in fall and winter when growth naturally slows.
- Start with the most popular culinary herbs: basil, parsley, chives, and thyme are nearly foolproof and have the highest kitchen value.
- Grow basil in a separate container from perennial herbs like rosemary and thyme, since basil is an annual with different watering and feeding needs.
- Harvest in the early morning after dew dries but before the sun gets hot; herbs have maximum flavor and moisture content at this time.
What to Look For in Herb Garden Supplies
- Container Size and Drainage: Choose containers at least 8-12 inches deep with multiple drainage holes. Terracotta, plastic, and fabric pots all work well; terracotta breathes but dries quickly, while plastic retains moisture longer. Ensure holes are present in the bottom, not just the sides, for proper water escape.
- Soil Quality and Composition: Use potting soil specifically formulated for containers or seed-starting mixes rather than garden soil, which becomes compacted. Look for mixes that include perlite or vermiculite for drainage and peat moss or coconut coir for moisture retention. Quality soil is the foundation of healthy herb growth.
- Seedling Quality vs. Seeds: For beginners, seedlings from a nursery offer faster results and higher success rates than seeds, though seeds are more economical. Seedlings should be stocky with green leaves and no signs of wilting or pest damage. Certified organic herb plants reduce pesticide exposure in your culinary herbs.
- Pruning and Harvesting Tools: Invest in sharp scissors or pruning shears specifically designed for harvesting, as they create clean cuts that heal faster than tearing. Dull tools damage stems and increase disease risk. Look for stainless steel tools with comfortable grips that fit your hand size.
Bloem Exotica Self-Watering Planter with Reservoir
Best for: Container herb gardeners seeking consistent moisture
This 12-inch diameter self-watering pot features a built-in water reservoir that delivers moisture through a wicking system, eliminating daily watering stress. The spacious design accommodates multiple herbs or a single larger plant, while the durable resin construction withstands weather and frequent handling. Color options match most garden aesthetics, and the drainage system prevents overwatering—a critical factor in herb survival. Ideal for busy gardeners or those new to container gardening.
Check Current Price on Amazon →Pennington Smart Seed Herb Garden Seed Starter Kit
Best for: Cost-conscious beginners starting from seeds
This comprehensive kit includes five culinary herb varieties (basil, parsley, chives, thyme, and oregano) plus biodegradable starter pots, potting soil tabs, and detailed growing instructions. Everything needed to start herbs from seed is included at a fraction of individual purchases. The biodegradable pots allow direct transplanting to larger containers without disturbing root systems. Perfect for gardeners on a budget who want the satisfaction of growing from seed.
Check Current Price on Amazon →AeroGarden Harvest Indoor Garden System
Best for: Indoor gardeners without outdoor space
This countertop hydroponic system grows herbs indoors under LED lights with automated watering and nutrient delivery. Pre-seeded herb pods (basil, parsley, dill, mint, thyme options) simply insert into the system; no soil or manual watering required. The touch-screen interface monitors plant growth and displays harvest-ready alerts. Ideal for apartments, kitchens, or year-round indoor growing in cold climates. Produces 5x faster than soil growing.
Check Current Price on Amazon →Campania International Stone Herb Planter Box
Best for: Gardeners prioritizing aesthetic appeal
Handcrafted composite stone herb planter with aged finish complements any garden decor while providing excellent drainage and durability. Measures 24 inches long with compartments for multiple herbs, allowing organized spacing and individual care. Weather-resistant construction lasts years outdoors, and the neutral stone color pairs with modern and traditional landscapes. Premium quality justifies the investment for visible garden displays and long-term use.
Check Current Price on Amazon →Start Your Culinary Herb Garden Today
A thriving culinary herb garden transforms your cooking and provides the satisfaction of growing your own food. Whether you choose a sunny windowsill, a container garden, or a raised bed, the fundamentals remain the same: sunlight, well-draining soil, consistent watering, and regular harvesting. Start small with proven varieties like basil and parsley, master the basics, then expand to more challenging herbs as your confidence grows.
The investment is minimal compared to the value of fresh herbs available at your fingertips for months. With the supplies and tools recommended in this guide, you have everything needed to create a productive herb garden that supplies your kitchen year-round and turns simple meals into culinary delights. Your future self will thank you every time you pinch fresh basil for pasta or snip chives for soup.
Frequently Asked Questions
How often should I water my herb garden?
Check soil moisture daily by inserting your finger one inch deep. Water when soil feels dry at that depth, which typically means every 1-2 days for containers in warm weather and every 3-5 days for garden beds. Overwatering causes root rot; underwatering stresses plants. Adjust frequency based on rainfall, temperature, and container size.
Can I grow culinary herbs indoors year-round?
Yes, but they need 6-8 hours of direct sunlight daily or supplemental grow lights positioned 6-12 inches above plants. South-facing windowsills work best for natural light. Hydroponic systems like countertop gardens are reliable indoor alternatives that provide controlled lighting and watering automatically.
Which culinary herbs are easiest for beginners?
Basil, parsley, chives, thyme, and oregano are nearly foolproof and offer high kitchen value. Avoid starting with mint or rosemary if new to gardening; mint invades spaces aggressively while rosemary requires excellent drainage and patience. Start with three to five varieties to build confidence before expanding.
How do I prevent my herbs from getting leggy or tall and thin?
Pinch off the top inch of growth every 2-3 weeks once plants reach 6-8 inches tall. This encourages branching and bushier growth rather than a single tall stem. Regular harvesting for cooking accomplishes the same goal while providing fresh herbs for your kitchen.
What’s the difference between annual and perennial culinary herbs?
Annual herbs like basil complete their life cycle in one season and must be replanted yearly; they’re tender and sensitive to cold. Perennial herbs like thyme, rosemary, and oregano return year after year and tolerate cold better. Grow annuals and perennials in separate containers since they have different watering and feeding schedules.
As an Amazon Associate, Build & Bloom earns from qualifying purchases. We only recommend products we genuinely think are useful. Prices and availability vary; check Amazon for the latest.
Leave a Reply