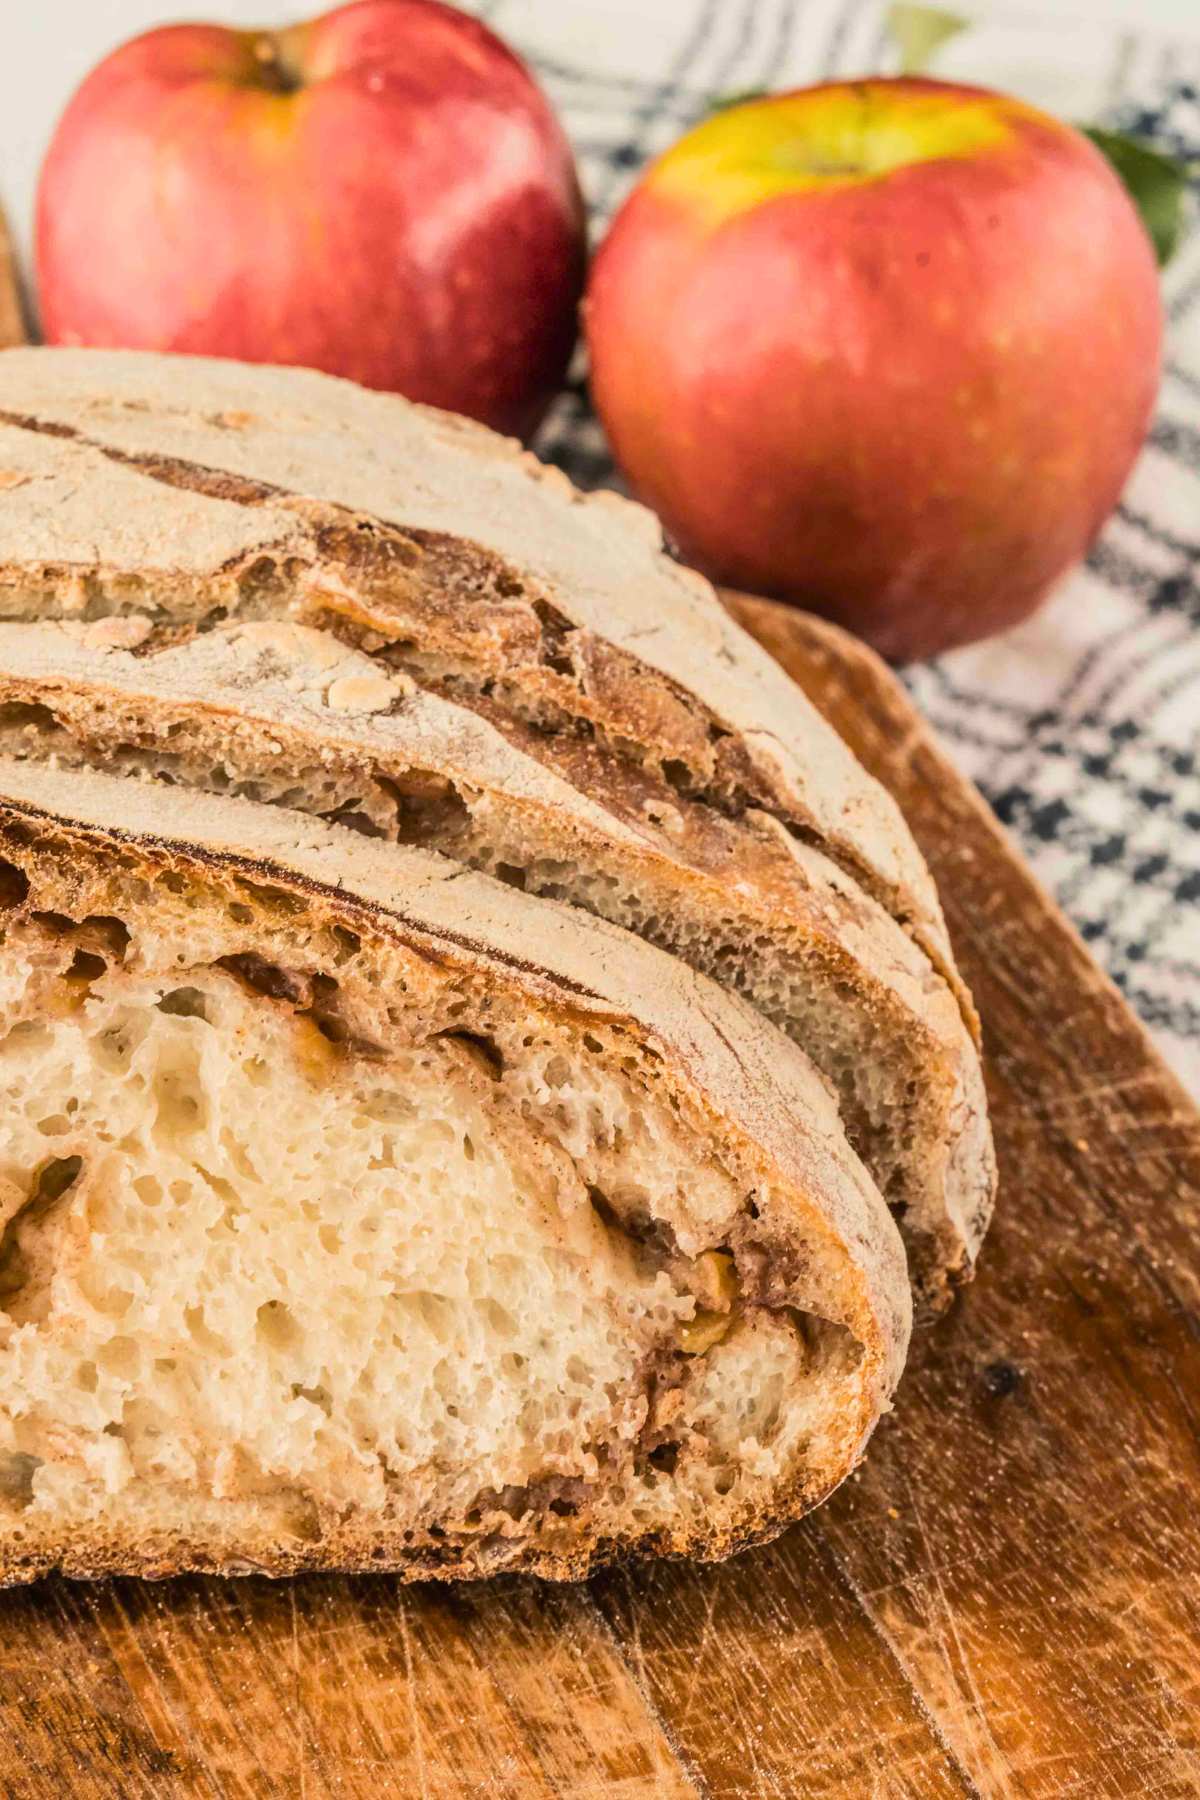

Apple cider sourdough represents the intersection of homestead baking and seasonal harvest cooking. If you’ve been making plain sourdough and want to elevate your loaves with subtle fruit notes and improved moisture retention, adding fresh apple cider to your dough creates a naturally sweet complexity without refined sugar. This recipe uses your existing sourdough starter and a few basic ingredients to produce a loaf with beautiful flavor development and a tender crumb structure.
How to Make Apple Cider Sourdough Bread
This method uses the stretch-and-fold technique to develop gluten without excessive handling. Total time is roughly 24 hours from mixing to finished loaf, though most of that is passive fermentation.
Ingredients
- 1 cup (240ml) active sourdough starter at peak (bubbly and doubled)
- 1 1/4 cups (300ml) fresh apple cider (unpasteurized or pasteurized, no added sugar)
- 3 1/2 cups (420g) bread flour or all-purpose flour
- 1 1/2 teaspoons (9g) sea salt or kosher salt
- Water (small amount for adjusting dough hydration if needed)
Method
Mix the dough base
Combine your active sourdough starter and apple cider in a large mixing bowl, stirring until roughly combined. Add flour and mix until no dry flour remains and you have a shaggy, sticky dough. Cover with a damp towel and let rest for 30-60 minutes. This rest period, called autolyse, allows the flour to fully hydrate and makes the dough easier to handle.
Incorporate salt and begin folding
Sprinkle salt over the dough and wet your hand slightly. Pinch and fold the salt into the dough using your wet hand, working it in gradually. Once salt is distributed, begin the first stretch-and-fold: grab one side of the dough, stretch it upward, and fold it over the center. Rotate the bowl 90 degrees and repeat four times. Rest for 30 minutes.
Perform remaining folds during bulk fermentation
Repeat the stretch-and-fold sequence every 30 minutes for the next 3-4 hours (total of 4-5 folds). During this phase, the dough will gradually become smoother, stronger, and more cohesive. You should notice increasing volume and bubbles throughout. The apple cider adds moisture, so the dough will feel slightly softer than traditional sourdough.
Shape the dough
After bulk fermentation is complete (dough increased by roughly 50-75% and jiggles when the bowl moves), gently turn the dough onto an unfloured work surface. Pre-shape by folding edges toward the center to create surface tension, rest 20 minutes, then perform final shaping by rolling and tucking the dough toward you. Place seam-side up in a floured banneton basket or bowl lined with a floured kitchen towel.
Cold proof overnight
Cover the shaped dough and refrigerate for 12-18 hours. The cold fermentation develops flavor and makes scoring easier. You can also proof at room temperature for 2-4 hours if you prefer a faster timeline, though the overnight method produces superior flavor and crust development.
Score and preheat oven
Place a covered baking vessel (like a Dutch oven) in your oven and preheat to 450-475 degrees Fahrenheit for at least 30 minutes. The vessel traps steam during the first part of baking, creating oven spring and a beautiful crust. Turn your dough onto parchment paper and make a diagonal score across the top with a sharp blade.
Bake covered, then uncovered
Carefully transfer the parchment and dough into the preheated hot vessel. Cover and bake for 20-25 minutes to trap steam. Remove the cover and bake for an additional 20-30 minutes until the crust is deep golden brown. The apple cider may cause slightly darker caramelization, which is desirable.
Cool completely before slicing
Remove the finished loaf from the oven and place it on a wire rack for at least one hour. The interior continues to set during this time. Slicing too early releases steam and results in a gummy crumb. Wait until the loaf is completely cool to room temperature before cutting into your apple cider sourdough.
- Use unpasteurized apple cider when possible for added wild yeast, but pasteurized cider works fine since your starter provides the fermentation power.
- If your dough feels too wet after the cider addition, reduce added water slightly in future batches, but don’t skip the moisture entirely as cider-enriched bread benefits from higher hydration.
- The apple cider’s natural sugars will caramelize in the oven, creating deeper color faster than plain sourdough–avoid over-baking by reducing oven temperature by 25 degrees if your loaf browns too quickly.
What to Look For in Sourdough Baking Equipment
- Banneton Basket or Proofing Bowl: A properly sized proofing basket supports your dough during the final rise without flattening it. Round or oval shapes should match your dough volume (8-10 inches for typical home loaves). Flour it well or use a linen liner to prevent sticking.
- Dutch Oven or Covered Baker: A heavy covered vessel traps steam during baking, essential for crust development. Enameled cast iron is ideal and retains heat well, though ceramic or stainless steel Dutch ovens work too. Size should be 5-7 quarts for standard loaves.
- Bread Scoring Tool or Lame: A sharp blade designed for scoring creates controlled slits that guide expansion and create that signature ear. Specialized bread lames or a razor blade produce cleaner cuts than dull knives. A 45-degree angle cut is traditional.
- Kitchen Scale and Thermometer: Precision in sourdough comes from weight measurements, not cups. A digital scale accurate to 1 gram ensures consistent results. An instant-read thermometer helps verify dough temperature and internal doneness (205-210F indicates full bake).
Lodge Enameled Cast Iron Dutch Oven
Best for: Home sourdough bakers seeking traditional results
Lodge’s enameled cast iron Dutch oven is the workhorse of sourdough baking. The 5.5-quart capacity fits standard loaves perfectly, and the heavy construction distributes heat evenly for consistent crust development. The enamel coating eliminates rust concerns and requires minimal seasoning maintenance. With a tight-fitting lid, it traps steam effectively during the critical first 20 minutes of baking, creating that professional bakery-quality crust and ear. Many sourdough bakers use the same Lodge Dutch oven for years.
Check Current Price on Amazon →Banneton Proofing Basket 9-Inch Round
Best for: First-time sourdough bakers avoiding dough sticking
A rattan banneton basket provides proper support for your shaped dough during final proof and cold fermentation. The 9-inch round size accommodates standard 1-2 pound loaves without crowding. Rattan naturally prevents sticking better than ceramic bowls, and the basket’s ridged surface creates attractive scoring patterns on your crust. Use with a disposable linen liner or flour it heavily before each use. Lightweight and affordable, it’s an essential investment for any serious home baker.
Check Current Price on Amazon →Oxo Good Grips Digital Kitchen Scale
Best for: Bakers who want precision without excess cost
Accurate measurements are non-negotiable in sourdough baking, and the Oxo Good Grips digital scale delivers precision at an accessible price point. It weighs in grams with 1-gram accuracy up to 5 pounds, perfect for flour, starter, and salt measurements. The pull-out display prevents ingredient splash from obscuring readings, and the tare function resets to zero instantly. Durable stainless steel top plate withstands daily use and wipes clean easily. For the budget-conscious baker, this scale removes guesswork from recipes.
Check Current Price on Amazon →Staub Ceramic Cocotte 4-Quart
Best for: Home bakers who want both function and aesthetic appeal
Staub’s ceramic cocotte elevates sourdough baking into the presentation realm. The dark enameled interior promotes even browning, while the 4-quart capacity suits artisan loaves perfectly. Unlike traditional cast iron Dutch ovens, the black enamel interior masks moisture and browning patterns, allowing you to focus on technique rather than appearance anxiety. The lid’s self-basting design with its textured interior helps steam circulation. Staub products last generations and can transition seamlessly from oven to table, making this an heirloom investment.
Check Current Price on Amazon →Bring Seasonal Harvest Flavors to Your Sourdough Routine
Apple cider sourdough is more than just a recipe; it’s an expression of seasonal baking and homestead living. By adding fresh cider to your familiar sourdough starter, you’re tapping into the natural sweetness of autumn harvests and creating a loaf with subtle complexity that plain sourdough cannot achieve. The moisture from cider produces a tender crumb that stays fresh longer, making this bread perfect for sharing or storing through the week. This recipe scales easily, too: once you understand the proportions and fermentation timeline, you’ll confidently adapt it with other ciders, juices, or even mead.
The equipment investments you make now—a quality Dutch oven, banneton basket, and scoring tool—will support your bread baking for years to come. Whether you’re a seasoned sourdough baker looking to elevate your craft or someone new to fermented breads, apple cider sourdough represents an achievable but rewarding next step. Start your first batch this weekend while apple cider is still fresh and available. You’ll quickly understand why homestead bakers return to this recipe season after season.
Frequently Asked Questions
Can I use store-bought apple cider instead of fresh-pressed cider?
Yes, both pasteurized and unpasteurized store-bought cider work well. Unpasteurized cider may contain wild yeast that adds extra fermentation activity, but your sourdough starter provides enough leavening power either way. Avoid ciders with added sugars, preservatives, or sulfites if possible, as these can interfere with fermentation.
How do I know when bulk fermentation is complete?
Bulk fermentation is done when your dough has increased 50-75% in volume and shows visible bubbles throughout. Poke it gently with a floured finger; if the indent springs back slowly rather than immediately, it’s ready. Temperature affects timing significantly; warmer kitchens ferment faster (3-4 hours), while cooler spaces may take 5-6 hours.
What should my sourdough starter look like before I use it?
Your starter should be at ‘peak’ activity: doubled in volume, bubbly on top and throughout, and smelling pleasantly sour and yeasty. If it’s sluggish, feed it more frequently for 1-2 days before baking. A weak starter produces flat loaves with poor oven spring.
Can I skip the overnight cold proof and bake the same day?
Yes, you can proof at room temperature for 2-4 hours instead, but overnight refrigeration develops superior flavor and makes scoring easier because the cold dough is less sticky. Room temperature proofing is faster for schedule flexibility but produces less complex taste.
Why did my apple cider sourdough turn out dense or gummy inside?
This usually means under-baking (internal temp below 205F) or slicing too soon after baking. Apple cider adds moisture, so this loaf needs slightly longer baking than plain sourdough. Ensure your oven reaches proper temperature and bake until deep golden brown. Always cool completely before slicing.
As an Amazon Associate, Build & Bloom earns from qualifying purchases. We only recommend products we genuinely think are useful. Prices and availability vary; check Amazon for the latest.
Leave a Reply