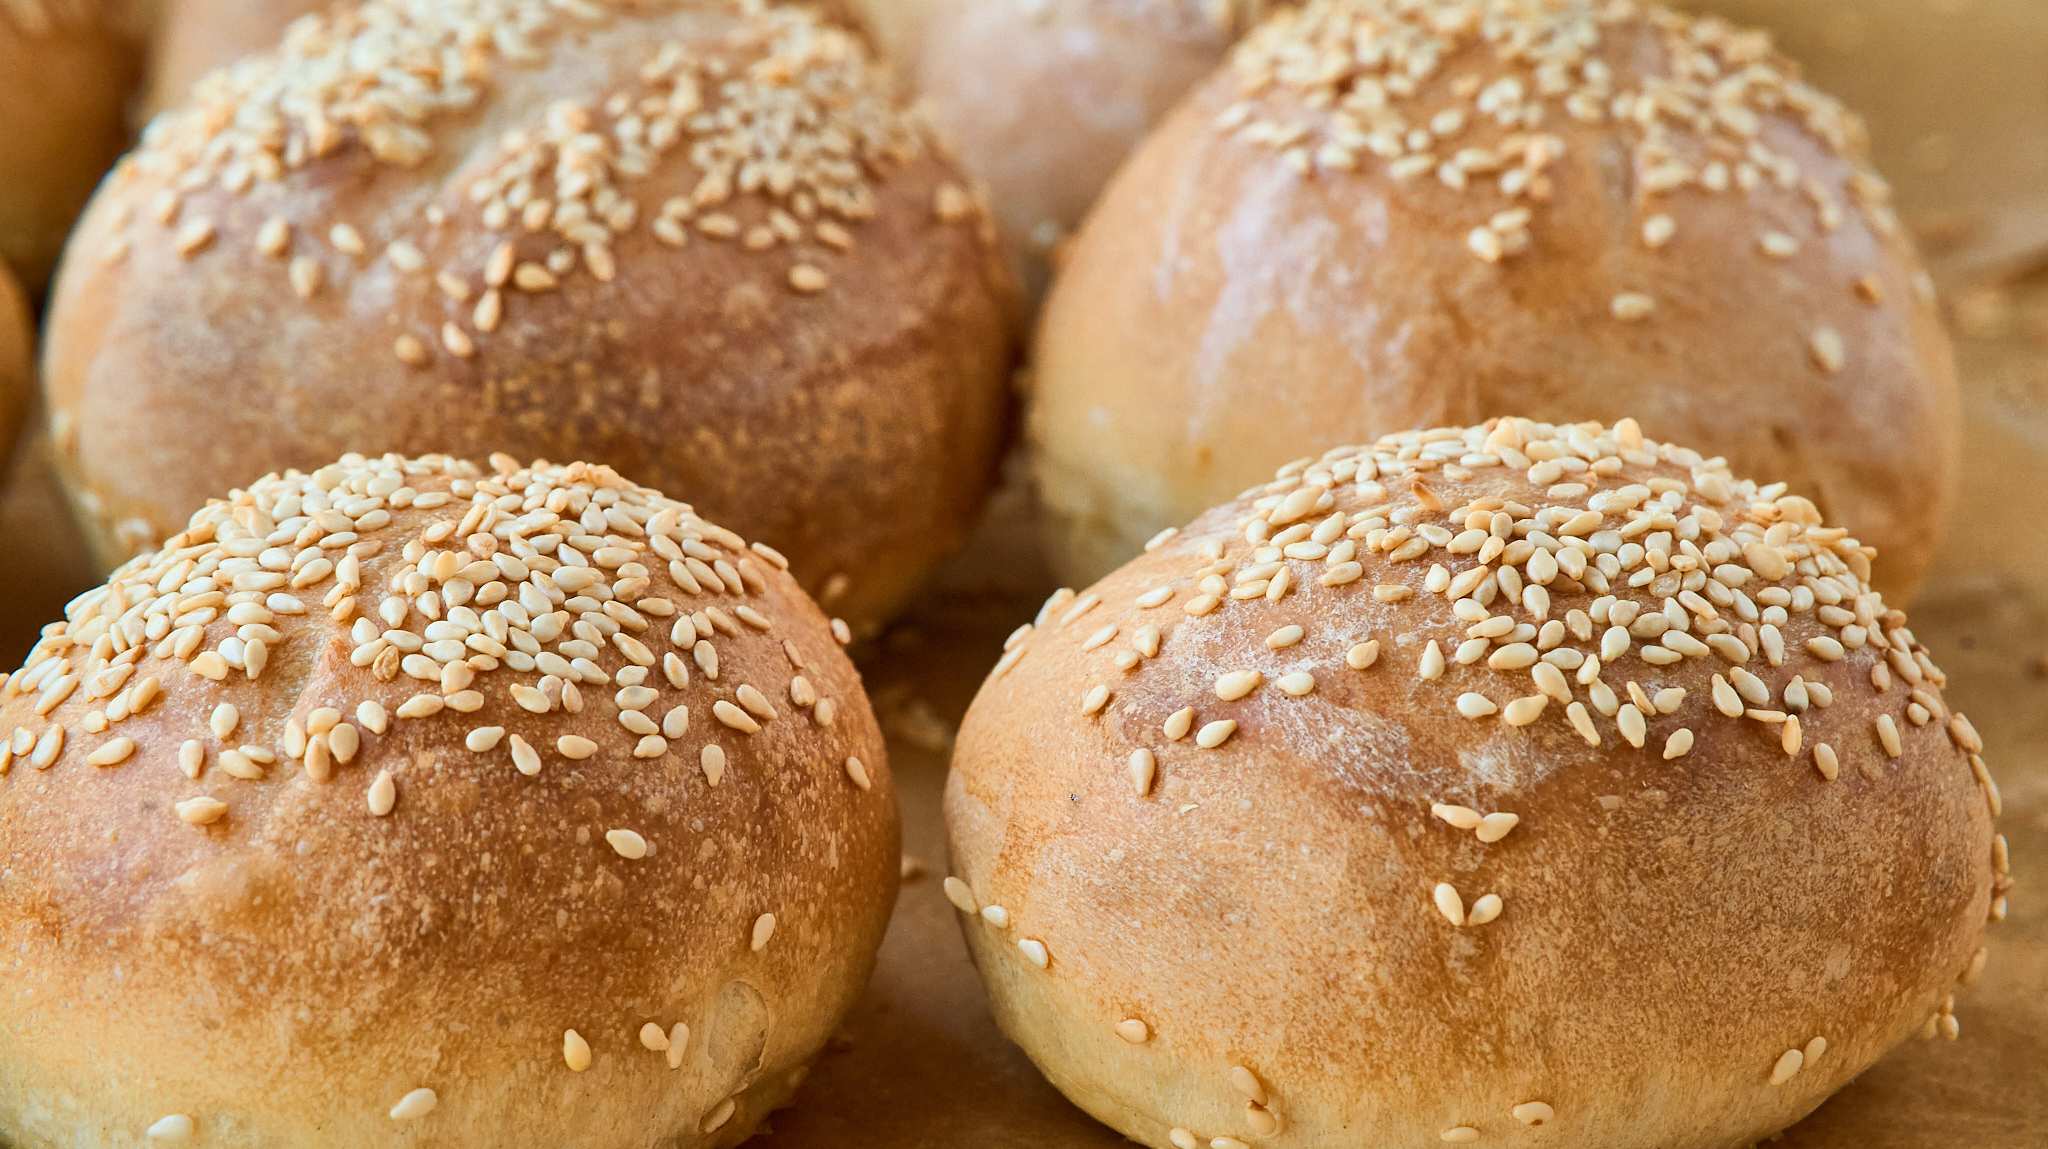

If you’ve been scrolling through sourdough pins and dreaming of homemade rolls with that perfect crispy crust and tangy crumb, you’re in the right place. Making authentic crusty Italian sourdough rolls at home is simpler than you’d think — and the reward is fresh-baked bread that rivals the local bakery. This guide walks you through the exact process, from mixing to pulling golden rolls from your oven.
How to Make Crusty Italian Sourdough Rolls
These rolls come together with just a few ingredients and patience. The long fermentation develops flavor and creates that signature crust and open crumb structure.
Ingredients
- 1 cup active sourdough starter (fed 4-8 hours prior, bubbly and at peak rise)
- 2.5 cups bread flour (or all-purpose flour)
- 0.75 cup warm water (around 75-80F)
- 1.5 teaspoons fine sea salt
- Extra flour for dusting and shaping
- Water for steam in the oven
Method
Mix the dough
In a large mixing bowl, combine your active sourdough starter, warm water, and bread flour. Stir until all flour is moistened and no dry bits remain. Let this mixture sit covered at room temperature for 30-45 minutes. This rest period, called autolyse, allows the flour to fully hydrate and develops gluten naturally.
Add salt and knead
After the autolyse, sprinkle salt over the dough and incorporate it by hand or with a mixer on low speed for 3-5 minutes. The dough should feel tacky but hold together. If using a mixer, stop before it becomes smooth and elastic — you want the dough slightly shaggy at this stage.
Perform stretch and folds
Place dough in a lightly oiled container. Over the next 2-3 hours, perform 4 sets of stretch and folds (one set every 30-40 minutes). Wet your hand, grab one side of the dough, stretch it up and fold it over the center. Rotate the bowl and repeat 3 more times per set. This builds strength without kneading.
First rise and bulk fermentation
Let the dough rest at room temperature for another 2-3 hours after the final stretch and fold, until it increases 50-75% in volume and feels airy when gently poked. You should see bubbles on the surface. Don’t wait for it to double — sourdough rises slowly and you want to catch it before overfermentation.
Shape the rolls
Turn dough onto a lightly floured surface and divide into 6-8 equal pieces using a bench scraper or knife. Working with one piece at a time, cup your hands around the dough and drag it toward you along the counter surface to create tension. Place seam-side up in a floured banneton or bowl lined with a kitchen towel. Repeat with remaining pieces.
Cold overnight fermentation
Cover the shaped rolls loosely with plastic wrap and refrigerate for 12-18 hours. This slow, cold fermentation develops deep sourdough flavor and makes scoring easier. The rolls can stay in the fridge up to 24 hours if needed — longer fermentation = more tang and better crust.
Preheat and score
Place a Dutch oven or covered baking vessel in your oven and preheat to 475F for at least 30 minutes. Carefully turn one cold roll onto parchment paper, seam-side down. Using a sharp lame, bread knife, or clean razor blade, score the top with a single confident slash or decorative pattern about 1/4 inch deep.
Bake with steam
Transfer the parchment and roll into your preheated Dutch oven. Cover and bake for 20 minutes to trap steam, which creates the crispy crust. Remove the lid and bake 18-22 minutes more until deep golden brown. The crust should crackle when you remove it. Cool on a wire rack for at least 30 minutes before slicing.
- Feed your starter 4-8 hours before mixing so it’s at peak activity with lots of bubbles on top — this is your leavening power.
- Room temperature matters: aim for 68-72F during fermentation. Warmer kitchens speed up the process (ferment closer to 4-5 hours total), while cooler kitchens slow it down (8+ hours total).
- Don’t skip the cold overnight fermentation step — it’s where most of the flavor and crust quality develop. Rushing this is the #1 reason homemade rolls taste bland.
What to Look For in Sourdough Baking Equipment
- Banneton or Proofing Basket: A cloth-lined basket designed specifically to cradle shaped dough during fermentation. Look for one large enough to hold your rolled dough comfortably (8-10 inches diameter for individual rolls) with good floured linen that prevents sticking.
- Dutch Oven or Covered Baker: A heavy-bottomed pot with a tight-fitting lid that traps steam during baking. Cast iron or enameled cast iron retains heat best. You need at least 4-quart capacity to accommodate rolls and allow steam circulation.
- Bread Lame or Scoring Knife: A razor-sharp blade designed to score dough safely and cleanly. A proper lame creates defined ears and controls oven spring. Avoid dull knives that drag and deflate your carefully proofed dough.
- Kitchen Scale: A digital scale measuring in grams produces consistent, bakery-quality results. Sourdough baking relies on precise ratios; weighing ingredients removes guesswork and helps you troubleshoot future batches.
Lodge Cast Iron Dutch Oven 5.5-Quart
Best for: Serious home sourdough bakers
The workhorse of sourdough baking, this seasoned cast iron Dutch oven traps steam perfectly to develop a crackling crust. Its 5.5-quart capacity accommodates 6-8 rolls with room for expansion. Cast iron retains heat evenly and browns the bottom and sides beautifully. This is a one-time investment that will last decades and improve with use. Pre-seasoned and ready to use immediately.
Check Current Price on Amazon →Tramontina Covered Baking Pan Stainless Steel
Best for: Budget-conscious beginners
An affordable alternative to cast iron, this stainless steel covered baker still traps steam effectively for good crust development. The 3.5-quart capacity works for 4-6 rolls and heats evenly. While it won’t develop the seasoning character of cast iron, it delivers excellent results for a fraction of the price and requires no seasoning or maintenance.
Check Current Price on Amazon →Lame de Boulanger Bread Scoring Blade Set
Best for: First-time bread bakers
This two-piece bread scoring set includes a curved lame and straight blade, both housed in protective wooden handles. The razor-sharp stainless steel cuts through cold dough cleanly without dragging. Includes multiple blade options and comes with a storage case. Perfect for learning proper scoring technique without the risk of dull knives ruining your shaped dough.
Check Current Price on Amazon →Staub Round Cocotte Cast Iron 3.75-Quart Cherry
Best for: Home bakers who want restaurant-quality results
Staub’s enameled cast iron cocotte combines professional-grade heat retention with elegant enameled exterior (no seasoning needed). The dark enamel interior releases steam beautifully for exceptional crust. The 3.75-quart size is perfect for 6-8 rolls. This heirloom piece works as both baking vessel and tabletop presentation. Premium construction and French craftsmanship justify the investment.
Check Current Price on Amazon →Start Your Sourdough Roll Journey Today
Making crusty Italian sourdough rolls transforms ordinary baking into a rewarding ritual. Yes, the process spans 24 hours, but you’re doing hands-on work for only 15-20 minutes total. The rest is your starter and time doing the heavy lifting. With the right equipment — a quality Dutch oven, a banneton, and a sharp lame — you’ll produce bakery-worthy rolls that cost a fraction of store-bought versions and taste infinitely better.
Start with your next feeding of sourdough starter. Plan your mixing for tomorrow morning, and you’ll have fresh rolls by evening. The first batch teaches you invaluable lessons about your kitchen’s temperature, humidity, and timing. Each subsequent batch gets easier as you develop intuition for how your dough behaves. Within a few weeks, you’ll be pulling golden, crackling rolls from the oven like a seasoned baker. Your kitchen will smell like an artisan bakery, and you’ll never go back to store-bought bread.
Frequently Asked Questions
How do I know when my sourdough starter is ready to use?
Your starter should be fed 4-8 hours before mixing and show lots of bubbles on the surface with a domed or peaked top. At peak activity, it will smell tangy and pleasantly yeasty. If you poke it gently, it should jiggle slightly but hold its shape. An inactive or recently-fed starter won’t leaven your rolls properly.
Can I skip the overnight cold fermentation?
Not recommended. The cold fermentation is where 80% of the flavor and crust quality develop. If you must speed things up, room temperature fermentation works but requires careful timing (4-6 hours) and won’t produce the same depth of flavor or structural integrity in the crust.
Why didn’t my rolls get a crispy crust?
The most common reason is insufficient steam in the oven. Your Dutch oven or covered baker must be preheated for at least 30 minutes and kept covered for the first 20 minutes of baking. Also ensure your rolls reached proper cold fermentation (12+ hours in the fridge) so the crust can fully develop and crackle.
How should I store baked sourdough rolls?
Cool completely on a wire rack (at least 30 minutes), then store in a paper bag or cloth bag at room temperature for 2-3 days. Paper breathes and maintains crustiness better than plastic. For longer storage, wrap cooled rolls in plastic and freeze up to 3 months. Refresh frozen rolls by warming in a 350F oven for 10-15 minutes.
Can I use all-purpose flour instead of bread flour?
Yes, but expect slightly less structure and a softer crust. Bread flour’s higher protein content (12-14%) develops stronger gluten and crispier exteriors. All-purpose flour (10-12% protein) still produces good rolls but may require slightly longer fermentation and won’t achieve quite the same open crumb structure.
As an Amazon Associate, Build & Bloom earns from qualifying purchases. We only recommend products we genuinely think are useful. Prices and availability vary; check Amazon for the latest.
Leave a Reply