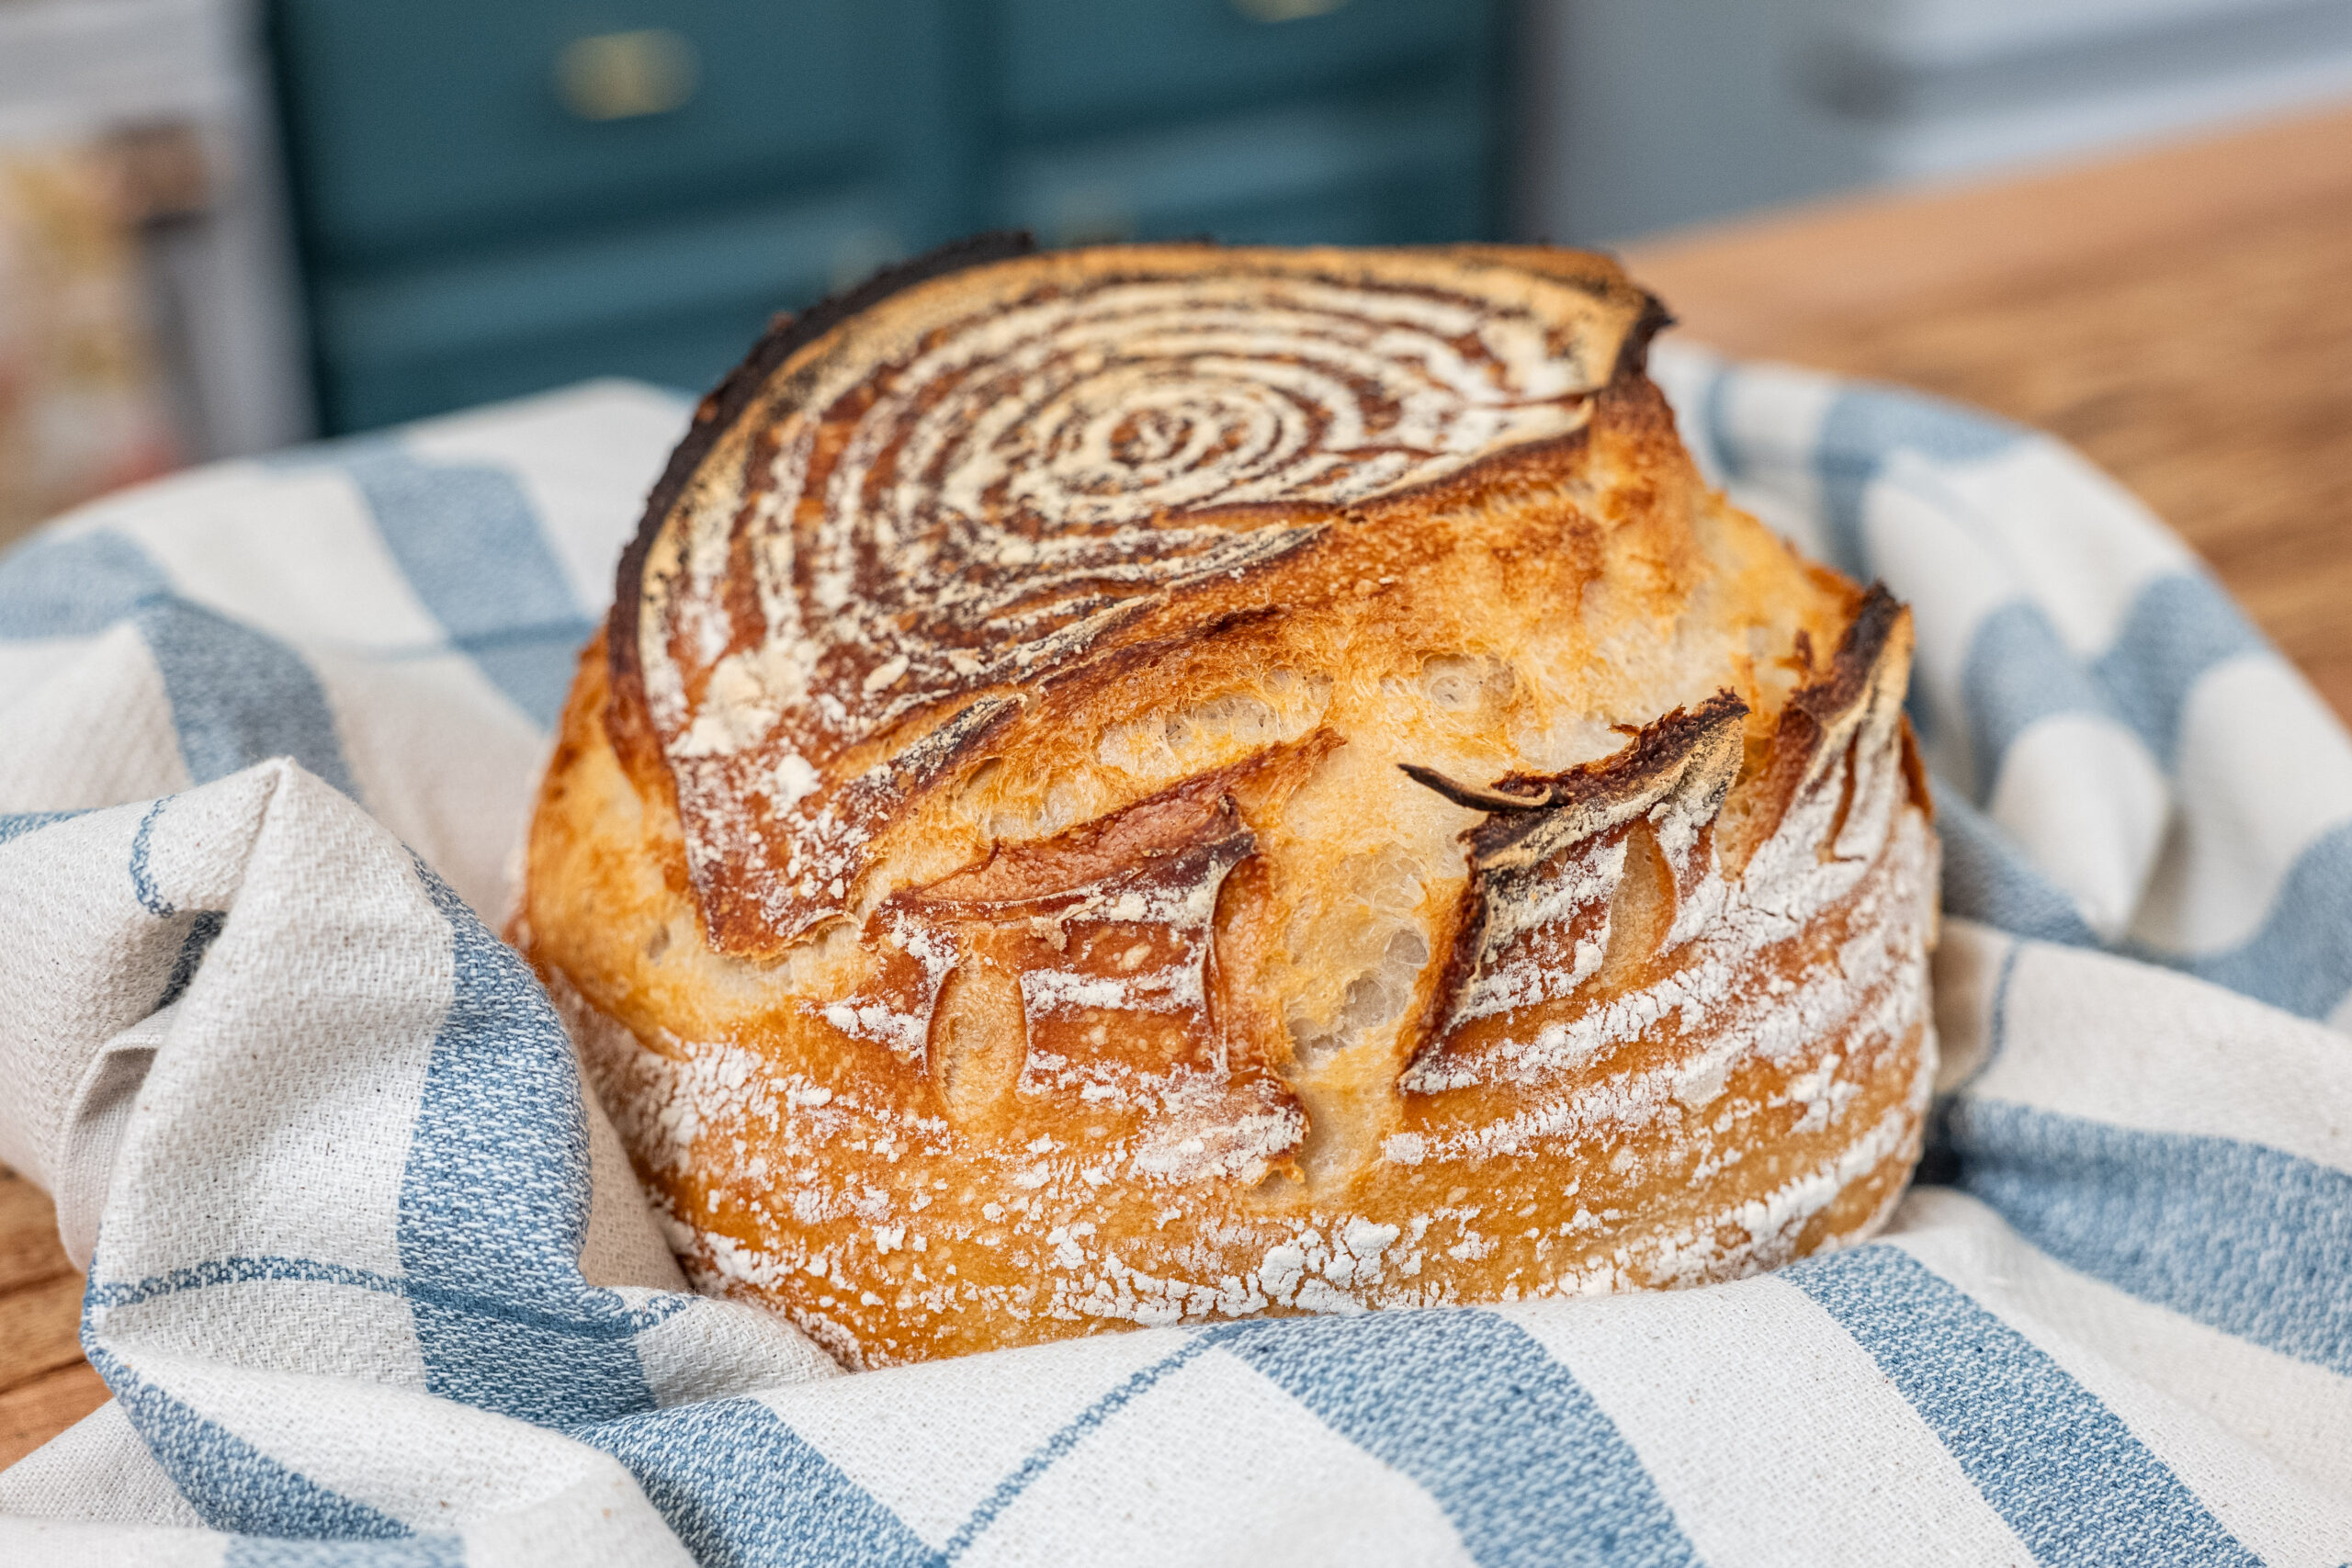

You’ve been eyeing homemade sourdough, but the thought of kneading dough for 10 minutes and managing complicated schedules feels overwhelming. What if you could make a beautiful, crusty boule with just 5 minutes of actual hands-on work? The secret isn’t a special technique–it’s understanding fermentation. By letting time and your starter do the heavy lifting, you get a professional-looking loaf with incredible flavor and texture, all while fitting into a realistic homestead routine.
How to Make an Easy Sourdough Boule
This minimal-manipulation method relies on proper fermentation timing rather than intensive kneading. Plan for 24-48 hours total, but most of that is passive.
Ingredients
- 500g bread flour or all-purpose flour
- 350ml lukewarm water
- 100g active sourdough starter (fed 4-8 hours prior, bubbly and at peak)
- 10g fine sea salt
- Extra flour for dusting and shaping
Method
Mix and Autolyse
Combine flour and water in a large bowl, stirring until all dry flour is hydrated. Let this rest for 30-60 minutes (autolyse). This rest period allows the flour to fully absorb water, making your dough easier to work with and improving final texture. You’re not adding salt or starter yet–just flour and water.
Incorporate Starter and Salt
After autolyse, add your active sourdough starter and salt to the dough. Mix gently by hand or use a dough scraper, folding the mixture until starter and salt are fully incorporated. This should take 2-3 minutes. The dough will be shaggy and sticky–this is normal and desired.
Bulk Fermentation with Stretch-and-Fold
Cover your bowl and let it sit for 30 minutes. Then perform one set of stretch-and-folds: wet your hand, grab one side of the dough, stretch it up, and fold it over the center. Rotate the bowl and repeat 4 times around. This builds strength without kneading. Repeat this process 3-4 times total over 4-5 hours, spacing each set 30-40 minutes apart. The dough should become smoother and hold its shape better.
Cold Retard (Optional but Recommended)
After bulk fermentation, shape the dough into a round (boule) and place it seam-side up in a proofing basket or bowl lined with a floured towel. Cover loosely and refrigerate for 12-18 hours. Cold fermentation develops deeper flavor and makes the dough easier to score. If you skip this step, let the shaped dough proof at room temperature for 4-6 hours until puffy.
Preheat and Score
About 1 hour before baking, remove your dough from the fridge and preheat your oven to 450F with a Dutch oven inside for 45 minutes. Turn the cold dough onto parchment paper, seam-side down. Using a sharp blade or lame, score a 1/4-inch-deep X or curved line across the top. This controls where the bread expands.
Bake Covered, Then Uncovered
Carefully transfer the parchment and dough into the preheated Dutch oven. Cover and bake for 20 minutes–the lid traps steam, which creates that signature crispy crust. Remove the lid and bake for another 25-30 minutes until the crust is deep golden brown and the loaf sounds hollow when tapped on the bottom.
Cool Completely
Transfer the loaf to a cooling rack and resist slicing for at least 1 hour. The interior continues to set as it cools. Cutting too early releases steam and gives you a gummy crumb. Wait until the loaf is room temperature for the best texture.
- Your sourdough starter is the most important variable–use it at peak activity (doubled in size, bubbly on top, passes the float test). An inactive starter will result in dense, sour bread.
- Room temperature matters: bulk fermentation takes longer in cold kitchens and shorter in warm ones. Aim for 75-78F for predictable timing. Adjust your schedule accordingly.
- Don’t skip the cold retard if possible. It’s the easiest way to develop flavor and makes shaping and scoring much easier because the dough is less sticky.
What to Look For in Sourdough Baking Equipment
- Dutch Oven Size and Material: A 5-6 quart Dutch oven with a lid is essential for trapping steam during baking. Cast iron retains heat best and develops even browning, but enameled steel works too. Ensure the lid fits snugly to seal in moisture.
- Proofing Basket or Banneton: This holds your shaped dough during final rise and cold fermentation. Look for 9-10 inch baskets suitable for boule-sized loaves. Natural rattan baskets are traditional and affordable; silicone ones are durable and non-stick.
- Scoring Tool (Lame or Blade): A sharp, thin blade creates clean scores that control oven spring. Dedicated lames are inexpensive and safer than using kitchen knives. Single-sided razors are a budget alternative.
- Kitchen Scale and Thermometer: Sourdough relies on weight, not volume, for consistency. A digital scale accurate to 1 gram transforms your results. An instant-read thermometer helps gauge dough temperature and doneness (internal temp around 205-210F when done).
Lodge 6-Quart Enameled Cast Iron Dutch Oven
Best for: Anyone serious about sourdough baking
The Lodge enameled Dutch oven is the workhorse of sourdough baking. Its 6-quart capacity handles boules with room to spare, the cast iron core distributes heat evenly for perfect crust development, and the enamel coating eliminates seasoning maintenance. The tight-fitting lid traps steam effectively, giving you that bakery-quality crust every time. At a reasonable price point, it’s an investment that will last decades.
Check Current Price on Amazon →Tramontina Enameled Cast Iron Dutch Oven 5.5-Quart
Best for: Budget-conscious bakers starting out
Tramontina offers excellent quality at a lower price than premium brands. This 5.5-quart enameled Dutch oven performs nearly identically to much pricier options for sourdough baking. The cast iron heats and cools predictably, the enamel resists chipping, and the lid seals well for steam retention. It’s perfect for someone testing their commitment to sourdough before investing in premium equipment.
Check Current Price on Amazon →Banneton Proofing Basket by Artisa Bread
Best for: First-time sourdough makers
This 9-inch round banneton basket is handwoven from natural rattan, providing that classic look and excellent moisture absorption during proofing. The basket is lined with food-grade linen and shaped specifically for boules. At an affordable price, it comes with clear instructions and prevents dough sticking without extra work. The traditional design makes it easy to transfer dough to your Dutch oven.
Check Current Price on Amazon →Le Creuset 5.5-Quart Round Dutch Oven
Best for: Serious bakers seeking durability and aesthetics
Le Creuset’s enameled cast iron Dutch oven is the premium choice for bakers who want a piece that performs flawlessly and looks beautiful on the table. The superior enamel coating resists wear and staining, the heat distribution is impeccable, and the wide range of colors lets you choose a style that matches your kitchen. This is a heirloom-quality piece that will outlast trends.
Check Current Price on Amazon →Final Recommendation
Making an easy sourdough boule is entirely achievable with the right approach and equipment. The 5-minute hands-on method works because fermentation does the heavy lifting–your job is simply to fold the dough a few times and shape it. The only essential equipment is a Dutch oven for steam and a scale for ingredient accuracy. Everything else (proofing basket, lame, thermometer) makes the process easier or more consistent, but isn’t strictly required to bake delicious bread.
Start with a Lodge or Tramontina Dutch oven, pick up an affordable digital scale, and commit to one full bake cycle. You’ll quickly develop an intuition for dough readiness and fermentation timing. Once you’ve made three or four boules successfully, your starter behavior and kitchen conditions become predictable, and sourdough becomes less of a tense chemistry experiment and more of a sustainable homestead habit. The combination of minimal active work and professional results makes this method perfect for busy gardeners and homesteaders.
Frequently Asked Questions
How do I know if my sourdough starter is ready to use?
Your starter should have doubled or tripled in size, show lots of bubbles, and pass the float test: drop a small spoonful into water and it should float. This means it’s actively fermenting and hungry. Use it 4-8 hours after feeding for best results.
Can I skip the cold fermentation step?
You can, but you’ll lose flavor and make shaping harder. Room-temperature bulk fermentation takes 6-8 hours instead and produces less complex taste. Cold fermentation is worth the extra day because it develops deeper sour notes and makes the dough firmer.
My dough is too sticky to handle. What went wrong?
High hydration (lots of water) makes sourdough sticky by design. Wet your hands instead of flouring them for stretch-and-folds. If shaping is difficult, your dough may not have fermented long enough, or your starter wasn’t active enough. Both issues resolve with time and practice.
Why is my crust not crispy?
A Dutch oven is essential for steam trapping–without it, you’ll get a pale, soft crust. Also ensure you’re baking at 450F and that your Dutch oven is fully preheated. If your loaf is dense inside despite a crispy crust, your starter may be weak.
How long can I keep shaped dough in the fridge?
You can refrigerate shaped dough for up to 48 hours. Longer storage develops more sourness but risks over-fermentation. Check your loaf by poking it gently–if it springs back slowly, it’s ready to bake. If it doesn’t spring back at all, it’s over-proofed.
As an Amazon Associate, Build & Bloom earns from qualifying purchases. We only recommend products we genuinely think are useful. Prices and availability vary; check Amazon for the latest.
Leave a Reply