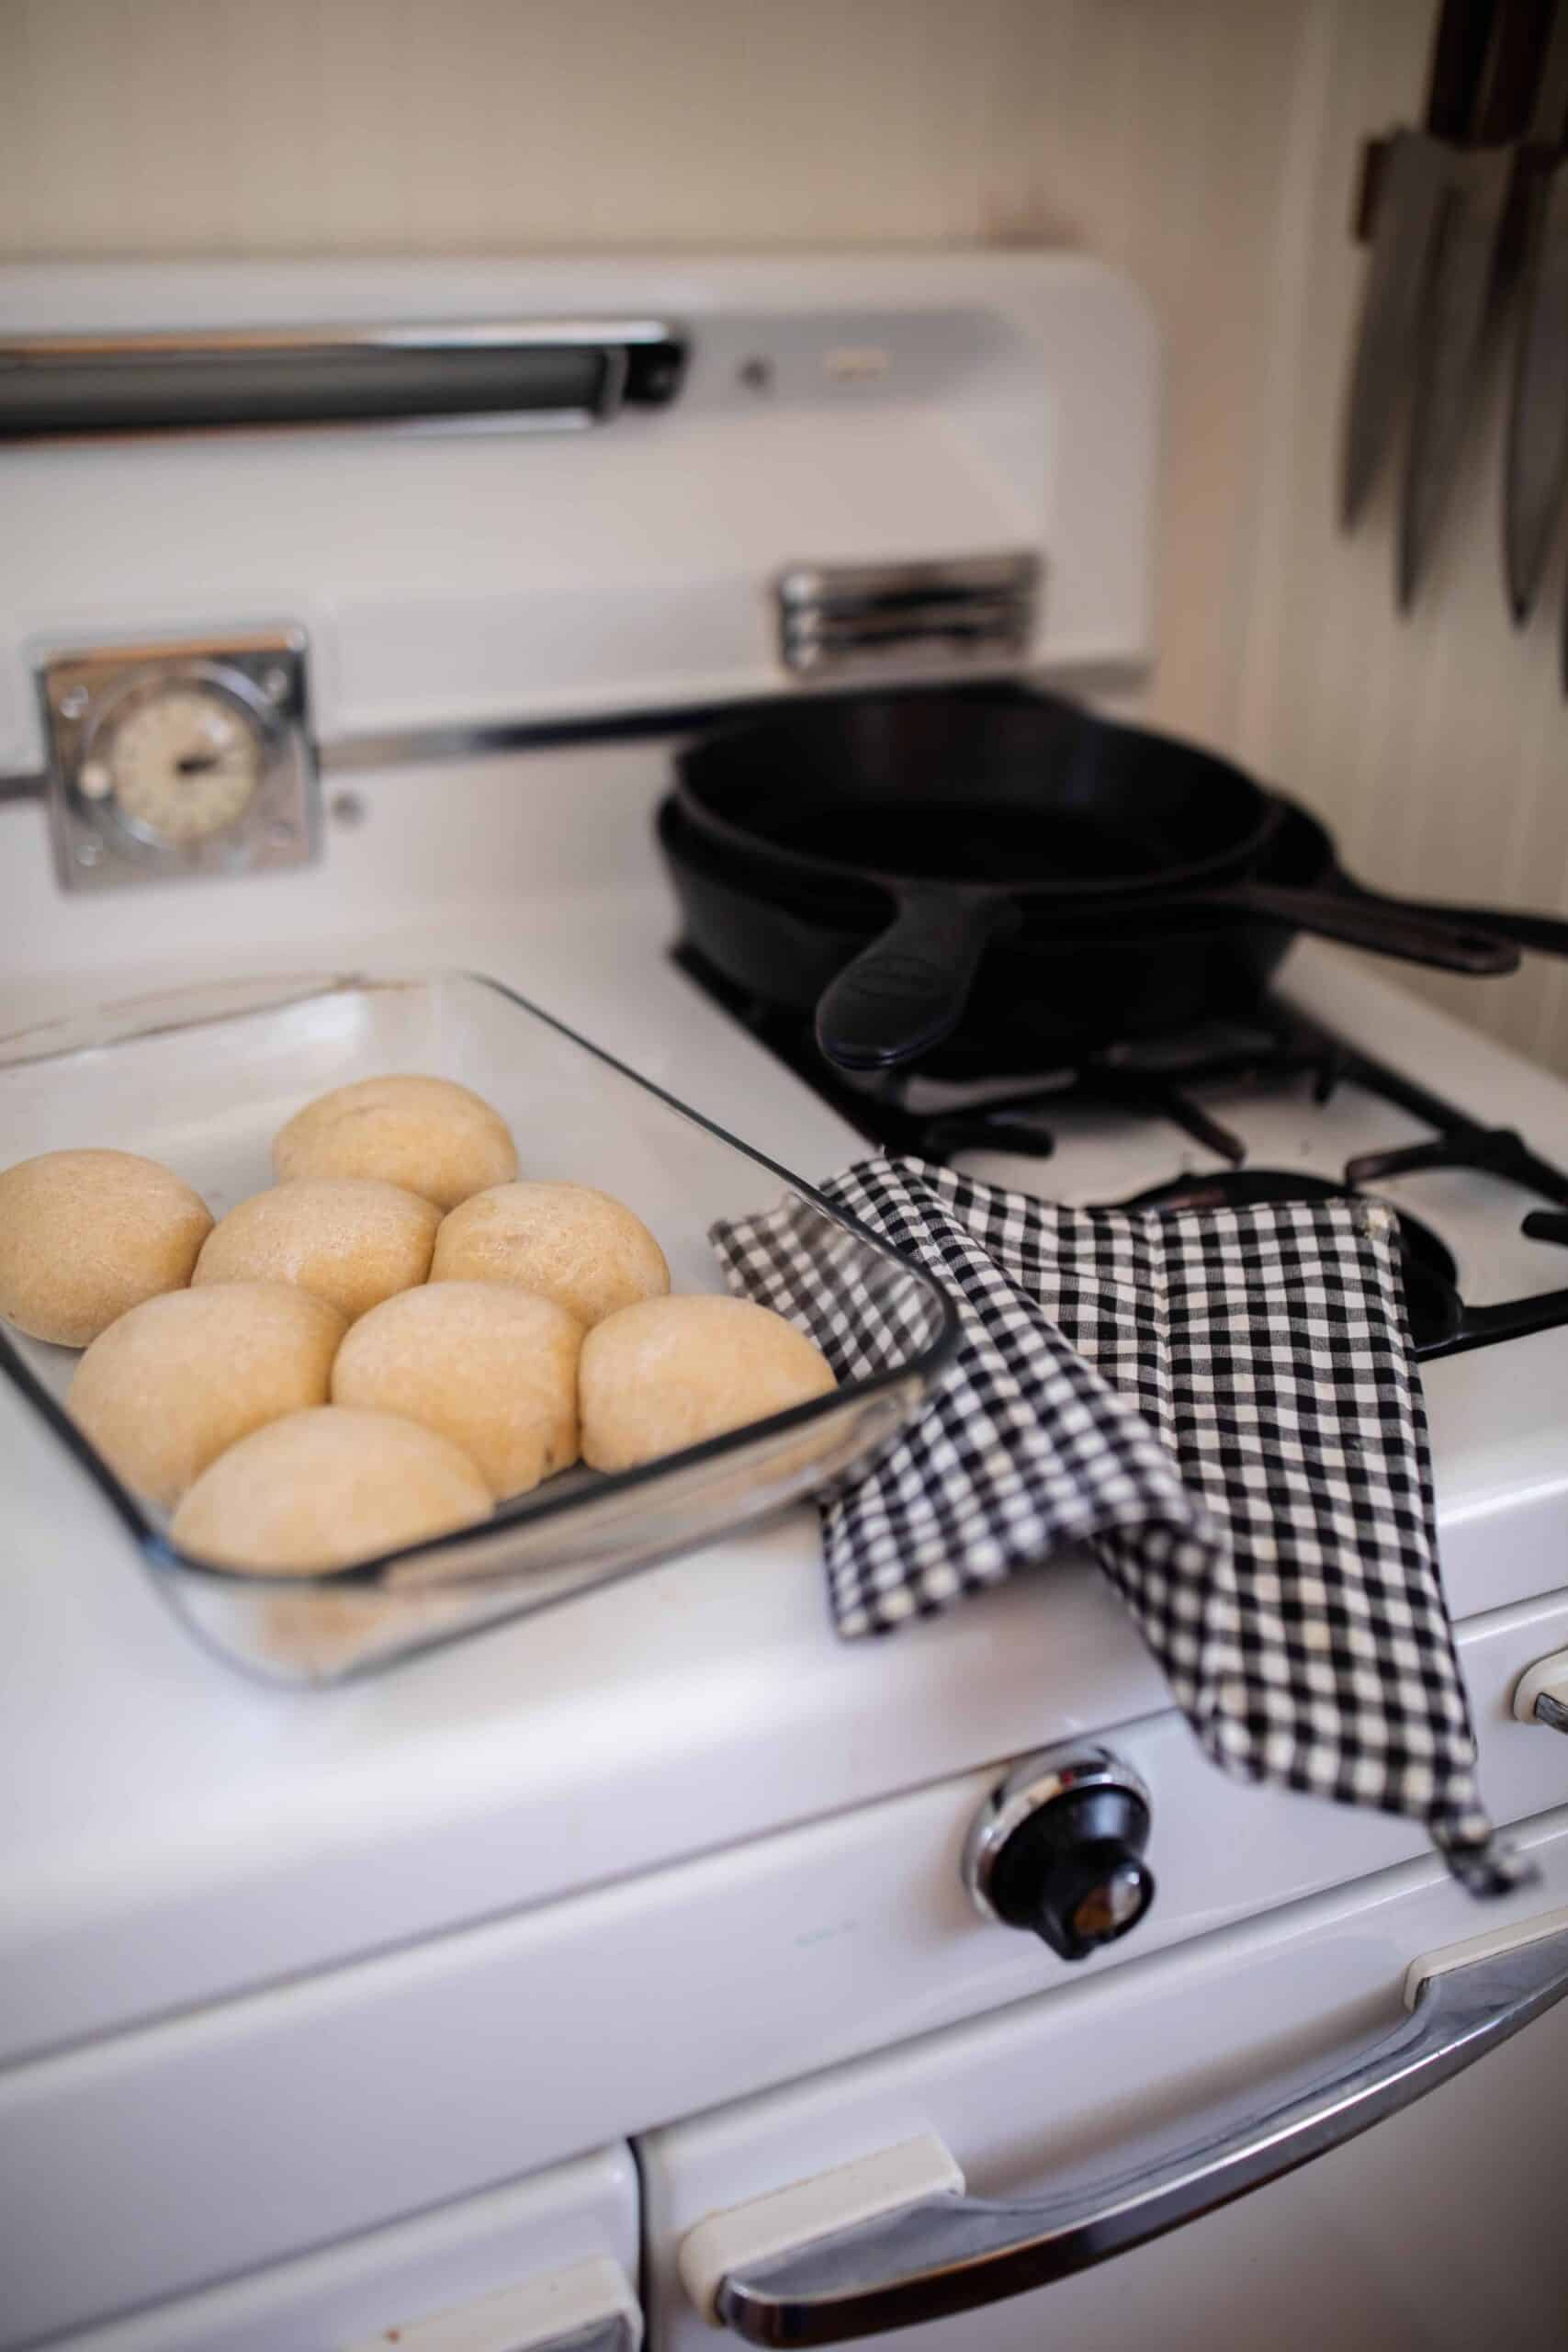

Homemade sourdough rolls intimidate many home bakers, but the truth is simpler than you think. If you have an active starter on hand, you already own the most difficult ingredient. The rest is patience and a basic understanding of dough development. These rolls deliver that coveted tangy sourdough flavor with a tender, buttery crumb that will make your kitchen smell incredible and impress anyone at your table.
How to Make Easy Sourdough Dinner Rolls
This recipe produces soft, flavorful rolls with minimal hands-on time. The long fermentation develops deep sourdough character while the dough rises mostly unattended.
Ingredients
- 1 cup (240ml) active sourdough starter at room temperature, fed 4-8 hours prior
- 2.5 cups (300g) bread flour or all-purpose flour
- 0.75 cup (180ml) warm water
- 1.5 teaspoons salt
- 2 tablespoons honey or sugar (optional, aids browning)
- 2 tablespoons melted butter for brushing after baking
Method
Mix the dough
Combine starter, water, and flour in a large mixing bowl. Stir until no dry flour remains and the mixture forms a shaggy mass. Let this rest for 30 minutes at room temperature (called autolyse). This allows the flour to fully hydrate and makes the dough easier to handle.
Incorporate salt and develop gluten
Add salt to the dough and mix thoroughly. Perform 6-8 sets of stretch-and-folds over the next 2 hours, working the dough every 15-20 minutes. Wet your hand, grab one side of the dough, stretch it up and fold it over itself. Rotate the bowl and repeat from all four directions. This builds strength without aggressive kneading.
Bulk fermentation
After stretch-and-folds are complete, let the dough rise at room temperature for 4-6 hours until it increases by 50-75% and shows visible bubbles throughout. The dough should feel airy but still hold structure. Timing varies by room temperature, so watch the dough, not the clock.
Pre-shape and bench rest
Turn the dough onto a lightly floured surface and divide it into 12 equal pieces using a bench scraper or knife. Gently pre-shape each piece into a round by dragging it toward you with cupped hands. Place them on the work surface and let them rest for 20-30 minutes. This intermediate rest makes final shaping easier.
Final shape and cold proof
Shape each round into a tight ball by folding the edges toward the center and sealing them on the bottom. Arrange the rolls seam-side up in a greased 9×13 inch baking pan or on a parchment-lined baking sheet. Cover with plastic wrap or a cloth and refrigerate for 8-16 hours. Cold fermentation develops flavor and makes scoring easier.
Bake the rolls
Remove rolls from the refrigerator 1 hour before baking. Preheat your oven to 425 degrees Fahrenheit. If desired, score the tops gently with a sharp knife. Bake for 18-22 minutes until golden brown and a thermometer inserted in the center reads 205-210 degrees. The rolls should sound hollow when tapped on the bottom.
Finish and cool
Brush the warm rolls immediately after baking with melted butter. This creates a soft, rich crust. Let them cool in the pan for 5-10 minutes, then transfer to a wire rack. Serve warm or at room temperature. They’re best eaten the same day but store well in an airtight container for 2-3 days.
- Use a kitchen scale for precise measurements. Sourdough baking is forgiving with ratios, but weight ensures consistency and better results over time.
- Refrigeration is your friend. Cold overnight proofs not only develop better flavor but also make the dough easier to handle and shape, especially for beginners.
- If your starter is weak or young, feed it more frequently in the days before baking. A vigorous, bubbly starter at peak fermentation is the secret to rolls that rise reliably.
Essential Equipment for Sourdough Rolls
- Accurate Scale: Sourdough baking relies on ratios and hydration percentages. A digital scale measuring in grams ensures your starter, flour, and water are balanced correctly, eliminating guesswork.
- Dutch Oven or Baking Pan: A heavy-bottomed covered pan traps steam during baking, which creates that coveted crispy exterior and open crumb structure. A 9×13 ceramic pan works perfectly for batch rolls.
- Bench Scraper: This simple tool divides dough cleanly, manages sticky masses without excess flour, and helps shape rolls efficiently. It’s indispensable for any bread baker working with wet dough.
- Instant-Read Thermometer: Internal dough temperature determines doneness more accurately than color or time. A good thermometer removes the guesswork from when your rolls are truly done baking.
Escali Primo Digital Kitchen Scale
Best for: Serious bread bakers who want precision
This stainless steel scale measures up to 11 pounds in 0.1-gram increments, making it ideal for sourdough baking where precision matters. The large backlit display is easy to read, it has a tare function to reset between ingredients, and it runs on four AAA batteries with excellent longevity. The non-slip feet keep it stable during measuring, and it’s durable enough for years of regular use.
Check Current Price on Amazon →Greater Goods Digital Kitchen Scale by Walmart
Best for: Budget-conscious bakers starting out
This compact digital scale measures up to 11 pounds in 1-gram increments and costs significantly less than premium models. It has a bright LCD display, tare function, and simple one-button operation. While slightly less precise than heavier scales, it’s reliable for home sourdough baking and takes up minimal counter space. A solid entry-level choice that won’t break the bank.
Check Current Price on Amazon →Hario V60 Drip Scale with Timer
Best for: Precision-focused bakers who want timer integration
This Japanese-made scale combines accuracy with a built-in timer, perfect for tracking fermentation intervals. It measures to 0.1 grams and handles up to 2 kilograms. The sleek design and responsive buttons make it a joy to use, though the price point reflects its premium status. Ideal for bakers who view the kitchen scale as a central tool.
Check Current Price on Amazon →Ozeri Pronto Digital Multifunction Kitchen Scale
Best for: Novice bakers wanting simplicity
This lightweight scale offers straightforward operation with a 1-gram display increment and 11-pound capacity. The ultra-thin design fits in tight spaces, and the tare button is prominently placed for easy use. While it measures in 1-gram increments rather than 0.1-gram, it’s perfectly adequate for home bread baking and costs less than professional models.
Check Current Price on Amazon →Start Your Sourdough Roll Journey Today
Easy sourdough dinner rolls prove that sourdough baking doesn’t require special talent, just understanding. The long, cold fermentation does most of the work for you while you sleep, developing flavor and making the dough easy to shape. By investing in basic tools like a kitchen scale, bench scraper, and reliable thermometer, you’ll remove guesswork and build confidence with every batch.
These rolls are genuinely simple once you’ve made them once. The second batch feels automatic, and by your third, you’ll be tweaking timing based on your kitchen’s temperature and your starter’s personality. That’s when sourdough baking becomes not just a recipe but a skill, and fresh, tangy rolls become a regular weeknight staple rather than a special occasion.
Frequently Asked Questions
Can I make these rolls without a Dutch oven?
Yes. Use any heavy baking pan or cast iron skillet covered loosely with foil to trap some steam. The crust won’t be quite as crispy, but the interior crumb will still develop beautifully. For the softest rolls, a covered 9×13 dish is ideal.
My starter is brand new. Can I still use it?
Young starters (less than 2 weeks old) often lack the strength needed for reliable rising. Feed it daily for at least 10-14 days until it consistently doubles in size within 4-8 hours. Once it’s vigorous and bubbly at peak fermentation, it’s ready for baking.
How do I know when bulk fermentation is done?
Look for the dough to increase 50-75% in volume with visible bubbles throughout. Gently poke it with a floured finger; if the indent slowly springs back halfway, you’re in the sweet spot. If it springs back completely, it needs more time. If it doesn’t spring back at all, it’s overproofed.
Can I skip the cold overnight proof?
You can, but you’ll lose significant flavor development. If short on time, refrigerate for just 4-6 hours instead. The overnight proof allows enzymes to break down starches and develop complex sourdough tang, making it well worth the wait.
Why did my rolls stay dense instead of fluffy?
This usually means weak fermentation (starter too young, not active enough, or room too cold) or underproofed dough. Always use a vigorous starter at peak activity, and watch for proper rise signals rather than relying on time alone. Room temperature dramatically affects speed.
As an Amazon Associate, Build & Bloom earns from qualifying purchases. We only recommend products we genuinely think are useful. Prices and availability vary; check Amazon for the latest.
Leave a Reply