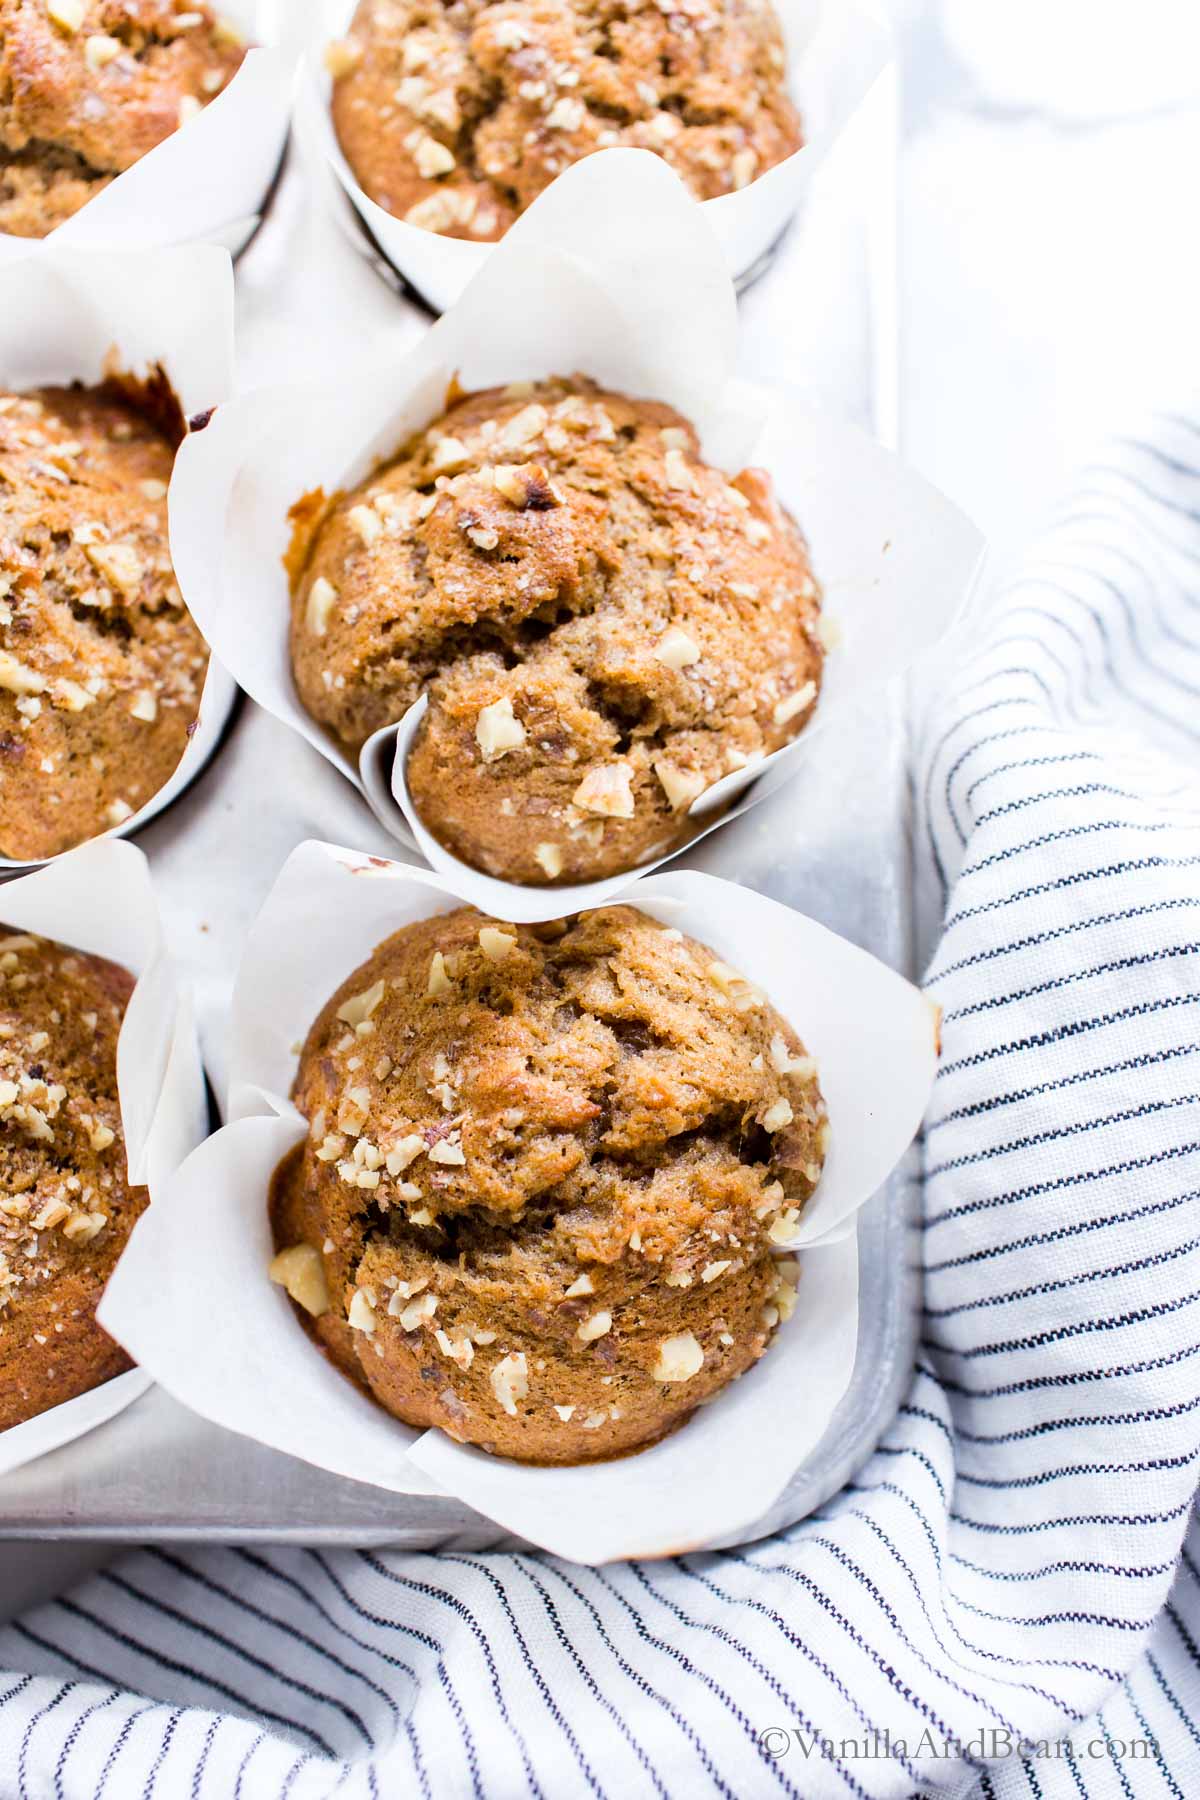

If you maintain a sourdough starter, you know the challenge: regular feedings mean constant discard unless you’re baking bread daily. Sourdough banana muffins are the perfect solution, transforming that ‘waste’ into tender, fluffy breakfast treats that rival any bakery muffin. Unlike standard banana muffins, the sourdough starter adds subtle tang, moisture, and a delicate crumb structure while letting you use up discard guilt-free. This straightforward recipe delivers bakery-quality results in under an hour.
How to Make Fluffy Sourdough Banana Muffins
These muffins combine active sourdough discard with ripe bananas to create an exceptionally moist crumb and tender interior. The method is straightforward and forgiving, even for sourdough baking beginners.
Ingredients
- 1 cup active sourdough starter (fed 4-8 hours prior, bubbly and at peak)
- 3-4 very ripe bananas, mashed (about 1.5 cups)
- 1/2 cup neutral oil or melted butter
- 2 eggs, room temperature
- 1/2 cup granulated sugar
- 1 3/4 cups all-purpose flour
- 1 teaspoon baking soda
- 1/2 teaspoon salt
- 1 teaspoon vanilla extract
- Optional: 1/2 cup chocolate chips or chopped walnuts
Method
Prepare Your Starter and Ingredients
Feed your sourdough starter 4-8 hours before baking and allow it to become bubbly and active at peak rise. Preheat your oven to 375 degrees Fahrenheit and prepare a muffin tin by inserting paper liners or greasing each cup generously. Gather all ingredients and allow eggs to sit at room temperature for 15-20 minutes, as they’ll incorporate more evenly into the batter.
Combine Wet Ingredients
In a large mixing bowl, whisk together the active sourdough starter, mashed bananas, oil, eggs, sugar, and vanilla extract until well combined and smooth. Whisk vigorously for about 1-2 minutes to ensure the sugar dissolves and the mixture becomes slightly pale. This aerating step helps create the fluffy texture that distinguishes these muffins from dense sourdough bread.
Mix Dry Ingredients Separately
In a separate medium bowl, whisk together flour, baking soda, and salt, breaking up any lumps in the flour. This step prevents baking soda clumps from creating bitter pockets in the finished muffins. Set this mixture aside temporarily.
Fold Together and Add Mix-Ins
Pour the dry mixture into the wet ingredients and fold gently using a spatula or wooden spoon until just combined. The batter should look slightly lumpy and shaggy–do not overmix, as this develops gluten and yields tough muffins. Fold in chocolate chips or walnuts if using, distributing them evenly throughout the batter.
Fill and Distribute Batter
Divide the batter evenly among the prepared muffin cups, filling each about two-thirds to three-quarters full. A small ice cream scoop or cookie dough scoop ensures consistent sizing and even baking. Smooth the tops gently with a wet spoon if desired for a more finished appearance.
Bake Until Golden and Set
Place the muffin tin in the preheated 375-degree oven and bake for 20-25 minutes, until the tops are golden brown and a toothpick inserted into the center comes out clean or with just a few moist crumbs. Oven temperatures vary, so begin checking at 18 minutes. The muffins should spring back when lightly touched on top.
Cool and Store
Allow muffins to rest in the tin for 5 minutes before turning them out onto a wire rack to cool completely. This resting period lets the structure set without the muffins becoming too dense. Store cooled muffins in an airtight container at room temperature for up to 3 days, or freeze for up to 2 months.
- Use the darkest, spottiest bananas you can find–overripe bananas contain more natural sugars and pectin, creating maximum moisture and sweetness without extra ingredients.
- Don’t skip the separate dry-ingredient bowl step. Whisking baking soda into flour prevents bitter alkaline pockets and ensures even rise throughout the batch.
- If your sourdough starter is consistently weak or slow-rising, feed it an extra time or use slightly more starter (up to 1.25 cups) for a more pronounced rise and tang.
Essential Equipment for Perfect Sourdough Muffins
- Muffin Tin Quality and Material: Dark nonstick steel heats faster and promotes even browning on muffin tops, while light-colored tinplate requires longer baking. Ceramic or stoneware tins bake more slowly but produce exceptionally moist interiors. Choose based on whether you prefer crispy or tender tops.
- Mixing Bowls and Utensils: Large enough bowls prevent overflow when folding, while wooden spoons and silicone spatulas minimize gluten development through gentle mixing. Avoid electric mixers, which overwork the batter and result in dense, tough muffins.
- Measuring Accuracy: A digital kitchen scale ensures consistent results, as volume measurements of flour vary with packing and humidity. If weighing, use 1.75 ounces per 1/2 cup of flour as your baseline conversion.
- Oven Thermometer Reliability: Many home ovens run 25-50 degrees hotter or cooler than indicated. An accurate oven thermometer prevents over-browning or underbaking, both of which compromise muffin texture and crumb structure.
Wilton Premium Non-Stick Muffin Tin
Best for: Home bakers wanting reliable, even baking
This commercial-grade muffin tin features dark non-stick coating that promotes even browning and prevents sticking without greasing. The cup diameter is perfect for standard muffins, producing consistent sizing across batches. Made from heavy-gauge steel for durability, it heats evenly and releases muffins cleanly. The non-stick surface is metal-utensil safe and dishwasher-friendly, making cleanup effortless after baking.
Check Current Price on Amazon →Chicago Metallic Professional Muffin Pan
Best for: Budget-conscious bakers who value durability
A reliable, affordable muffin pan with aluminized steel construction that distributes heat evenly without premium pricing. While not non-stick, it performs consistently when properly greased or lined with papers. The construction is sturdy enough for frequent use without warping, making it excellent value for casual home bakers. Fits standard muffin liners and produces well-risen, evenly-browned muffins.
Check Current Price on Amazon →OXO Good Grips Silicone Baking Pan
Best for: New bakers intimidated by traditional pans
This flexible silicone muffin pan eliminates the anxiety of unmolding. The built-in handles make handling safe and easy, while the flexible material allows muffins to pop out effortlessly without sticking. The thick silicone insulates gently, reducing over-browning risk for newer bakers. Bake times may run 2-3 minutes longer than metal tins due to the insulation, but results are consistently moist and tender.
Check Current Price on Amazon →Le Creuset Stoneware Muffin Pan
Best for: Bakers who value beautiful, oven-to-table presentation
This artisan stoneware pan offers exceptional heat retention and moisture control, producing incredibly tender muffin interiors with elegant presentations. The ceramic glaze is non-toxic and lead-free, perfect for health-conscious bakers. While expensive upfront, its durability and performance justify the investment for dedicated bakers. Stoneware requires slightly longer baking times but delivers incomparable moisture and crumb structure.
Check Current Price on Amazon →Start Baking Your First Batch Today
Sourdough banana muffins are an accessible entry point into creative sourdough baking beyond bread. The recipe is forgiving enough for beginners yet flexible enough for experienced bakers to experiment with mix-ins, spices, and flavor variations. Whether you’re looking to use discard productively or simply craving exceptional muffins, this recipe delivers results that rival any bakery.
Gather your equipment, activate your starter, and commit to this simple recipe. Within an hour, you’ll have warm, fluffy muffins that justify keeping a sourdough culture alive year-round. Once you taste the difference that active fermentation brings, you’ll never return to standard banana muffins again.
Frequently Asked Questions
Can I use unfed sourdough starter (the kind in the fridge)?
No–unfed starter lacks the active yeast and bacteria needed for rise and flavor. Always feed your starter 4-8 hours before baking and wait until it’s at peak (bubbly and doubled), when fermentation is most active. If your starter is sluggish, feed it twice before using, or add 1/2 teaspoon of commercial baking powder to compensate.
Why are my muffins dense and gummy in the center?
This usually indicates underbaking or overmixing. Check oven temperature with a separate thermometer–most home ovens run cooler than displayed. Ensure the center toothpick comes out nearly clean, not wet. When mixing, fold gently only until flour streaks disappear; overmixing develops gluten and traps moisture, creating dense crumbs.
Can I freeze the batter and bake later?
Yes, but results are best within 24 hours. Sourdough starter fermentation continues in the fridge, potentially overproofing the batter and causing odd flavors or texture. For longer storage, freeze fully baked muffins up to 2 months instead.
How much starter should I discard with this recipe?
This recipe uses 1 cup of discard in the batter itself. Before feeding your starter, you can discard an additional 1/2 to 1 cup if your container is getting too full, maintaining the ideal 1:1:1 ratio of starter to flour to water for your daily feedings.
What’s the difference between ‘sourdough’ muffins and regular banana muffins?
Sourdough starter adds subtle tang, moisture, and a finer crumb structure than commercial leavening alone. The natural fermentation develops flavor complexity that plain banana muffins lack, and the acids help keep muffins moist for days. They’re the perfect way to use starter discard while elevating humble banana muffins into something special.
As an Amazon Associate, Build & Bloom earns from qualifying purchases. We only recommend products we genuinely think are useful. Prices and availability vary; check Amazon for the latest.
Leave a Reply