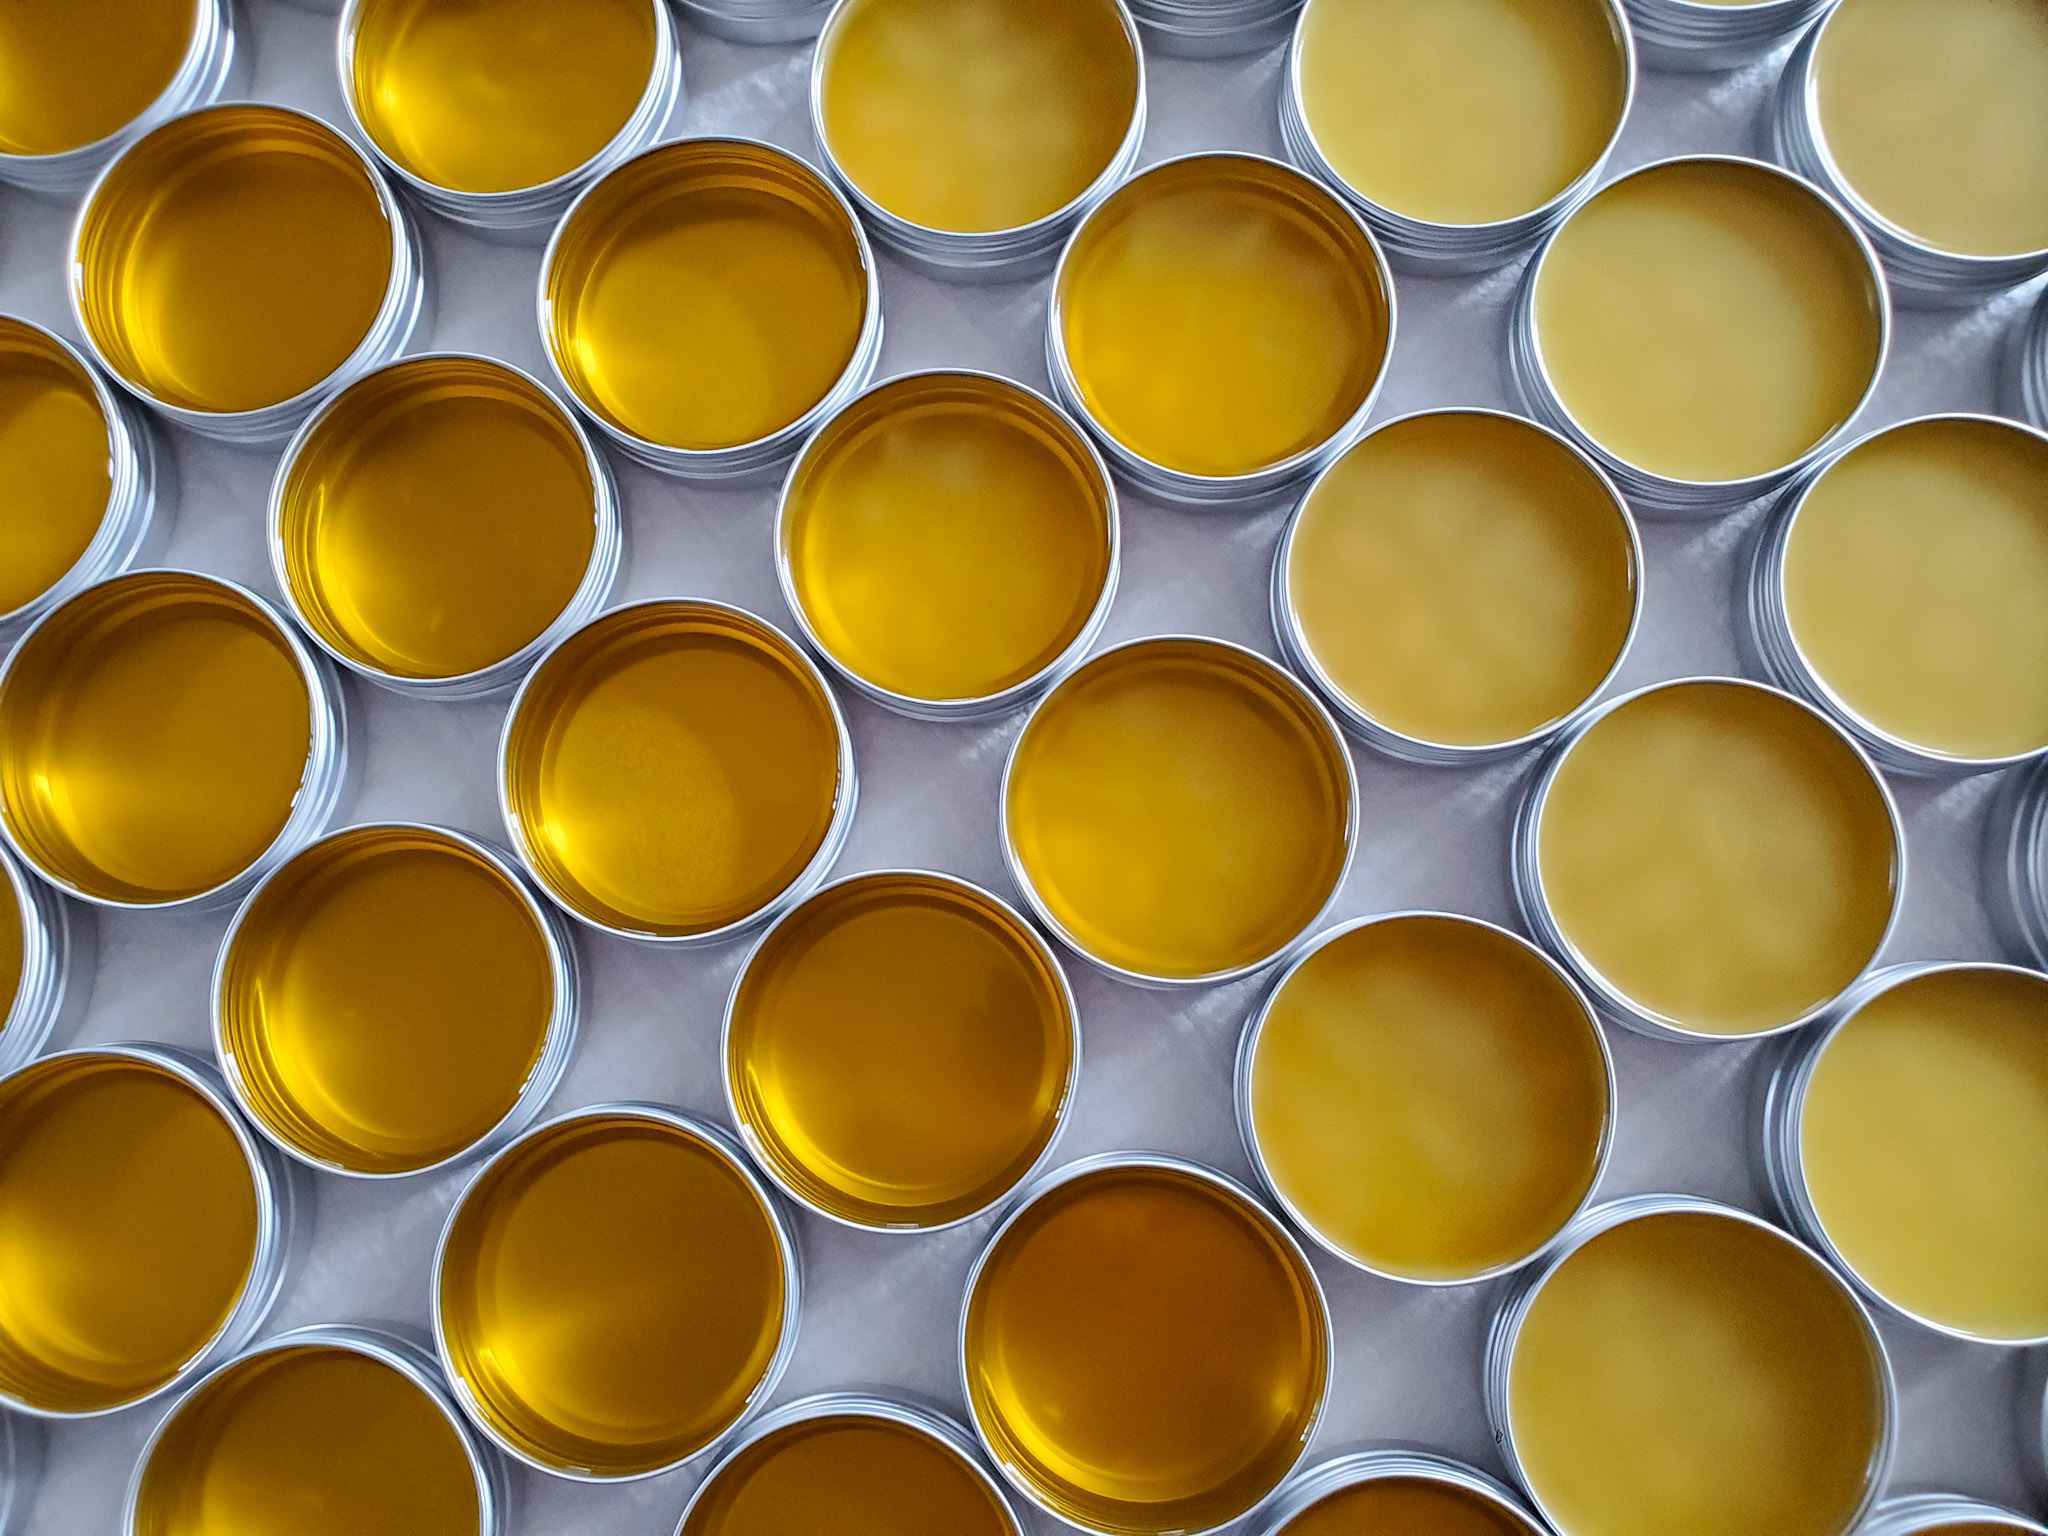

Making your own herbal salve is one of the most rewarding DIY projects for homesteaders and herb gardeners. Whether you’ve grown chamomile, calendula, or plantain in your garden, turning those dried herbs into a healing salve you can use year-round feels like genuine alchemy. But the process is surprisingly straightforward, and you likely have most of the equipment already in your kitchen. In this guide, we’ll walk you through both the slow-infusion and quick-heat methods, so you can choose the approach that fits your timeline and comfort level.
How to Make Herbal Salve at Home
Creating herbal salve involves two main stages: infusing your dried herbs into oil, then blending that infused oil with beeswax to set the mixture into a solid balm. Both methods are beginner-friendly and produce excellent results.
Ingredients & Materials
- Dried herbs (calendula, chamomile, plantain, or comfrey) – 1 cup loosely packed
- Carrier oil (olive, almond, or jojoba oil) – 1 to 1.5 cups
- Beeswax pellets or grated beeswax – 2 to 3 ounces (adjust ratio to desired firmness)
- Glass jars for storage – small tins or 2-4 oz containers
- Basic kitchen equipment – measuring cups, wooden spoon, strainer or cheesecloth, thermometer
- Double boiler or makeshift water bath setup
Steps
Prepare Your Dried Herbs
Start with clean, fully dried herbs from your garden or a trusted supplier. Remove any stems, debris, or discolored material. If your herbs still feel slightly moist, spread them on a baking sheet and warm them gently in a low oven (150-170°F) for 10-15 minutes to ensure they’re completely dry. This prevents mold or spoilage in your finished salve.
Choose Your Infusion Method
You have two options: the cold method (slower but requires no heat) or the gentle heat method (faster but requires attention). For cold infusion, place dried herbs in a clean glass jar, cover completely with oil, seal, and let sit in a sunny windowsill for 2-3 weeks, shaking every few days. For heat infusion, skip to the next step and use your double boiler.
Create a Double Boiler Setup
Fill a larger pot with a few inches of water and bring it to a gentle simmer. Place a heat-safe glass bowl or smaller pot on top, making sure the bottom doesn’t touch the water. Add your dried herbs and oil to the upper vessel. Maintain a low, steady temperature (around 160-180°F) for 1-2 hours, stirring occasionally. The gentle heat will extract the beneficial plant compounds without damaging them.
Strain the Infused Oil
Once your herbs have infused (either cold method after 2-3 weeks or hot method after 1-2 hours), strain the oil through cheesecloth or a fine-mesh strainer into a clean bowl or glass measuring cup. Squeeze the cloth gently to extract as much oil as possible from the herbs, then discard the spent plant material. Allow the strained oil to cool slightly if you used the heat method.
Measure and Heat the Beeswax Mixture
Pour your infused oil into the double boiler’s upper vessel again. Add beeswax pellets at a ratio of approximately 1 ounce of beeswax per 4 ounces of oil (adjust for softer or firmer consistency based on your preference). Heat gently until the beeswax fully melts and incorporates completely into the oil, stirring occasionally. Aim for a temperature around 170°F to avoid overheating.
Test for the Right Consistency
Before pouring into containers, test your salve’s consistency by dripping a small amount onto a cold plate or spoon and letting it cool for 30 seconds. It should feel firm but still spreadable at body temperature. If it’s too soft, add a bit more beeswax; if too hard, warm it and add a touch more oil. This test saves you from batch failures.
Pour Into Containers and Cool
Once you’re satisfied with the consistency, carefully pour the warm salve into your prepared tins or jars. Work relatively quickly but safely, as the mixture will begin to set as it cools. Fill containers nearly to the top and allow them to cool at room temperature for 1-2 hours. Avoid moving them while they’re still warm, as this can create cracks or uneven texture.
Label, Store, and Use
Once fully cooled and solidified, cap your containers and label them with the date and herb varieties used. Store in a cool, dark place or in the refrigerator for extended shelf life (typically 6-12 months). Apply to skin as needed for minor cuts, scrapes, chapped skin, or general soothing purposes. A little goes a long way.
- If you prefer a scent-free base, use light olive oil or fractionated coconut oil instead of extra-virgin varieties. Extra-virgin oils can overpower delicate herb aromas.
- For a faster approach without heat, try the solar infusion method: place herbs and oil in a glass jar in direct sunlight for 1-2 weeks, which still provides gentle extraction without stove work.
- Keep detailed notes on your herb-to-oil and oil-to-beeswax ratios so you can replicate batches you love and adjust future batches based on results.
What to Look For in Salve-Making Supplies
- Beeswax Quality: Purchase cosmetic-grade beeswax that is pure and free from additives. Pellets are easier to measure and melt evenly than chunks or grated forms. Ensure it comes from a reputable source that specifies the origin and filtering process.
- Carrier Oil Type: Choose oils with neutral scent and good skin compatibility, such as sweet almond, jojoba, or light olive oil. Avoid oils with strong flavors (like extra-virgin) unless you want their aroma in the final product. Organic, cold-pressed varieties are ideal for quality salves.
- Glass Containers: Dark glass jars or metal tins with secure lids protect your salve from light degradation and contamination. Small 2-4 oz containers are ideal for gifting or personal use, while larger jars work for bulk storage. Glass is preferable to plastic for longevity.
- Double Boiler or Heat Control: A proper double boiler prevents overheating and scorching of delicate oils and beeswax. If you don’t own one, a stainless steel bowl placed over a pot of simmering water works fine. A thermometer helps you maintain consistent, safe temperatures throughout the process.
Bee Natural Pure Beeswax Pellets
Best for: First-time salve makers who want reliable, consistent results
Bee Natural’s beeswax pellets are cosmetic-grade, sourced from sustainable beekeeping operations, and arrive in convenient 1-pound packages. Each pellet melts evenly without residue, making it ideal for salve making. The pellets dissolve smoothly into warm oil and blend without clumping. With clear labeling and a straightforward ingredient list, these pellets eliminate guesswork. Many homesteaders return to this brand repeatedly because the consistency between batches is exceptional. The 1-pound quantity is perfect for making multiple batches without excessive storage concerns.
Check Current Price on Amazon →Stainless Steel Double Boiler Pot Set
Best for: Beginners who want a dedicated, foolproof heat control setup
This stainless steel double boiler features a top vessel that nests securely into a lower water pot, preventing accidental contact with direct heat. The design allows herbs and oil to infuse gently without scorching or overheating. The set includes both parts and a glass lid for monitoring progress. Handles stay cool to the touch, and the construction withstands years of regular use. At an affordable price point, it’s an investment that removes one major source of beginner anxiety: ruining a batch due to heat damage.
Check Current Price on Amazon →NOW Foods Sweet Almond Oil
Best for: Budget-conscious makers seeking reliable carrier oil quality
NOW Foods sweet almond oil is organic, cold-pressed, and offers excellent value for larger quantities. It has a neutral scent that won’t compete with herb aromas and absorbs well into skin. The 16-ounce bottle is large enough for multiple batches without being wasteful. NOW Foods is a trusted, long-standing brand with transparent sourcing. This oil works beautifully for salve making and costs significantly less than specialty skincare oils. The light texture ensures your finished salve will spread easily.
Check Current Price on Amazon →Naissance Jojoba Oil
Best for: Makers prioritizing skin compatibility and longer shelf life
Naissance jojoba oil is a premium carrier oil that closely mimics skin’s natural sebum, making it ideal for facial salves or sensitive skin applications. It has an exceptionally long shelf life (up to 5 years when stored properly) and a light, non-greasy feel. The 100-milliliter bottle is packaged in dark glass with a dropper, though you’ll pour it into your mixing vessels. Jojoba’s stability means your finished salves will stay fresher longer. This oil is slightly pricier but worth it for high-end salves you plan to keep for extended periods.
Check Current Price on Amazon →Start Your Salve-Making Journey Today
Making herbal salve is an accessible entry point into plant-based healing and one of the most gratifying DIY projects you can do at home. Whether you’re using herbs from your own garden or sourcing them from trusted suppliers, the process teaches you about plant extraction, temperature control, and creating shelf-stable preparations. The supplies you gather can be reused for years, and the knowledge you gain opens doors to making other herbal products like infused oils, herbal honeys, and medicinal tinctures.
Start with a single small batch using the heat method if you’re short on time, or embrace the slow-infusion approach if you prefer a gentler process. Either way, you’ll end up with a personalized salve that reflects your herb choices, your preferred consistency, and potentially your own garden’s bounty. Share your creations with family and friends, refine your recipes over multiple batches, and build a toolkit of supplies that supports this rewarding practice for years to come.
Frequently Asked Questions
How long does homemade herbal salve last?
Properly made and stored herbal salve typically lasts 6-12 months. Storage in a cool, dark place or refrigerator extends shelf life. The beeswax acts as a natural preservative, though the oil component may eventually oxidize. Label batches with dates so you know when to retire older batches.
Can I use fresh herbs instead of dried herbs?
Fresh herbs contain more water content and are more prone to mold growth in oil. Dried herbs are strongly recommended for salve making. If you must use fresh herbs, dry them completely first in a warm oven or dehydrator, then proceed with the recipe.
What if my salve is too soft or too hard?
Soft salve: reheat and add more beeswax in small increments, stirring well. Hard salve: reheat and add a bit more carrier oil. Always test consistency on a cold plate before committing the full batch to jars.
Is beeswax safe for sensitive skin?
Beeswax is generally well-tolerated and rarely causes irritation. However, people with bee allergies should avoid beeswax products. Always do a patch test on a small area before applying salve widely. If you’re vegan, substitute beeswax with candelilla wax in equal amounts.
Can I add essential oils to my finished salve?
Yes, add 10-15 drops of essential oil per 4 ounces of finished salve after it has cooled slightly but before it sets completely. Stir thoroughly to distribute evenly. Avoid overheating essential oils, as heat damages their therapeutic compounds.
As an Amazon Associate, Build & Bloom earns from qualifying purchases. We only recommend products we genuinely think are useful. Prices and availability vary; check Amazon for the latest.
Leave a Reply