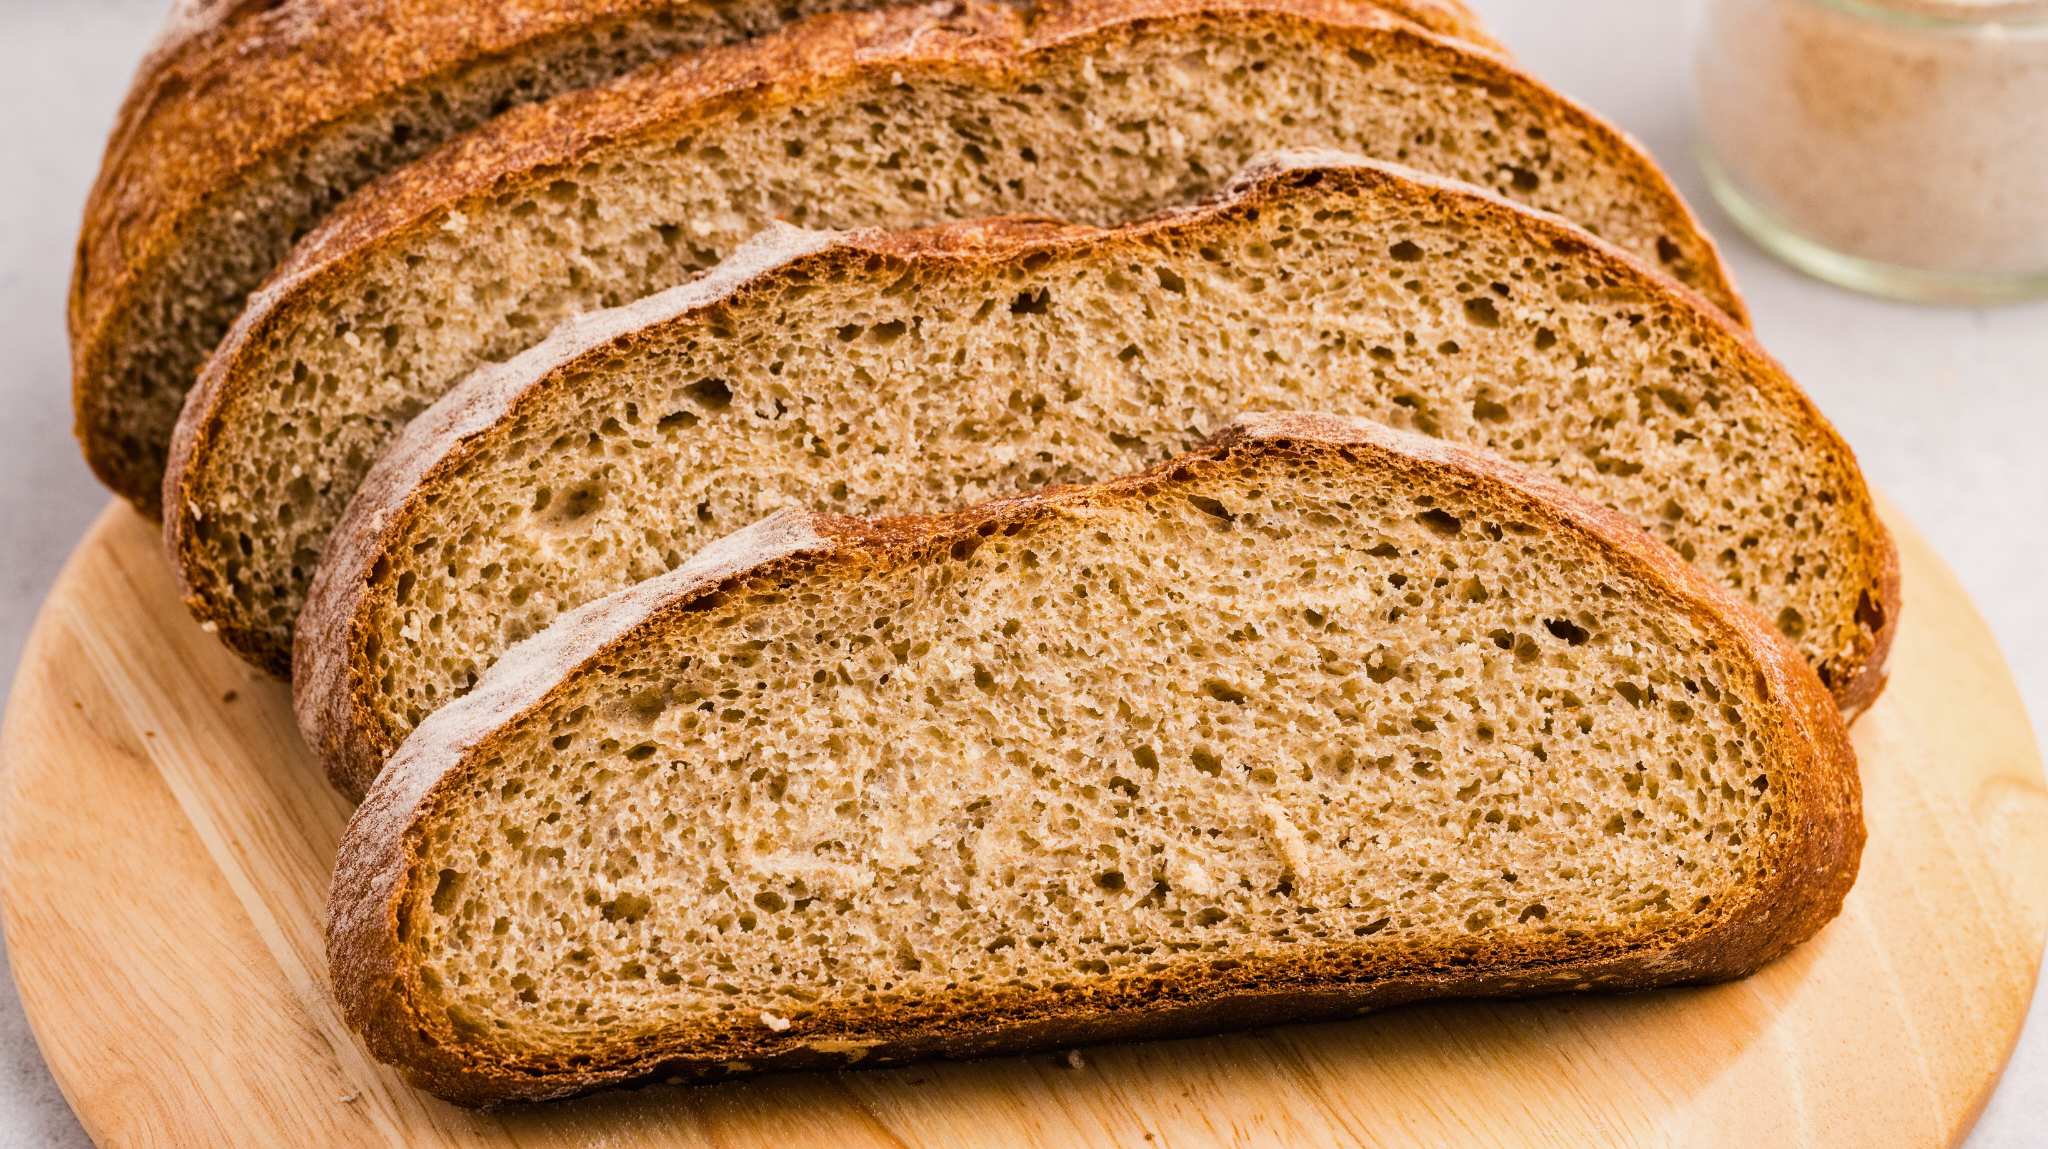

Making sourdough rye bread at home seems intimidating, but it’s one of the most forgiving breads to bake once you understand the fermentation timeline. Unlike commercial yeast breads, sourdough relies on your starter to do the heavy lifting, creating complex flavor and a naturally chewy crumb. This guide walks you through the entire process so you can bake bakery-quality rye bread in your own kitchen.
How to Make Homemade Sourdough Rye Bread
This recipe produces a single large loaf with deep rye flavor and tangy sourdough character. Plan for about 24 hours of mostly hands-off fermentation time.
Ingredients
- 1 cup active sourdough starter (fed 4-8 hours prior, bubbly and at peak)
- 1.5 cups bread flour or all-purpose flour
- 1 cup medium rye flour
- 1 cup filtered water (plus extra for steam)
- 2 teaspoons fine sea salt
- 1/2 teaspoon caraway seeds (optional but traditional)
Method
Mix the dough
In a large mixing bowl, combine your active sourdough starter, water, bread flour, and rye flour. Stir until all flour is hydrated and you have a shaggy, wet dough with no dry pockets. Let this rest for 30-60 minutes at room temperature. This resting phase, called autolyse, allows the flour to fully absorb water and makes the dough easier to work with.
Add salt and knead
Sprinkle salt and caraway seeds (if using) over the dough. Incorporate them through gentle stretching and folding motions with wet hands, about 5 minutes of work. The dough will feel tacky and loose, which is correct for high-hydration rye bread. Avoid adding more flour unless absolutely necessary.
Perform bulk fermentation
Leave the dough in the bowl at room temperature (68-75F is ideal) for 4-6 hours. Every 30 minutes for the first 2 hours, wet your hand and perform a series of stretch-and-fold motions: grab the dough at one edge, stretch it up and fold it over itself, rotate the bowl, repeat four times. This builds strength without intensive kneading. You’ll see the dough rise visibly and develop a smooth surface.
Shape the loaf
Turn the dough out onto a lightly floured surface. Gently pre-shape it into a round by folding the edges toward the center, then let it rest for 20 minutes. Final-shape by folding the dough in half, then rolling it toward you while creating tension on the surface. Place seam-side up in a banneton basket or bowl lined with a floured towel.
Cold proof overnight
Cover your shaped dough and refrigerate for 12-16 hours. This slow, cold fermentation develops flavor and makes scoring easier. The dough is ready when a gentle poke leaves a slight indentation that springs back slowly.
Preheat and score
Place a heavy covered baking vessel in your oven and preheat to 450F for 45 minutes. Remove the dough from the fridge and carefully turn it seam-side down onto parchment paper. Using a sharp blade, score the top with a single slash or cross pattern about 1/4 inch deep. This controls where the bread expands.
Bake covered
Transfer the dough on parchment into your preheated vessel. Cover it and bake for 20 minutes. This traps steam, creating the signature sourdough crust. Remove the lid and bake for another 25-30 minutes until the crust is deep golden brown and sounds hollow when tapped.
Cool completely
Transfer the loaf to a wire rack and let it cool for at least one hour before slicing. The crumb continues to set as it cools, so patience here pays off. Slice with a serrated knife using a gentle sawing motion to preserve the interior structure.
- Keep your sourdough starter fed and healthy; a sluggish starter produces dense, gummy bread. Feed it regularly with equal parts flour and water by weight.
- Use filtered or dechlorinated water if possible, as chlorine can inhibit fermentation. Let tap water sit overnight or boil and cool it.
- Don’t skip the cold proof. Overnight refrigeration is the secret to better flavor and easier scoring–it also fits naturally into a home baker’s schedule.
What to Look For in Sourdough Baking Equipment
- Dutch Oven or Covered Baking Vessel: A heavy, oven-safe pot with a fitted lid traps steam during baking, creating the crispy crust that defines great sourdough. Look for one rated to 500F+, with at least 4-5 quart capacity for a large loaf.
- Banneton Proofing Basket: This specialized basket supports your shaped dough during cold fermentation, preventing spreading and maintaining a round form. Natural cane or cloth-lined versions work equally well; choose based on your storage space and aesthetic preference.
- Bread Lame or Scoring Blade: A sharp, single-edged blade lets you score the dough surface with precision, controlling expansion during oven spring. Safer and more controllable than a razor blade, with a dedicated handle for proper grip.
- Kitchen Scale: Sourdough baking relies on hydration ratios and baker’s percentages for consistency. A digital scale measuring in grams ensures accuracy that cup measurements cannot match, directly improving your results.
Staub 5.5-Quart Round Cocotte
Best for: Home bakers who want professional results
The Staub round cocotte is the gold standard for sourdough baking. Its enameled cast iron construction retains heat evenly, the dark interior maximizes browning, and the self-basting lid returns moisture to the dough for a perfect crust. The 5.5-quart capacity handles large artisan loaves easily. Lifetime durability makes it a one-time investment for serious bakers.
Check Current Price on Amazon →Cuisinart Chef’s Classic 5.5-Quart Enameled Cast Iron Dutch Oven
Best for: Budget-conscious bakers starting out
Cuisinart’s enameled cast iron Dutch oven performs excellently at a fraction of premium prices. The 5.5-quart size accommodates standard sourdough loaves, and the heavy construction distributes heat reliably. While the exterior enamel requires gentler handling than some alternatives, the quality-to-price ratio makes it an exceptional value for home bakers testing their skills.
Check Current Price on Amazon →Pyrex 4.5-Quart Glass Baking Dish with Lid
Best for: Complete novices and experimental bakers
Glass baking dishes with lids are underrated sourdough vessels. Pyrex’s borosilicate glass withstands high heat, the transparent walls let you monitor browning without lifting the lid, and the lower cost means no stress about seasoning or care. The 4.5-quart capacity works for standard loaves. Perfect for bakers who want to practice technique before investing in cast iron.
Check Current Price on Amazon →Banneton Proofing Basket 9 inch Round Natural Rattan
Best for: Home bakers needing reliable dough support
This natural rattan banneton basket is the standard choice for sourdough shaping. The 9-inch diameter fits most home-scale loaves, the woven cane creates the traditional spiral pattern on your dough’s surface, and it’s lightweight for easy handling. Properly floured, it releases cleanly. A kitchen essential that costs far less than specialty alternatives.
Check Current Price on Amazon →Start Your Sourdough Rye Journey Today
Making sourdough rye bread is an act of patience and precision that rewards you with incomparable flavor and texture. The 24-48 hour timeline might seem long, but most of it is unattended fermentation while your starter and time do the work. Once you’ve baked your first successful loaf and experienced that crackling crust and tangy crumb, you’ll understand why artisan sourdough commands premium prices at farmers markets. The good news: yours will taste better and cost a fraction as much.
Invest in just three tools to start: a Dutch oven, a banneton basket, and a kitchen scale. These three items unlock professional-quality results at home. As you develop your skills and bake weekly, you’ll naturally add accessories like a bread lame and possibly a second banneton for scheduling multiple loaves. The beauty of sourdough is that it scales up gracefully–you’re building a sustainable hobby that gets easier and faster with repetition. Your first loaf might take all day; by your tenth, you’ll operate on autopilot. Start today, and in a month you’ll be the one explaining to friends how you achieved bakery results in your home kitchen.
Frequently Asked Questions
How do I know when my sourdough starter is ready to use?
Your starter should be actively bubbling and doubled in size 4-8 hours after feeding. It should smell pleasantly sour and pass the float test: a spoonful dropped into water should briefly float. If it sinks immediately, it needs more time or more frequent feedings.
Can I use all rye flour instead of mixing it with bread flour?
Pure rye dough is very sticky and dense because rye lacks gluten. A 40% rye, 60% bread flour blend (as in this recipe) gives you authentic rye flavor with manageable handling. If you want more rye character, you can increase to 50%, but beyond that, expect a denser crumb and longer fermentation times.
My dough didn’t rise much during bulk fermentation. What went wrong?
Check your starter’s strength (weak starter = slow rise), your room temperature (below 68F dramatically slows fermentation), and your fermentation time (rye often needs 6-8 hours, not 4). In cool kitchens, move your dough to a warmer spot like a closed oven with the light on, or use the refrigerator proof intentionally for flavor development.
Should I score my dough before or after it goes into the hot Dutch oven?
Score it on the parchment paper before transferring to the pot. Scoring cold dough from the fridge is easier and safer–the cold makes the surface less sticky. Place scored parchment and dough together into your preheated vessel as one unit.
How do I store my finished loaf?
Keep it in a paper bag at room temperature for 2-3 days to maintain crust crispness. For longer storage, wrap cooled bread in plastic and freeze for up to one month. Never refrigerate room-temperature bread, as cold accelerates staling. Thaw frozen bread at room temperature in its wrapping.
As an Amazon Associate, Build & Bloom earns from qualifying purchases. We only recommend products we genuinely think are useful. Prices and availability vary; check Amazon for the latest.
Leave a Reply