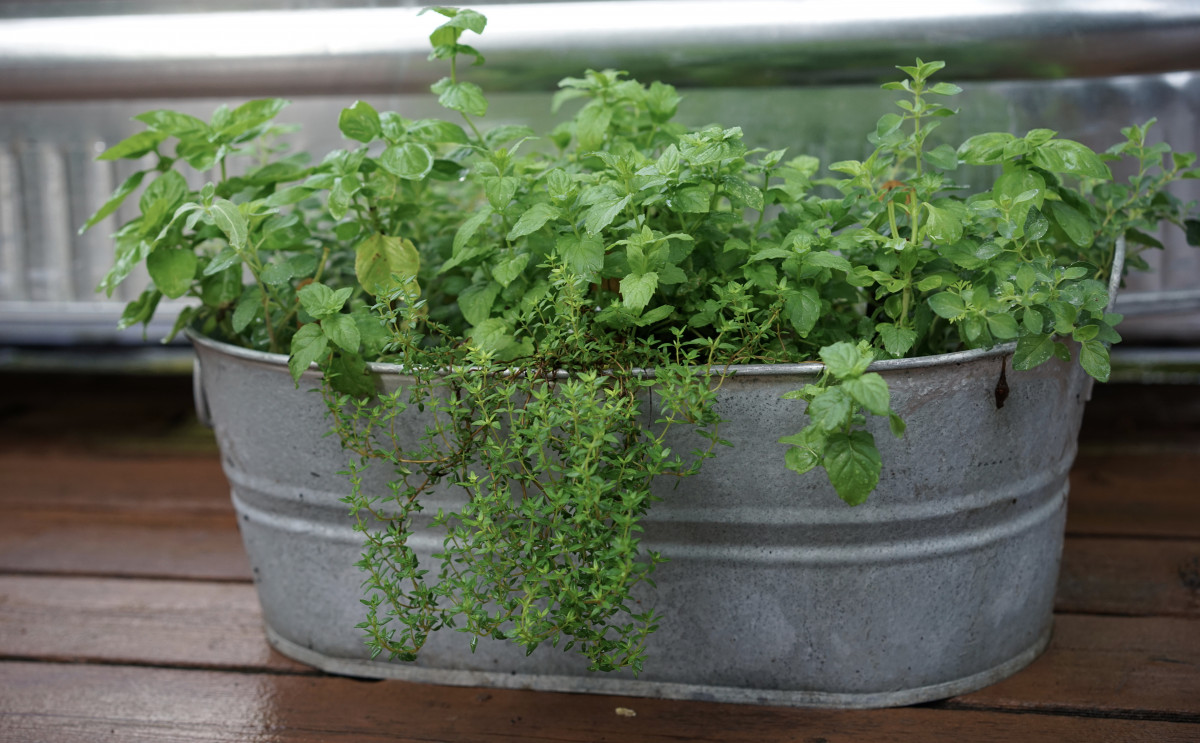

As frost creeps in and your outdoor garden fades, you don’t have to abandon fresh herbs for four months. Many gardeners assume their favorite basil, oregano, and mint die with the first freeze, but the truth is simpler: with the right setup indoors, you can harvest fresh herbs all winter long. The key isn’t complicated—it’s about recreating the light and warmth your herbs need to thrive when natural daylight becomes scarce. This guide walks you through exactly how to transition herbs indoors and keep them productive until spring.
How to Successfully Overwinter Herbs Indoors
Moving herbs inside requires more than just placing pots on a windowsill. You’ll need to address light, temperature, humidity, and watering to replicate growing conditions herbs need during winter dormancy.
What You Will Need
- Grow lights or full-spectrum LED bulbs (or access to a south-facing window)
- Indoor plant containers with drainage holes (4-6 inches minimum depth)
- Potting soil formulated for indoor plants
- A room or space where you can maintain 55-70°F temperatures
- A watering can or spray bottle for misting
- Humidity tray or pebbles to place under pots
Steps
Prepare herbs before the first frost
Trim your outdoor herb plants back by about one-third, removing any leggy growth or dead stems. This encourages bushier growth once moved indoors and reduces shock. Water the plants thoroughly a few hours before digging them up to minimize root damage during transplanting.
Dig up and pot the herbs
Carefully remove herbs from the garden, preserving as much of the root ball as possible. Plant them in containers with drainage holes filled with fresh potting soil. Pat the soil gently around the roots and water until water drains from the bottom. Let them acclimate outdoors for 2-3 days before moving inside completely.
Set up your indoor growing space
Position herbs where they’ll receive at least 12-16 hours of light daily. If natural light from a window is insufficient, install grow lights 6-12 inches above the plants and keep them on for 14-16 hours per day. Use a timer to automate this schedule and ensure consistency.
Maintain proper temperature and humidity
Keep your indoor space between 55-70°F, away from heating vents and cold drafts. Group potted herbs together and place them on humidity trays filled with pebbles and water to increase moisture around the leaves. Mist plants lightly 2-3 times per week if air feels very dry.
Water with restraint
Indoors, herbs dry out more slowly than outside. Water only when the top inch of soil feels dry to the touch. Check daily but resist overwatering—this is the most common cause of root rot in indoor herbs. Use room-temperature water and ensure pots have drainage holes.
Rotate and monitor for pests
Turn pots a quarter-turn every few days so plants grow evenly toward the light. Watch closely for spider mites and whiteflies, which thrive in indoor conditions. Inspect leaf undersides weekly and rinse affected plants with water or use insecticidal soap if needed.
Fertilize sparingly
Indoor herbs grow slowly in winter and need less nutrition than outdoor summer plants. Feed with a diluted liquid fertilizer once per month at half strength. Stop fertilizing entirely if growth appears minimal—feeding weak plants wastes nutrients and can damage roots.
Harvest regularly to promote bushiness
Begin harvesting when plants show new growth, pinching off the top 1/4 inch of stems frequently. Regular harvesting encourages branching and prevents legginess while providing you with fresh herbs. Never remove more than one-third of the plant at once.
- Start with cold-hardy herbs like oregano, thyme, rosemary, and chives—these adjust to indoor life more easily than tender basil or cilantro.
- Position a small fan on low speed near your herbs to improve air circulation and reduce fungal disease risk indoors.
- Before moving herbs inside, treat them with neem oil spray as a preventative against pests that may be lurking in the soil.
What to Look For in Indoor Herb Growing Equipment
- Grow light spectrum and wattage: Choose full-spectrum LED lights that emit both blue and red wavelengths, which plants need for photosynthesis. Look for 20-40 watts per square foot of growing space for herbs. Avoid cheap incandescent bulbs, which waste energy as heat.
- Light timer reliability: A simple digital or mechanical timer ensures consistent 14-16 hour light cycles automatically. This prevents the forgetfulness that leads to inconsistent light exposure. Choose timers with battery backup to prevent outages from disrupting your schedule.
- Container drainage and size: Drainage holes are non-negotiable to prevent root rot in the moist indoor environment. Containers should be at least 4-6 inches deep for most herbs. Avoid decorative pots without drainage unless you’ll pot separately.
- Potting soil quality and composition: Use indoor or container-specific potting mixes that drain quickly yet retain some moisture. Look for mixes containing perlite or vermiculite for aeration. Avoid garden soil, which compacts indoors and retains too much moisture.
Barrina LED Grow Light Bar 4FT
Best for: Growing multiple herb plants year-round indoors
This 60-watt full-spectrum LED bar provides consistent, efficient light across a 2-3 foot growing area. The fixture includes an integrated timer and is dimmable, allowing you to adjust intensity as needed. It runs cool enough to position just 6 inches above plants without burning foliage, and the sturdy aluminum frame mounts to shelving or stands. Perfect for someone setting up a dedicated indoor herb garden with multiple pots.
Check Current Price on Amazon →Simple Houseware 2-Tier Grow Light Stand
Best for: Beginners with limited space and budget
This compact shelving unit comes with two LED panels and is designed specifically for small indoor gardens. The 24-inch width accommodates 3-4 herb pots comfortably, and the adjustable height allows you to customize light distance as plants grow. Includes timer-ready outlets and is easy to assemble without tools. A complete, ready-to-use solution that doesn’t require additional purchases.
Check Current Price on Amazon →Burpee Seed Starting Kit with Grow Lights
Best for: First-time indoor gardeners or those overwintering a few herbs
This all-in-one kit includes a compact grow light fixture, humidity dome, seed starter tray, and basic supplies. Though marketed for seeds, it works excellently for overwintering 4-6 small herbs. The dome maintains humidity naturally, reducing the need for manual misting. Affordable, straightforward, and includes everything needed to get started without additional shopping.
Check Current Price on Amazon →Mars Hydro TSW 2000 LED Grow Light
Best for: Serious gardeners with larger indoor herb operations
This professional-grade light delivers 300 watts of full-spectrum output across a 4×4-foot area, though it’s overkill for herbs alone. The dimmer and spectrum-switching features give you complete control over light quality and intensity. Excellent efficiency (up to 2.7 micromoles per joule) means lower electricity costs over time. Ideal if you’re growing herbs alongside other indoor plants or vegetables.
Check Current Price on Amazon →Growing Fresh Herbs All Winter Is Achievable
Overwintering herbs indoors transforms your winter kitchen from a place of dried herbs and imported produce to a living garden producing fresh basil, oregano, thyme, and rosemary on demand. The setup is straightforward—light, warmth, proper drainage, and attention to watering are all you need. Start with hardy herbs if this is your first winter garden, and don’t hesitate to invest in a basic grow light and timer; they’re inexpensive insurance against the frustration of watching plants weaken from insufficient light.
The greatest reward isn’t just fresh herbs for cooking, but the psychological lift of maintaining a connection to gardening through winter’s darkest months. Once you’ve successfully overwintered even a single plant, you’ll find yourself protecting more herbs each fall, expanding your indoor garden, and planning your spring harvests before the snow has melted. Your future self will thank you for the work you do now.
Frequently Asked Questions
Can I overwinter all herbs indoors, or do some need to die back?
Most herbs can overwinter indoors, but success varies by type. Tender herbs like basil and cilantro need consistent warmth and light to survive. Hardier perennials like rosemary, thyme, oregano, and chives adapt well and may even go semi-dormant before recovering. Annuals like dill naturally complete their life cycle and are harder to keep alive.
How much light do overwintered herbs actually need?
Aim for 12-16 hours of light daily. This is less than outdoor summer sunlight but sufficient for winter growth. If using only a south-facing window, supplement with grow lights during short winter days. Insufficient light causes leggy, weak growth and increases disease susceptibility.
Why are my indoor herbs getting spider mites or other pests?
Indoor environments lack natural predators and air circulation that control pests outdoors. Treat preventatively before bringing herbs inside using neem oil, and improve air circulation with a small fan. Isolate any infested plants immediately and mist regularly to increase humidity, which spider mites dislike.
Should I fertilize herbs differently indoors versus outdoors?
Indoor herbs grow much more slowly and need significantly less fertilizer than outdoor summer herbs. Feed at half strength once monthly, or skip fertilizing entirely if growth is minimal. Excess fertilizer indoors causes salt buildup in the soil and root damage.
When should I move herbs back outside in spring?
Harden off indoor herbs gradually starting 2-3 weeks after your last spring frost date. Move them outdoors in shade for a few hours daily, gradually increasing sunlight exposure over 7-10 days. This prevents leaf burn and transplant shock from the sudden change in light intensity.
As an Amazon Associate, Build & Bloom earns from qualifying purchases. We only recommend products we genuinely think are useful. Prices and availability vary; check Amazon for the latest.
Leave a Reply