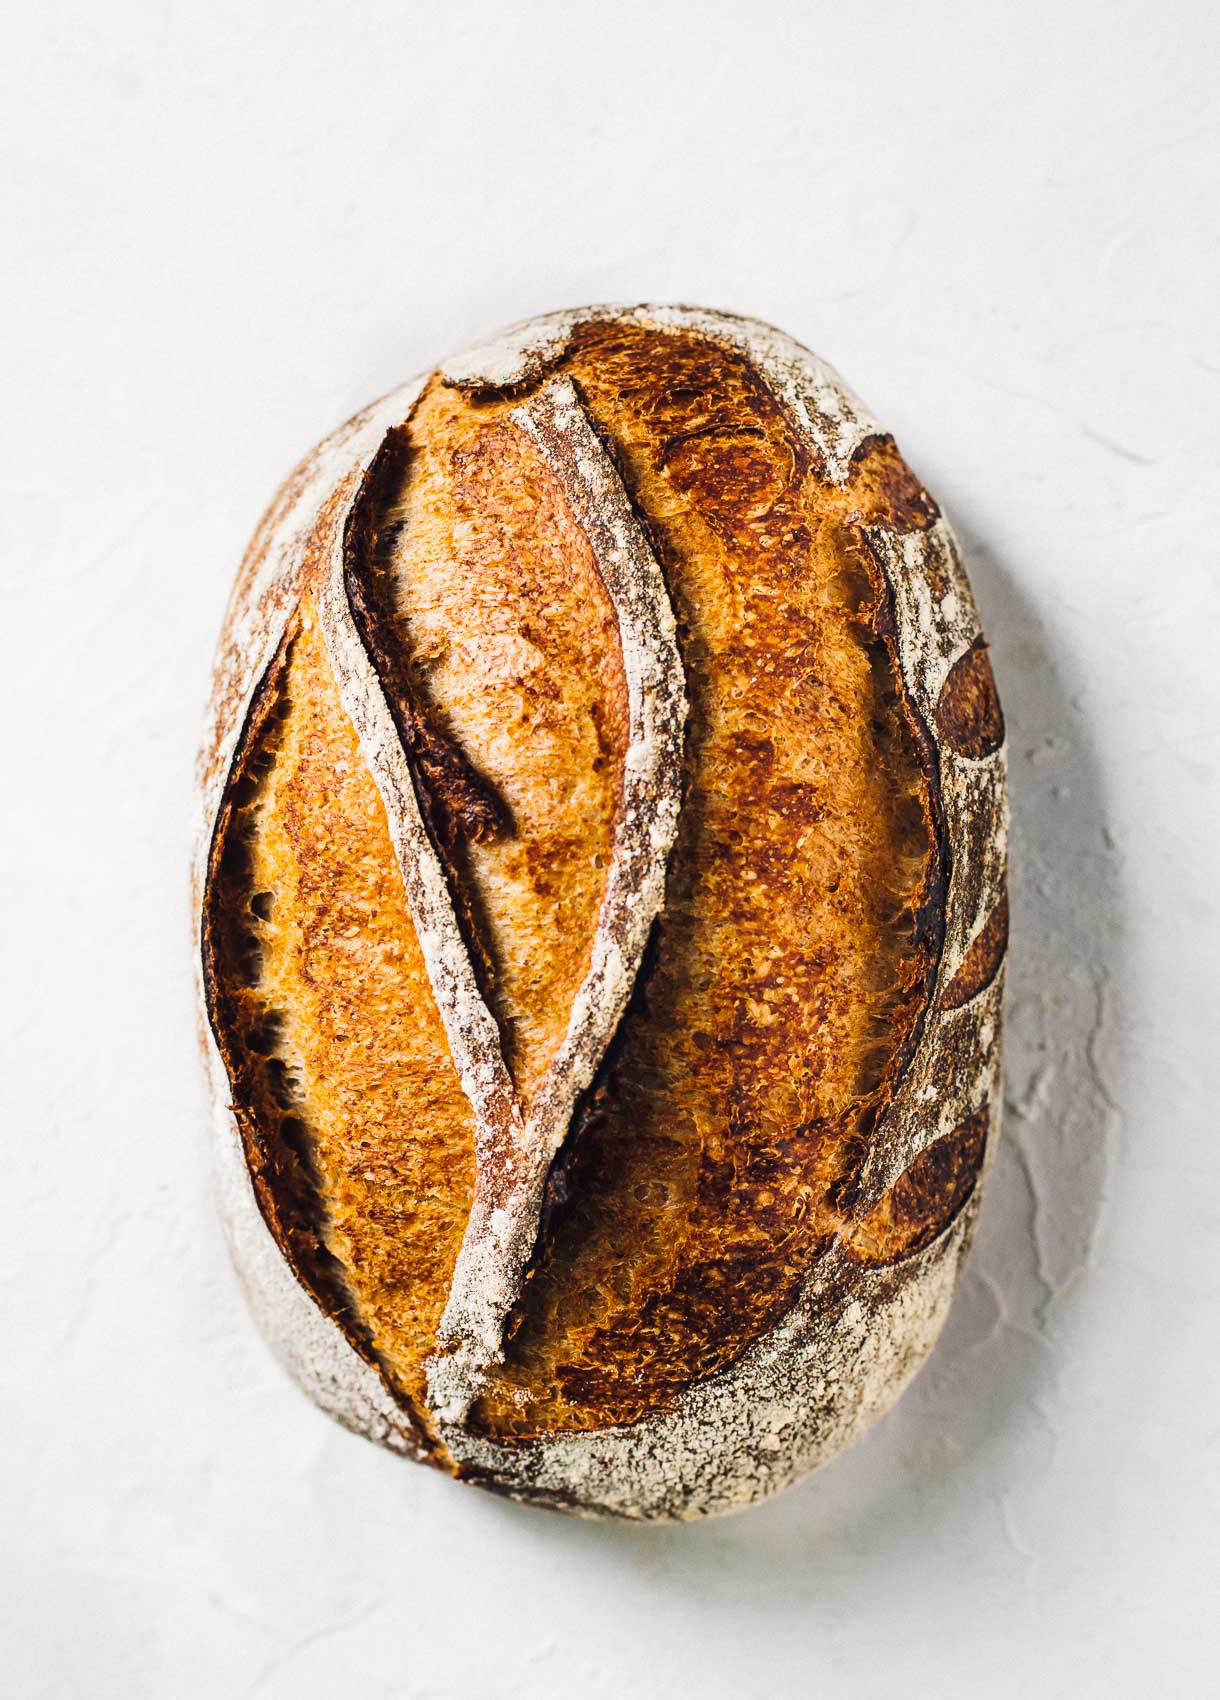

Making authentic rye sourdough at home sounds intimidating, but it’s one of the most rewarding breads to master. Unlike commercial yeast breads, rye sourdough develops complex flavors through time and temperature rather than speed. The combination of rye’s nutty earthiness with sourdough’s subtle tang creates a bread that’s perfect for open-face sandwiches, toasted breakfasts, or simply tearing into with good butter. If you’ve got a sourdough starter and a few basic tools, you’re ready to bake bread that rivals any European bakery.
How to Make Rustic Rye Sourdough Bread
This recipe yields one large loaf with a deep mahogany crust and a moist, slightly dense crumb. Plan for 5-7 days of fermenting and proofing time, with only about 30 minutes of hands-on work.
Ingredients
- Active sourdough starter – 150g (fed 4-8 hours before use, bubbly and at peak activity)
- Bread flour – 400g (high protein white flour for structure)
- Rye flour – 100g (coarse or fine, contributes earthiness and moisture)
- Water – 310g (lukewarm, around 75°F)
- Sea salt – 10g (fine grain, dissolved in the water)
Method
Mix and Autolyse
Combine bread flour, rye flour, and water in a large mixing bowl. Stir until all flour is hydrated and no dry bits remain. Let this mixture rest for 30-60 minutes at room temperature. This autolyse period allows the rye to fully absorb water and begins gluten development naturally.
Add Starter and Salt
Pour your active sourdough starter into the autolysed dough along with the salt dissolved in a tablespoon of water. Mix gently with your hand or a spatula for 5-8 minutes until everything is fully incorporated and the dough feels homogeneous.
Bulk Fermentation with Stretch and Folds
Transfer the dough to a lightly oiled bowl. Over the next 4-5 hours, perform four sets of stretch and folds at 30-minute intervals. Wet your hand, grab one side of the dough, stretch it up and fold it over itself, rotating the bowl a quarter turn. Repeat four times per set. After the fourth set, let the dough rest untouched for 2-3 hours until it increases by 50-70% in volume and shows visible bubbles.
Pre-shape and Bench Rest
Turn the dough out onto a lightly floured surface. Using a bench scraper or dough knife, gently round the dough into a loose ball without deflating it. Let it rest for 20-30 minutes, uncovered, so the surface firms up slightly.
Final Shape and Banneton Placement
Dust your dough with flour and flip it seam-side up. Shape by pulling the top corners toward you and folding them to the center, then rolling the dough away from you into a tight cylinder. Place seam-side up into a floured banneton or bowl lined with a kitchen towel.
Cold Overnight Proof
Cover the banneton loosely and place it in the refrigerator for 12-16 hours. The cold slows fermentation, develops flavor complexity, and makes the dough easier to score. You can also do a room-temperature proof for 2-3 hours if you prefer faster results.
Preheat and Score
Place a heavy baking vessel (such as a Dutch oven) inside your oven and preheat to 475°F for at least 45 minutes. Remove the banneton from the fridge, turn the dough onto parchment paper, and score the top with a sharp knife or blade in your desired pattern about 1/4-inch deep.
Bake Covered and Uncovered
Carefully place the parchment with dough into the preheated baking vessel. Cover with its lid and bake for 20 minutes to trap steam and maximize oven spring. Remove the lid and bake an additional 25-30 minutes until the crust is deep mahogany brown and sounds hollow when tapped. Cool completely on a wire rack before slicing, at least 1 hour.
- Keep your kitchen between 70-75°F during bulk fermentation. Cooler temperatures slow fermentation; warmer speeds it up. Use this to adjust timing to fit your schedule.
- Rye flour absorbs more water than wheat flour and creates a stickier dough. Embrace this; resist adding extra flour. Use wet hands instead of flouring your work surface.
- The cold proof is optional but highly recommended. It develops deeper sour notes, makes scoring easier, and gives you flexibility to bake on your own schedule.
What to Look For in Sourdough Baking Equipment
- Dutch Oven Capacity and Heat Retention: A 5-7 quart enameled cast iron Dutch oven is ideal for sourdough. Cast iron retains heat exceptionally well, creating the steam environment needed for oven spring and crust development. Ensure the lid seals well to trap moisture.
- Banneton or Proofing Basket Shape: Choose a round banneton (8-10 inches) for boules or an oval (10-12 inches) for batards. The spiral or concentric ring patterns help prevent dough from sticking and create beautiful scoring marks on the finished loaf.
- Kitchen Scale Precision: A digital scale accurate to 1 gram is essential for sourdough consistency. Measuring by weight rather than volume eliminates variables and ensures your starter ratios, hydration, and salt levels are exact every time.
- Bench Scraper Material and Flexibility: Choose a bench scraper with a flexible metal or plastic blade and comfortable handle. Flexibility allows you to release sticky dough without tearing it, and the scraper becomes indispensable for transferring and shaping.
Lodge 6-Quart Enameled Cast Iron Dutch Oven
Best for: Serious home sourdough bakers
The Lodge Dutch oven is the gold standard for home bread baking. Its thick cast iron construction retains heat evenly, the enamel coating eliminates seasoning maintenance, and the snug-fitting lid traps steam during the critical first 20 minutes of baking. The 6-quart capacity is perfect for a single large loaf or two smaller ones. Oven-safe to 500°F and built to last a lifetime.
Check Current Price on Amazon →Tramontina 6.5-Quart Enameled Cast Iron Dutch Oven
Best for: Budget-conscious beginners
Tramontina delivers professional-quality enameled cast iron at half the price of premium brands. The thick steel construction provides excellent heat retention, the enamel coating is durable and vibrant, and it performs identically to more expensive options. Available in classic red and multiple other colors. Oven-safe to 500°F with tight-fitting lid.
Check Current Price on Amazon →Staub 4-Quart Round Cocotte
Best for: Bakers who value aesthetics and precision
Staub’s iconic French cocotte is the choice of professional bakers and home enthusiasts. The matte black enamel interior develops seasoning over time like cast iron, improving non-stick properties with use. The heavy lid has a distinctive knob and self-basting ridge that cycles steam back onto the loaf. Slightly smaller at 4 quarts, making it ideal for single artisan loaves.
Check Current Price on Amazon →OXO Good Grips Digital Kitchen Scale
Best for: Any home baker serious about consistency
OXO’s digital scale combines precision with user-friendly features at an exceptional price point. Measures in grams, ounces, and milliliters with 1-gram accuracy up to 5 pounds. The pull-out display and easy-to-clean platform make it perfect for sourdough work. Runs on four AA batteries and includes a tare function for measuring ingredients in bowls.
Check Current Price on Amazon →Start Your Rye Sourdough Journey Today
Rustic rye sourdough is achievable for any home baker willing to invest a few days of fermentation time and patience. The equipment needed is minimal: a Dutch oven for heat retention, a banneton for shaping, a scale for precision, and a bench scraper for handling. Once you nail the technique with this recipe, you’ll unlock flavor possibilities that commercial bakeries can’t match. The earthy complexity of rye combined with sourdough’s subtle sourness creates bread that tastes like a European masterpiece.
Start with your most active sourdough starter and fresh flour, then commit to the timeline. Don’t rush bulk fermentation or skip the cold proof. The cold overnight fermentation is where the magic happens, developing deep flavor and making your bread easier to score. Your first loaf might not look Instagram-perfect, but it will taste extraordinary. Each bake teaches you something new about fermentation, shaping, and scoring. Within a few bakes, you’ll develop the intuition to adjust timing based on your kitchen temperature and starter vigor. Welcome to the world of artisan rye sourdough baking.
Frequently Asked Questions
How do I know when my sourdough starter is ready to use?
Your starter is ready when it’s been fed 4-8 hours prior and has roughly doubled in size with visible bubbles throughout. It should smell pleasantly sour and pass the float test: a small spoonful should float on water. Peak activity is when bubbles are largest and most abundant.
Can I use only rye flour instead of mixing with bread flour?
Pure rye sourdough is possible but requires different technique. Rye lacks gluten structure, so the bread will be denser and require gentler handling. If you try it, reduce water to 280g and expect a shorter bulk fermentation time. Start with this 80/20 bread-to-rye ratio as a bridge before experimenting.
What if I don’t have a Dutch oven?
You can bake on a preheated baking stone or steel with a roasting pan inverted over the bread for the first 20 minutes to trap steam. Results won’t be identical to Dutch oven baking, but the bread will still turn out well. Spray the oven walls with water every few minutes as an alternative steam source.
Why is my rye sourdough gummy in the center?
Underbaking and insufficient cooling are the main culprits. Rye retains moisture naturally, so bake until the internal temperature reaches 205-208°F. Always cool completely (1-2 hours minimum) on a wire rack before slicing. Cutting into warm bread traps steam inside, making the crumb appear gummy.
How long does rustic rye sourdough stay fresh?
Properly baked rye sourdough stays fresh for 3-4 days when wrapped in cloth or paper at room temperature. The acidity and moisture content of rye extend shelf life compared to white sourdough. Store in a bread box or paper bag, not plastic, which traps steam and softens the crust.
As an Amazon Associate, Build & Bloom earns from qualifying purchases. We only recommend products we genuinely think are useful. Prices and availability vary; check Amazon for the latest.
Leave a Reply