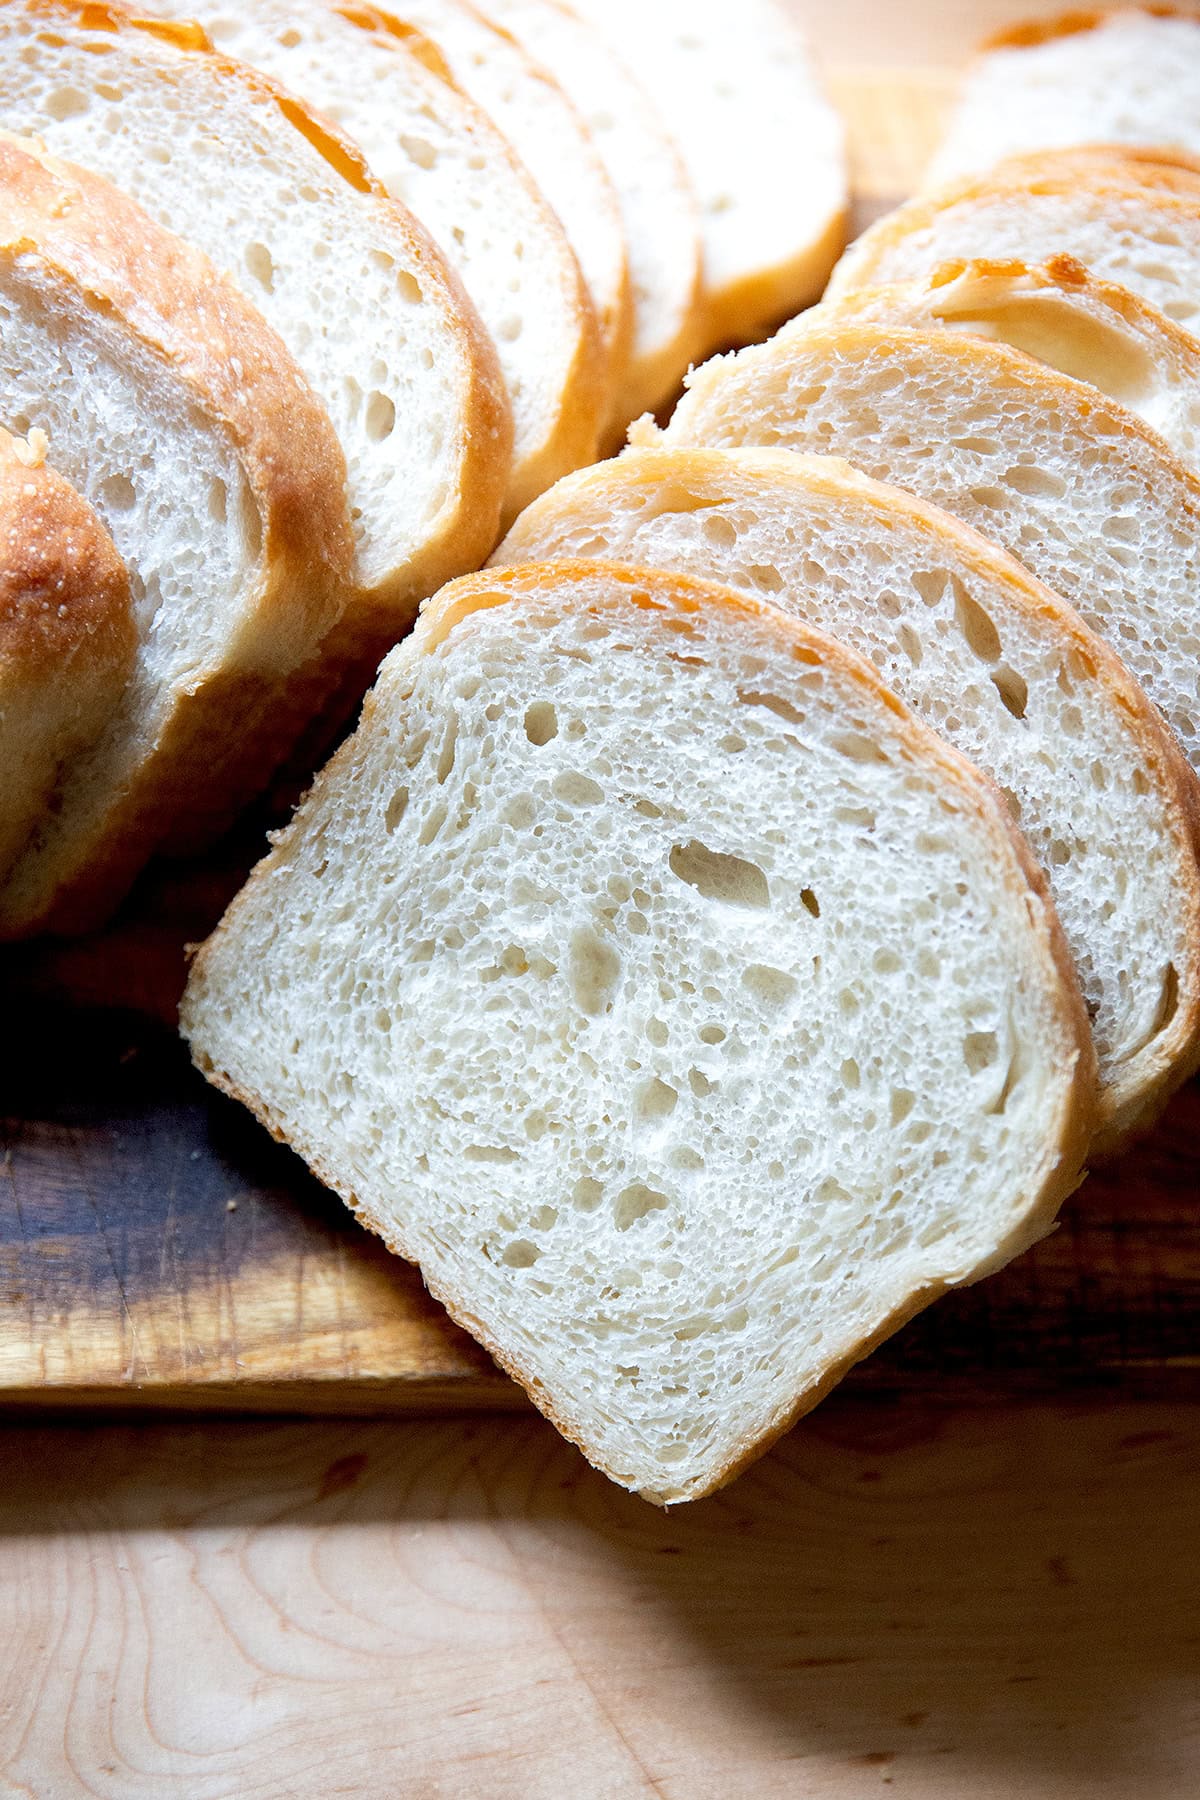

If you maintain a sourdough starter, you know the problem: regular feedings create excess discard that feels wasteful to throw away. Rather than composting it, you can transform that discard into delicious, crusty toasting bread that’s perfect for breakfast or alongside dinner. This straightforward recipe requires no special equipment and produces a loaf with a satisfying crust and tender crumb, all while using ingredients you already have on hand.
How to Make Sourdough Discard Toasting Bread
This recipe converts active sourdough discard into a full loaf with minimal hands-on time. The long fermentation develops flavor naturally without demanding constant attention.
Ingredients
- 1 cup (240 ml) sourdough discard, fed and active (bubbly)
- 1.5 cups (360 ml) room-temperature water
- 3.5 cups (420 grams) all-purpose or bread flour
- 1.5 teaspoons (9 grams) salt
- 1/4 teaspoon instant yeast (optional, for faster rise)
- Extra flour for dusting and shaping
Method
Mix the dough
In a large bowl, combine your active sourdough discard with room-temperature water, stirring until mostly combined. Add flour and salt, mixing until all dry ingredients are hydrated and you have a shaggy, sticky dough. You don’t need to knead yet; just ensure no dry flour remains. Cover loosely and let rest for 30-60 minutes.
Perform the first stretch and fold
After the rest, perform a stretch and fold: wet your hand, grab one side of the dough, stretch it up and fold it over the center. Rotate the bowl and repeat from all four sides. This builds strength without intensive kneading. Let it rest for 30 minutes covered.
Continue bulk fermentation
Repeat the stretch and fold process two more times at 30-minute intervals. By the final fold, the dough should feel noticeably stronger and cohesive. After the last fold, cover the bowl and let it bulk ferment at room temperature for 8-12 hours, until roughly doubled in volume and bubbly.
Shape the loaf
Turn the dough out onto a lightly floured surface. Gently shape it into a round or oval, being careful not to deflate it completely. You want some surface tension. Place it seam-side up in a floured banneton basket or a bowl lined with a kitchen towel.
Cold ferment overnight
Cover the shaped dough and place it in the refrigerator for at least 8 hours, ideally 12-16 hours. This slow, cold fermentation develops complex flavor and makes scoring easier. You can also proceed to baking after 2-3 hours at room temperature if you’re short on time.
Preheat and score
Place a covered baking vessel (Dutch oven or covered baking pan) in your oven and preheat to 500 degrees Fahrenheit for 45 minutes. Turn your cold dough out onto parchment paper and use a sharp blade to score the top with a shallow cut. This controls where the loaf expands during baking.
Bake covered
Carefully transfer the parchment and dough into your preheated hot vessel. Cover and bake for 20 minutes. This traps steam and encourages oven spring and crust development.
Finish baking uncovered
Remove the cover and reduce heat to 450 degrees Fahrenheit. Bake for another 20-25 minutes until the crust is deep golden brown. The loaf should sound hollow when tapped on the bottom. Cool completely on a wire rack before slicing, at least one hour.
- Use discard that’s recently fed and showing visible bubbles; if your discard is dormant or recently mixed, it won’t contribute enough rise or flavor to the bread.
- If your kitchen is cold (below 68 degrees), add the optional pinch of instant yeast to ensure adequate fermentation within reasonable timeframes.
- A Dutch oven is ideal for steam retention, but a covered baking pan, cloche, or even an inverted mixing bowl works in a pinch.
What to Look For in Sourdough Baking Equipment
- Dutch Oven or Covered Baking Vessel: The primary tool for trapping steam during baking. Choose one with a tight-fitting lid and oven-safe handles. Ceramic or enameled cast iron conducts heat evenly and retains it well throughout the bake.
- Banneton Proofing Basket: A shaped basket that supports your dough during cold fermentation and prevents it from spreading. Available in round or oval shapes; choose based on your preferred loaf form. Natural rattan or cane construction works best.
- Scoring Tool or Lame: A sharp blade designed to score dough safely before baking. A proper scoring tool or bread lame gives you precision and control. Alternatively, a clean razor blade or serrated knife works, though dedicated tools are easier to handle.
- Instant-Read Thermometer: Helps confirm your dough has reached proper fermentation stage and finished baking. Monitor internal crumb temperature (ideally 205-210 degrees Fahrenheit) for consistent results across seasons.
Le Creuset Enameled Cast Iron Dutch Oven
Best for: Home bakers seeking heirloom-quality bread-baking equipment
The gold standard for sourdough baking. This round Dutch oven’s heavy enameled cast iron distributes heat evenly and retains steam perfectly for an exceptional crust. The tight-fitting lid traps moisture without requiring water additions. Available in multiple colors, it transitions seamlessly from oven to table. Lifetime durability makes it a worthy investment for serious home bakers.
Check Current Price on Amazon →Cuisinart Enameled Cast Iron Dutch Oven
Best for: Budget-conscious bakers wanting proven Dutch oven performance
Cuisinart delivers reliable enameled cast iron at a fraction of premium prices. This Dutch oven performs admirably for sourdough, with solid heat retention and a secure lid. While the enamel finish may not have the prestige of higher-end brands, the functionality and durability are excellent. A smart choice for testing your sourdough commitment before investing more.
Check Current Price on Amazon →Pyrex Covered Glass Baking Dish with Lid
Best for: First-time bread bakers seeking an affordable, low-commitment option
Borosilicate glass baking dishes with fitted lids cost significantly less than traditional Dutch ovens yet perform well for sourdough. You can monitor your loaf visually during baking, which is helpful for learning. While glass doesn’t retain heat quite like cast iron, the trapped steam still produces good crust development. Perfect for experimenting without a large upfront investment.
Check Current Price on Amazon →Staub Enameled Cast Iron Round Cocotte
Best for: Bakers wanting premium performance with reasonable pricing
Staub’s dark enamel interior resists staining and its sand-cast base distributes heat more evenly than many competitors. The self-basting interior lid design is engineered to return condensation to the dough. Slightly more affordable than Le Creuset while maintaining exceptional quality. Comes with a lifetime warranty, adding long-term value.
Check Current Price on Amazon →Start Baking With Confidence
Sourdough discard toasting bread transforms a byproduct into an impressive, bakery-quality loaf that rivals what you’d buy for five dollars at a farmers market. The long fermentation means you spend mere minutes on active work while the dough develops complex flavor on its own schedule. Whether you’re a seasoned sourdough baker streamlining your routine or a beginner trying your first loaf, this recipe rewards simplicity and patience in equal measure.
Invest in one quality Dutch oven and a banneton basket, and you have the core tools for years of excellent bread baking. The beauty of this recipe lies not in expensive equipment or complex techniques, but in understanding your dough and trusting the fermentation process. Your first loaf may not be perfect, and that’s entirely expected; by the third or fourth bake, you’ll understand your oven’s temperament and dough behavior, allowing you to fine-tune the process. Start now, document your variables, and celebrate the moment you pull out a golden, crackling loaf that tastes infinitely better than anything you’d make with commercial yeast.
Frequently Asked Questions
Can I use discard that hasn’t been recently fed?
You can, but the results improve significantly with freshly fed, bubbly discard. Inactive discard may require longer fermentation times or added commercial yeast. For best flavor and rise, feed your discard 4-8 hours before mixing the dough, until it’s actively doubling and shows lots of bubbles on top.
How should I store my finished toasting bread?
Cool the loaf completely before wrapping. Store it in a bread box or paper bag at room temperature for up to three days to maintain crispness. For longer storage, slice and freeze; individual slices toast directly from frozen. Avoid plastic bags, which trap moisture and soften the crust.
What if my dough didn’t double during bulk fermentation?
Cold kitchens (below 68 degrees Fahrenheit) slow fermentation significantly. Either extend the bulk fermentation window, add a pinch of instant yeast, or find a warmer proofing spot like inside a turned-off oven with the light on. Fermentation progress matters more than strict timing; look for visible bubbles and a dough that gently springs back when poked.
Can I skip the cold fermentation and bake immediately?
Yes, you can proceed directly to baking after 2-3 hours at room temperature instead of overnight refrigeration. However, the cold fermentation develops deeper flavor and improves crust structure. If baking immediately, reduce your bulk fermentation to 6-8 hours total, fermented at a warm room temperature (around 75-78 degrees Fahrenheit).
Why is my crust not crispy?
Insufficient steam during baking is usually the culprit. Ensure your Dutch oven is fully preheated and covered for the first 20 minutes. Also, cool the finished loaf completely uncovered on a wire rack, never in a covered container, which traps moisture and softens the crust. A properly baked loaf should crackle when cooled.
As an Amazon Associate, Build & Bloom earns from qualifying purchases. We only recommend products we genuinely think are useful. Prices and availability vary; check Amazon for the latest.
Leave a Reply