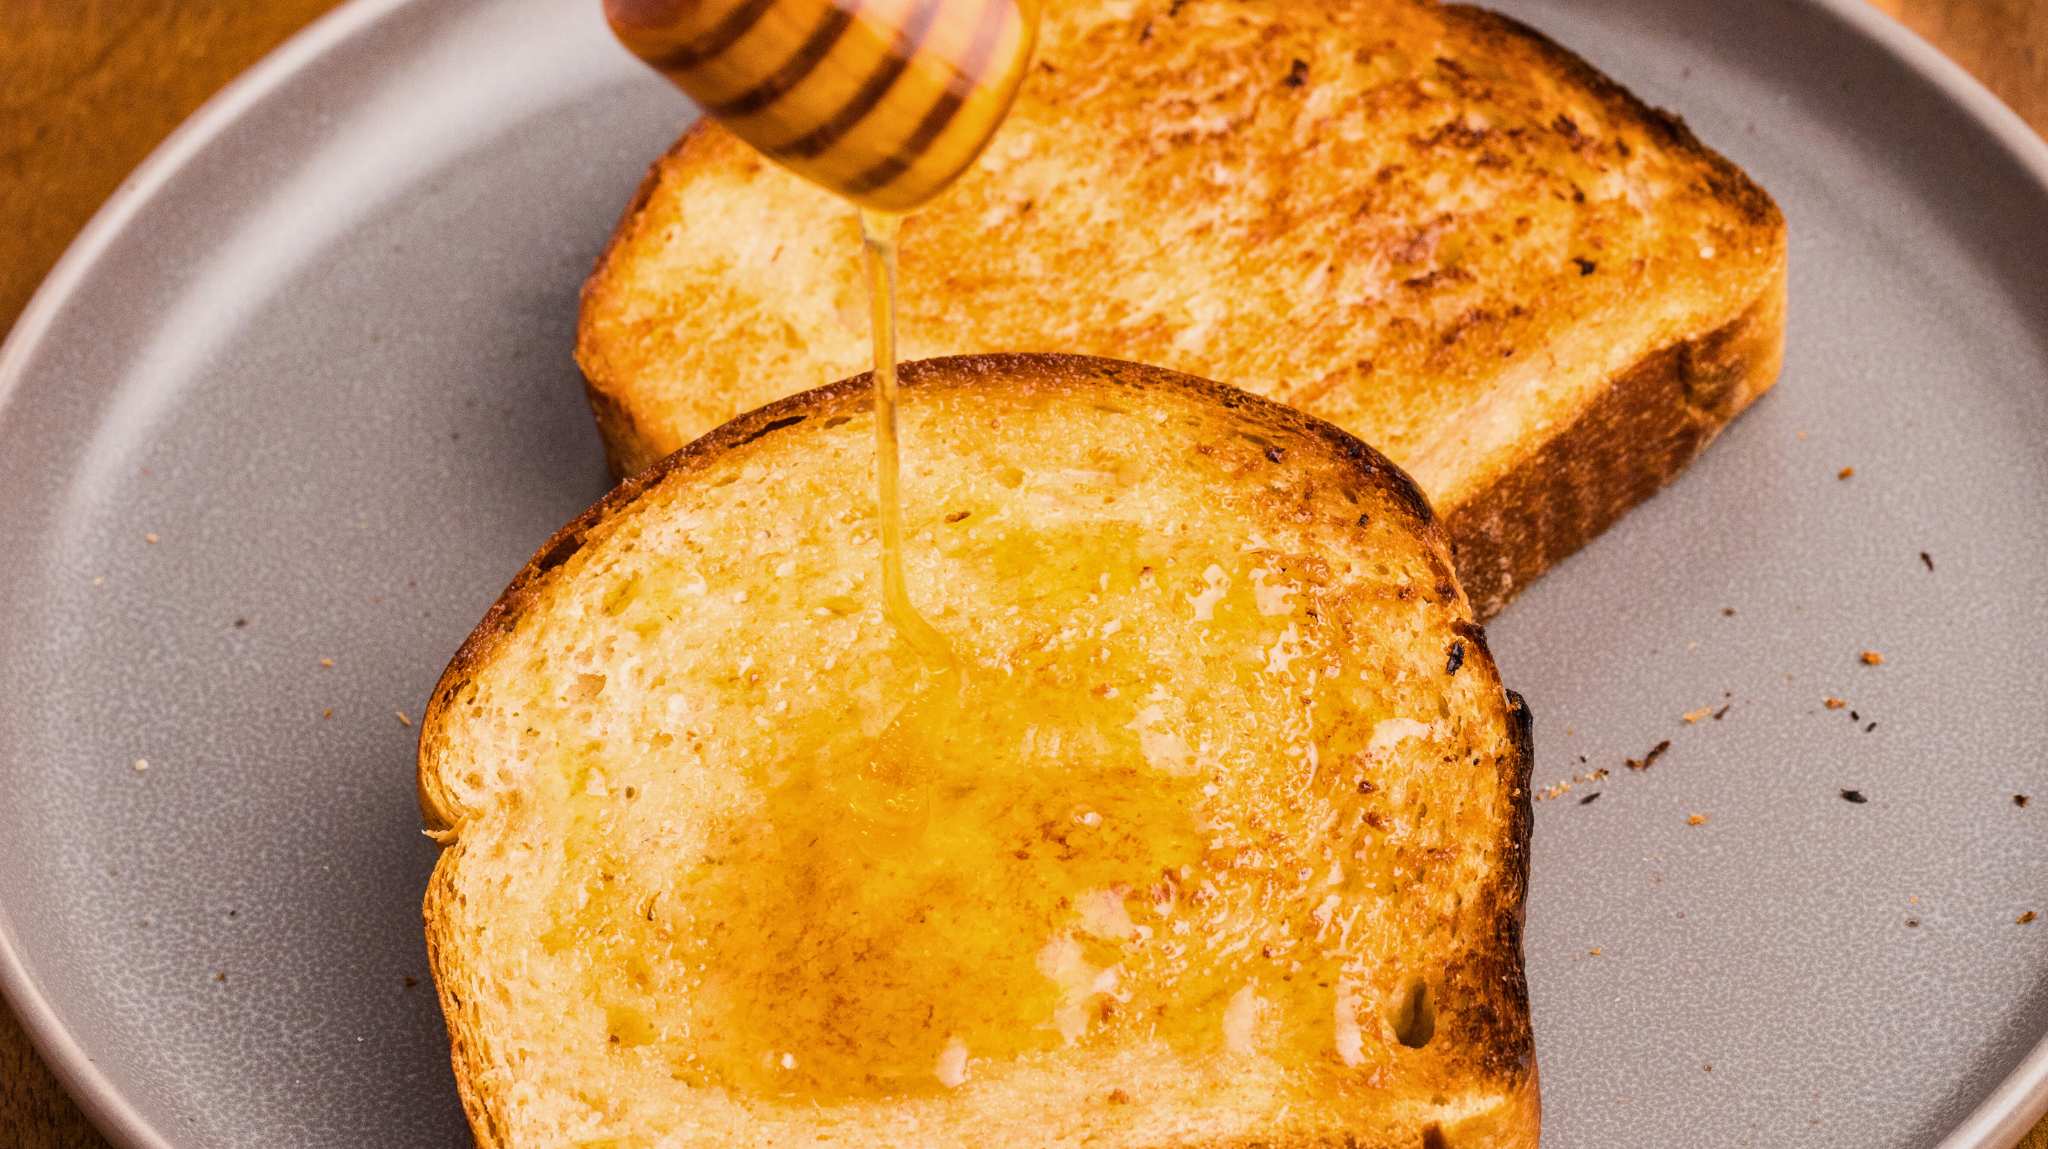

Sourdough sandwich bread feels like it shouldn’t exist–real sourdough is supposed to be crusty and tangy, right? But this soft honey wheat version bridges that gap perfectly. The honey adds subtle sweetness and keeps the crumb tender for days, while the whole wheat flour brings nutty depth without heaviness. You’ll get that complex sourdough flavor your starter provides, minus the aggressive chew. This recipe delivers restaurant-quality results with a forgiving timeline that fits around homestead life.
How to Bake Soft Honey Wheat Sourdough Sandwich Bread
This recipe uses the long fermentation power of sourdough starter to develop flavor while honey and technique ensure a soft, sandwich-worthy crumb. Total time is about 24 hours with mostly hands-off resting.
Ingredients
- 1 cup active sourdough starter (fed 4-8 hours prior, bubbly and peaked)
- 1.5 cups whole wheat flour
- 2 cups all-purpose bread flour
- 1.25 cups lukewarm water
- 2 tablespoons honey
- 1.5 teaspoons fine sea salt
Method
Mix your dough
Combine active starter, water, and honey in a large bowl. Stir until mostly incorporated. Add both flours and mix by hand or with a wooden spoon until no dry flour remains and you have a shaggy, wet dough. Let this rest for 30 minutes–this autolyse period helps gluten develop naturally.
Incorporate salt and build strength
Sprinkle salt over the dough and use wet fingers to pinch and fold it in until fully distributed. Then perform 6 sets of stretch-and-folds at 30-minute intervals over the next 3 hours. Wet your hand, grab one side of the dough, stretch it up and fold over itself, rotate bowl 90 degrees, and repeat. This builds gluten without kneading.
Bulk ferment at room temperature
After your last set of stretches, let the dough rest undisturbed for 2-3 hours at room temperature (68-72°F is ideal). You’re looking for the dough to increase by about 50% in volume and show visible bubbles on the surface. It should jiggle slightly when you gently shake the bowl.
Pre-shape and rest
Turn the dough out onto a lightly floured surface. Gently shape it into a round by folding the edges toward the center, then flip seam-side down. Let it rest on the counter for 20-30 minutes uncovered. This relaxes the gluten so your final shape holds better.
Final shape and cold proof
Flip your round seam-side up. Working gently, fold the top third down toward center, press with the heel of your hand, then roll the dough toward you, sealing with each roll. Place seam-side up in a floured banneton basket or bowl lined with a kitchen towel. Cover and refrigerate for 12-16 hours. Cold fermentation develops flavor and makes scoring easier.
Preheat and score
Place a heavy Dutch oven (with lid) in your oven and preheat to 450°F for at least 45 minutes. Remove your cold dough from the fridge. Carefully invert it onto parchment paper and score the top with a sharp blade in a single decisive cut about 1/4 inch deep. This controls where the bread expands.
Bake covered then uncovered
Lift the parchment with your dough and place it in the screaming-hot Dutch oven. Cover with the lid and bake for 20 minutes. Remove the lid and bake for another 15-20 minutes until the crust is deep golden brown and sounds hollow when tapped on the bottom.
Cool completely before slicing
Transfer your finished loaf to a wire cooling rack and resist slicing for at least 2 hours–ideally 4. The interior is still setting during this time, and cutting too early will create gummy crumbs. A fully cooled loaf will slice cleanly and stay fresh for 4-5 days.
- Use a thermometer to check dough temperature: aim for 75-78°F after mixing. Warmer kitchens speed fermentation; cooler ones slow it down. Adjust water temperature to hit this target.
- If your starter isn’t very active or you live somewhere cold, extend bulk fermentation to 5-6 hours or perform an extra set of stretch-and-folds. The dough should always be your guide, not the clock.
- Store cooled bread in a sealed container or wrapped in cloth at room temperature for 3-4 days. Freeze slices individually wrapped for up to 2 months–they thaw beautifully.
Essential Equipment for Sourdough Baking
- Dutch Oven (5-7 quart capacity): A heavy, lidded vessel that traps steam during baking, creating the crispy, caramelized crust sourdough demands. Enameled cast iron works best because it heats evenly and the enamel prevents rust while the iron mass maintains temperature.
- Banneton Proofing Basket: A shaped basket that cradles your dough during final cold proof, preventing spreading while the flour coating prevents sticking. This simple tool produces professional round or oval loaves and is easier to work with than improvised bowls.
- Kitchen Scale: Sourdough baking relies on precise ratios, not guesswork. A digital scale lets you measure by weight for consistent results across batches, room conditions, and seasons–something cups and spoons cannot provide.
- Bread Lame or Sharp Scoring Blade: A specialized cutting tool or very sharp knife that scores the dough surface with one confident stroke. This controls expansion and creates that signature sourdough ear, which isn’t just pretty–it vents steam for optimal crust development.
Staub Enameled Cast Iron Dutch Oven, 5.5-Quart
Best for: Home bakers serious about sourdough
The gold standard for bread baking. Staub’s black matte enamel interior won’t chip like glossy coatings, distributes heat evenly, and the tight-fitting lid creates perfect steam conditions for crushing loaf oven spring. The wide belly accommodates large boules, while the sturdy handles withstand 500°F. Produces bakery-quality crust every time. Lifetime durability makes it worth the investment.
Check Current Price on Amazon →Lodge Enameled Cast Iron Dutch Oven, 6-Quart
Best for: Budget-conscious beginners
Lodge offers American-made cast iron at a fraction of premium prices without sacrificing performance. The red enamel coating is durable for everyday use, heat retention rivals expensive brands, and the generously sized 6-quart capacity handles any loaf size. Slightly thicker interior enamel than some competitors, though not quite as refined as Staub. Still produces excellent sourdough with proper technique.
Check Current Price on Amazon →Emile Henry Ceramic Dutch Oven, 5.3-Quart
Best for: Bakers who prefer ceramic over cast iron
A lighter alternative to cast iron that still traps steam effectively. Ceramic heats more gently and distributes heat evenly without the weight penalty. Available in multiple colors, dishwasher safe enamel exterior, and won’t rust if water sits inside. Performs beautifully for sourdough with slightly less aggressive browning on the crust than cast iron.
Check Current Price on Amazon →Banneton Proofing Basket, 9-Inch Round with Linen Liner
Best for: Sourdough bakers wanting professional results
A round woven basket designed specifically for round boule shapes, sized perfectly for standard sandwich loaves. The natural linen liner prevents sticking without excessive flour residue, the tight weave creates surface tension, and the 9-inch diameter accommodates most home recipes. Comes with a fitted cloth cover for easy cold proofing in the fridge without odor transfer.
Check Current Price on Amazon →Your First Loaf Awaits
Soft honey wheat sourdough feels like magic until you understand the science: your starter’s wild yeast and bacteria spend 24 hours breaking down flour starches and proteins, developing acids that create complexity while the honey and whole wheat retain moisture. What emerges from your oven is genuinely different from commercial yeast bread–tangier, more complex, yet still soft enough to make tomorrow’s sandwich. Start with quality equipment (a Dutch oven and scale truly matter), trust your dough over the clock, and you’ll nail this recipe.
The beauty of sourdough is that small mistakes teach you better than perfect first attempts. Your second loaf will be better than your first because you’ll understand what the dough should feel and smell like at each stage. Keep notes on fermentation times, room temperature, starter vitality. Within three or four bakes, you’ll develop the intuition that separates home bakers from recipe followers. This soft honey wheat formula is forgiving enough to learn on and delicious enough to keep making forever.
Frequently Asked Questions
Can I make this recipe without a Dutch oven?
You can place a baking stone or steel on a rack and create steam by placing a hot cast iron pan filled with water on a lower rack, but you won’t achieve the same crust quality. A Dutch oven is really the gold standard for home sourdough because it creates an enclosed steam chamber that commercial ovens provide naturally.
My sourdough turned out dense and gummy. What went wrong?
This usually happens from underbaking or slicing too early. Use an instant-read thermometer–the internal temperature should reach 205-210°F. Also ensure you waited at least 4 hours before slicing. Dense crumb can also indicate insufficient bulk fermentation; look for 50% volume increase and visible bubbles, not just elapsed time.
How do I know if my sourdough starter is active enough?
Feed your starter and wait until it doubles in volume and smells pleasant and yeasty (usually 4-8 hours depending on temperature). When you stir it, it should show lots of bubbles. If it takes longer than 12 hours to double, it’s not ready and needs more time between feedings or a warmer environment.
Can I skip the cold proof and bake the same day?
You can, but results suffer. Cold overnight fermentation develops flavor complexity and makes scoring much easier because cold dough holds shape better. If you’re in a hurry, bulk ferment at room temperature for 6-8 hours instead, then shape and bake within 1-2 hours. The bread will be good but less flavorful and harder to score.
Why does my sourdough spread instead of rising up?
Weak gluten development or overfermentation are the main culprits. Ensure you’re doing all six sets of stretch-and-folds during bulk fermentation. If the dough is noticeably exceeding 50% volume increase or looks very jiggly, you’ve gone too long. Also verify your banneton is holding it snugly–a wide, shallow basket won’t support a loose dough.
As an Amazon Associate, Build & Bloom earns from qualifying purchases. We only recommend products we genuinely think are useful. Prices and availability vary; check Amazon for the latest.
Leave a Reply