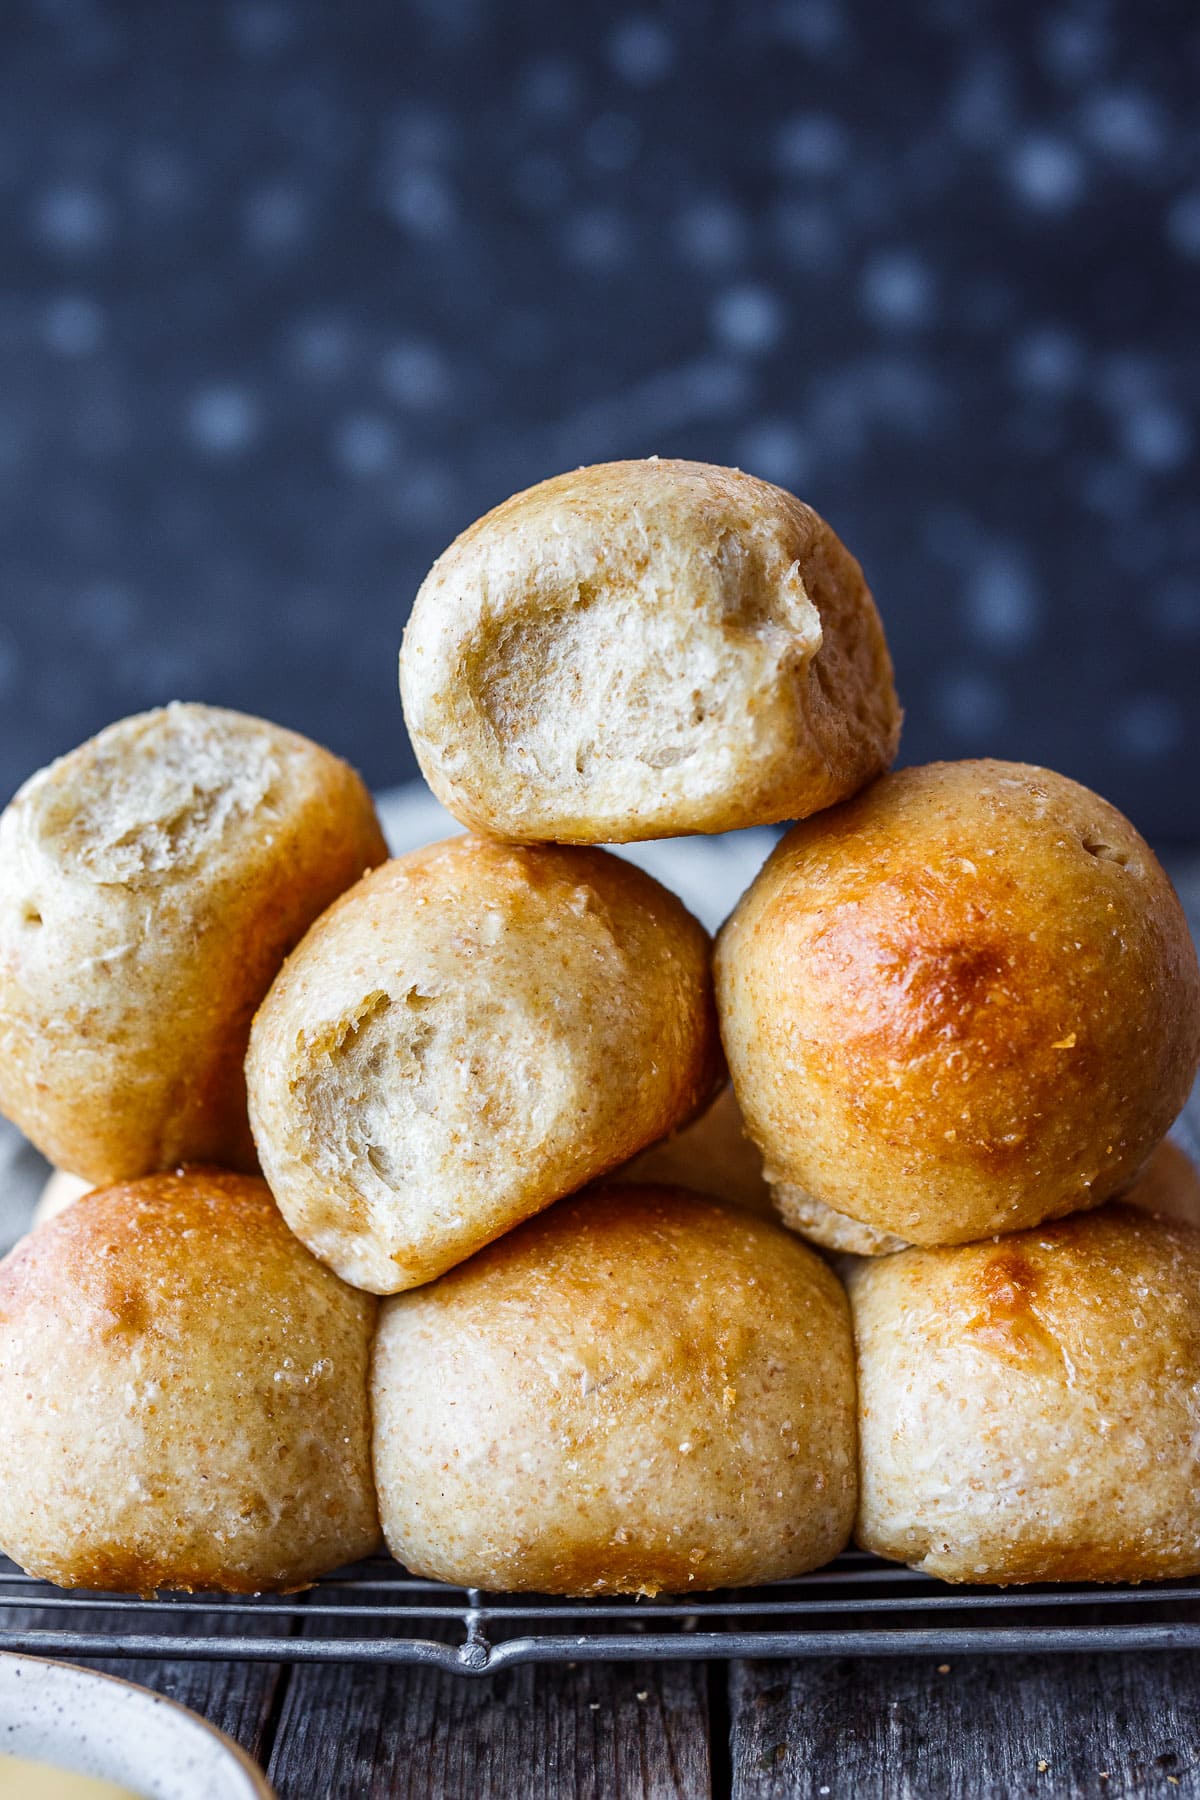

Homemade sourdough rolls are a revelation — they’re pillowy soft, subtly tangy, and so much better than anything from the bakery. But the process feels intimidating if you haven’t worked with sourdough before. The good news: making soft dinner rolls is actually simpler than you’d think. With an active starter and a bit of planning, you can have bakery-quality rolls on your table in less than 24 hours. We’ll walk you through every step so your first batch turns out perfect.
How to Make Soft Sourdough Dinner Rolls
This method uses a long, cold fermentation to develop flavor while keeping the crumb tender. You’ll mix, fold, proof overnight, shape, and bake — all achievable in a home kitchen.
Ingredients
- 1 cup active sourdough starter (fed 4-8 hours prior, bubbly and at peak)
- 2.5 cups bread flour, plus extra for dusting
- 0.75 cup warm water (around 75-80 degrees F)
- 2 teaspoons salt
- 3 tablespoons unsalted butter, softened
- 1 tablespoon honey or sugar (optional, for browning)
Method
Combine starter, water, and flour
In a large bowl, whisk together your active starter and warm water until mostly combined. Add the bread flour and mix until all dry bits disappear and a shaggy dough forms. Let this rest for 30 minutes (this is called autolyse) — it helps the flour hydrate and makes the next steps easier.
Knead in salt and butter
After the rest, sprinkle salt over the dough and begin incorporating it by pinching and folding. Once salt is mostly integrated, add the softened butter a small piece at a time, folding it in thoroughly. The dough will feel slick and slightly sticky — that’s correct. Knead for 3-4 minutes total until butter is fully incorporated.
Bulk ferment with stretch-and-fold
Place the dough in a clean, lightly oiled bowl. Over the next 2-3 hours, perform four sets of stretch-and-fold (every 30-45 minutes). Wet your hand, grab one side of the dough, stretch it up and fold it over itself. Rotate the bowl and repeat. This builds strength without aggressive kneading.
Cold overnight fermentation
Once the dough is puffy and smooth (after bulk ferment), cover the bowl and refrigerate for 12-16 hours. Cold fermentation develops deeper flavor and makes the dough easier to shape. The dough should be cold but not rock-hard when you remove it.
Shape into rolls
Turn the cold dough onto a lightly floured surface. Gently divide it into 8-10 equal pieces (a scale helps here). Working with one piece at a time, pull the edges toward the center and pinch, creating tension on the surface. Flip seam-side down and use your hands to roll it gently into a ball. Place each roll seam-side up in a parchment-lined baking pan, leaving 2 inches between them.
Second proof at room temperature
Cover the pan loosely with plastic wrap and let the rolls proof at room temperature for 3-4 hours, or until they’re puffy and a gentle poke springs back slowly (leaving a slight indent). You can also do this overnight in the refrigerator (8-12 hours) and bake directly from cold.
Prepare and bake
Preheat your oven to 425 degrees F. If desired, brush the rolls lightly with water or a honey-water mixture for shine. Bake for 18-22 minutes until deep golden brown — the rolls should sound hollow when tapped on the bottom.
Cool and serve
Transfer the rolls to a wire rack and let them cool for at least 10 minutes before serving. They’ll continue to set as they cool. Serve warm with butter, jam, or use them for sandwiches. Store leftovers in an airtight container for up to 3 days.
- Keep your starter active and healthy by feeding it at regular intervals. A bubbly, risen starter at peak is critical for good rise and flavor.
- Don’t skip the autolyse step — those 30 minutes of rest make a huge difference in gluten development and final texture.
- If your kitchen is cold, bulk fermentation may take longer. Warmth speeds things up; a turned-off oven with just the light on works great as a proofing box.
What to Look For in Sourdough Baking Equipment
- Dough scraper or bench knife: A flat, thin blade helps you divide dough, clean your work surface, and perform stretch-and-fold operations without tearing. Look for stainless steel with a comfortable handle.
- Digital kitchen scale: Measuring by weight (grams) is far more accurate than cups for sourdough. Even small differences in flour hydration affect the final result, so a reliable scale ensures consistency.
- Dutch oven or covered baking vessel: Traps steam during the first part of baking, which creates lift and a crispy exterior. Look for something oven-safe to at least 500 degrees F with a tight-fitting lid.
- Banneton proofing basket or bowl: Supports the shaped dough during final proof and prevents spreading. A round banneton is ideal for boules; look for one with good seam structure that won’t collapse dough.
OXO Good Grips Stainless Steel Bench Scraper
Best for: Any baker shaping or dividing sourdough
This 6-inch bench scraper is an essential sourdough tool, perfect for performing stretch-and-fold operations, dividing dough, and cleaning your work surface. The stainless steel blade won’t rust or stain, and the soft grip handle is comfortable during repeated use. Its clean edges won’t tear delicate dough, making it ideal for both beginners and experienced bakers.
Check Current Price on Amazon →Etekcity Digital Kitchen Scale with Bowl
Best for: Budget-conscious bakers wanting accuracy
This compact digital scale measures up to 11 pounds in gram and ounce increments, with a removable bowl for easy cleanup. It’s precise to within 1 gram, making it perfect for recipe scaling. The auto-off feature conserves battery, and the slim design fits easily on any countertop without taking up precious space.
Check Current Price on Amazon →Le Creuset Round Dutch Oven 5.5 QT Flame Orange
Best for: Bakers who want an all-in-one proofing and baking vessel
This iconic enameled cast iron Dutch oven is perfect for sourdough, trapping steam beautifully during the first bake phase. The 5.5-quart capacity accommodates a full batch of rolls, and the low-maintenance enamel coating resists chipping. Its heavy construction retains heat evenly, and the tight-fitting lid ensures consistent results every time.
Check Current Price on Amazon →Banneton Round Proofing Basket 9 inch Natural Rattan
Best for: Dedicated sourdough enthusiasts wanting professional results
This 9-inch natural rattan banneton is handwoven with a sturdy seam structure that supports dough during proofing without deflating it. The ring bottom allows air circulation, and the deep bowl shape keeps round loaves and batches of rolls perfectly shaped. Food-grade rattan is durable and develops character with use.
Check Current Price on Amazon →Start Baking Soft Sourdough Rolls Today
Making soft sourdough dinner rolls at home is entirely within reach, even if you’re new to sourdough baking. The key is understanding the process — a good starter, proper fermentation timing, and gentle handling. Follow the steps above, and your first batch will exceed any bakery roll you’ve ever tasted. The tangy flavor, tender crumb, and beautiful golden exterior are worth the planning and patience.
Invest in a few quality tools (a digital scale, bench scraper, and Dutch oven will transform your baking), keep your starter healthy and active, and trust the process. Whether you’re baking for a family dinner, a special occasion, or simply because you love good bread, these rolls deliver every single time. Your sourdough journey starts now.
Frequently Asked Questions
What does ‘active starter’ mean, and how do I know mine is ready?
An active starter has been fed (usually 4-8 hours prior) and is at peak rise — bubbly, doubled in size, and smelling pleasantly sour. It should have lots of visible bubbles and pass the float test (a small spoon of starter floats in water). If your starter sinks, feed it again and wait longer.
Can I skip the overnight cold fermentation and proof at room temperature instead?
Yes, but you’ll sacrifice some flavor complexity. Cold fermentation develops deeper sourdough tang. If you’re in a hurry, bulk ferment at room temperature for 4-6 hours, then shape and proof for 2-3 hours before baking. The rolls will still be delicious, just milder.
Why did my rolls spread flat instead of puffing up?
This usually means under-proofing or weak dough strength. Ensure your starter is truly active before mixing. During bulk ferment, don’t skip the stretch-and-fold sets — they build strength. During final proof, rolls should be noticeably puffy and a poke should leave a slow-springing indent.
How do I store leftover rolls, and can I freeze them?
Keep cooled rolls in an airtight container at room temperature for up to 3 days. For longer storage, wrap individually in plastic wrap, place in a freezer bag, and freeze for up to 3 months. Thaw at room temperature or warm gently in a 350-degree oven for 5-10 minutes.
What’s the difference between sourdough and regular dinner rolls?
Sourdough uses wild yeast and bacteria from a starter instead of commercial yeast, developing a subtle tangy flavor and longer fermentation time. The slow rise strengthens gluten naturally, creating better texture. Regular rolls rely on instant yeast and faster proofing, making them quicker but less complex in flavor.
As an Amazon Associate, Build & Bloom earns from qualifying purchases. We only recommend products we genuinely think are useful. Prices and availability vary; check Amazon for the latest.
Leave a Reply