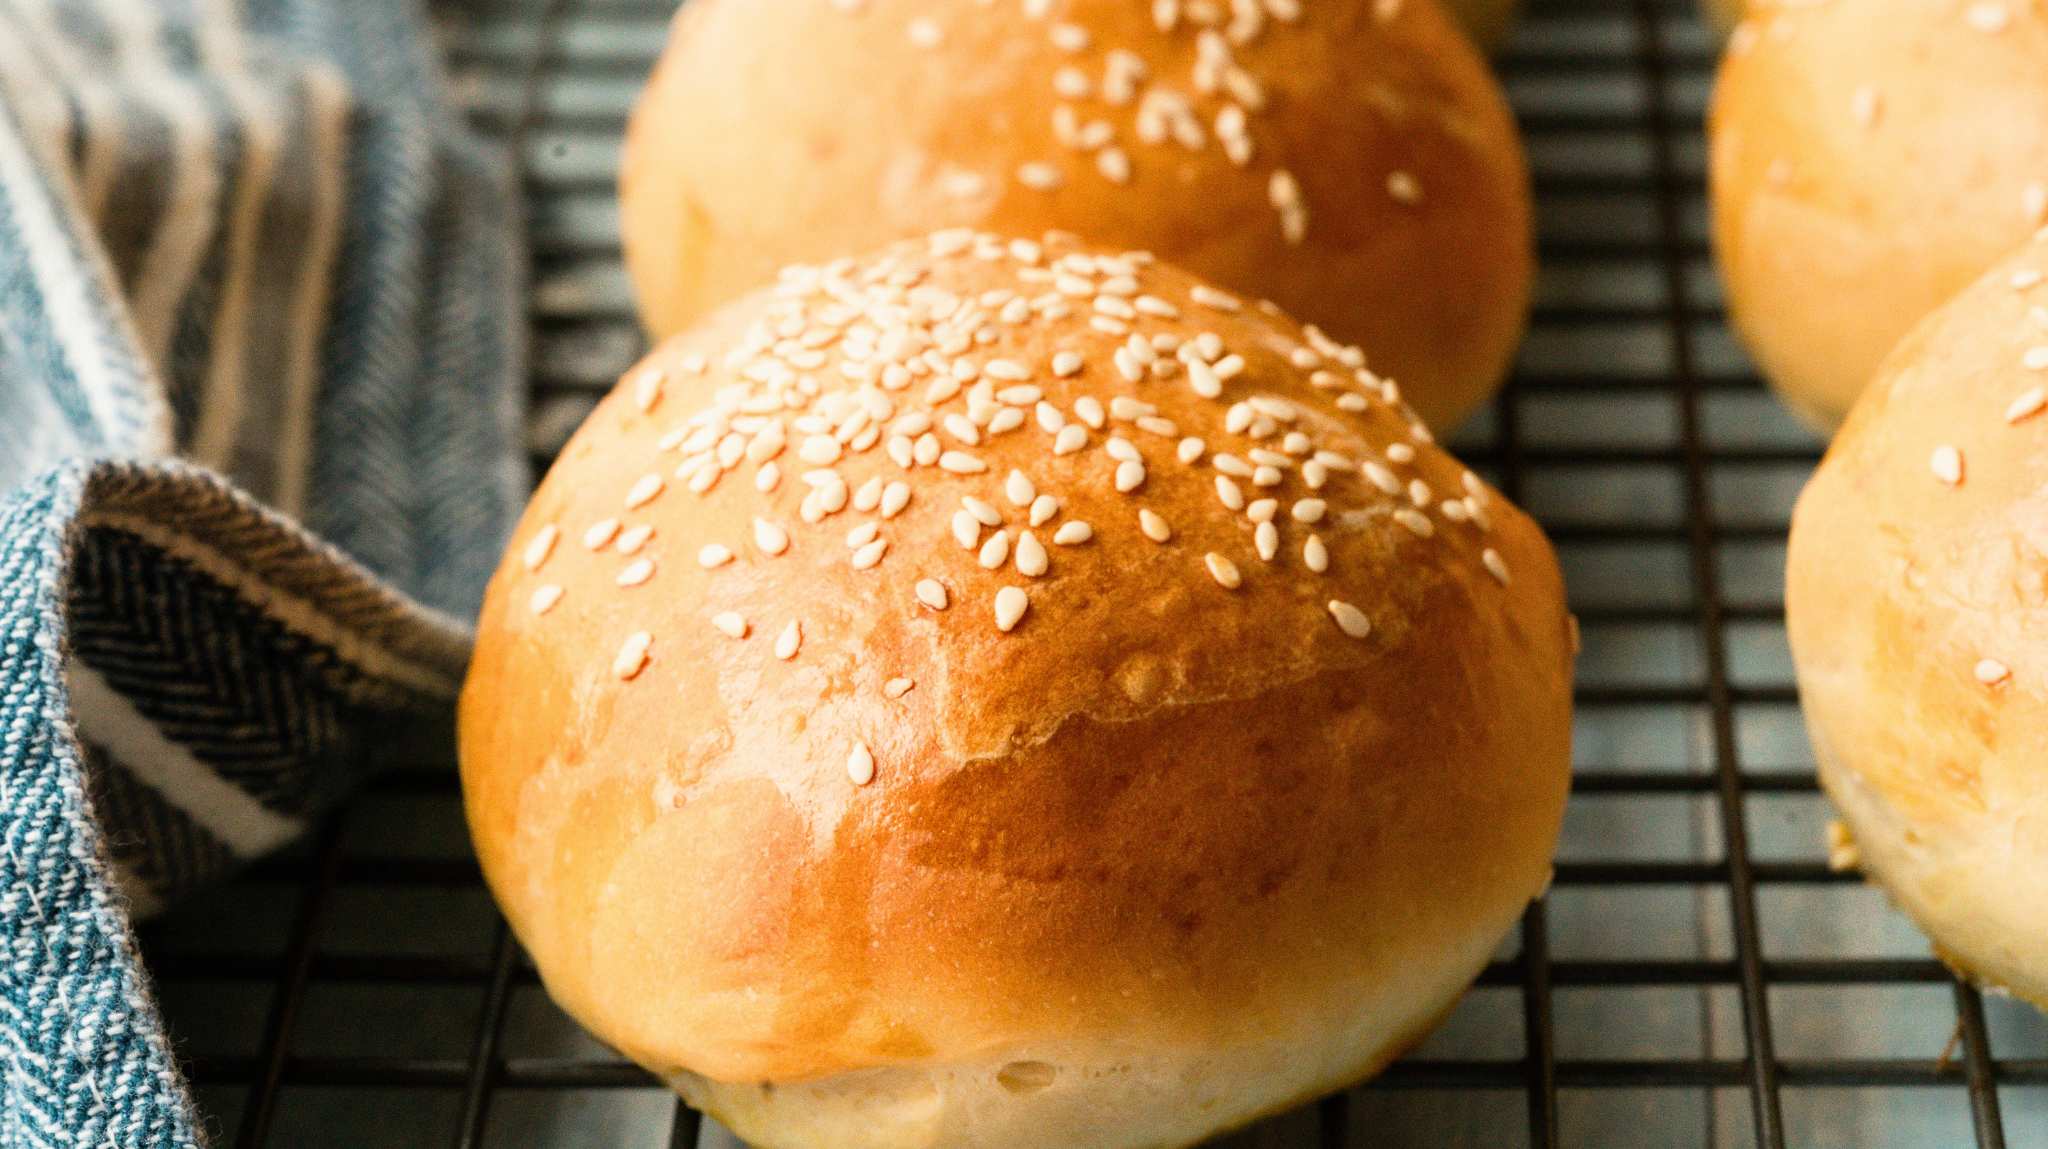

If you maintain a sourdough starter, you know the guilt of discarding perfectly good starter each week. But what if those discards could become pillowy-soft burger buns that rival any bakery? This recipe transforms your sourdough discard into impressive, homemade buns with incredible texture and subtle tang. You likely have all the ingredients already, and the process is more forgiving than you’d expect.
How to Make Sourdough Discard Burger Buns
This recipe yields 8-10 burger buns with a soft crumb and slight sourdough flavor. The process takes about 4-5 hours total, including rising time.
Ingredients
- 1 cup sourdough discard (fed or unfed)
- 3 cups bread flour or all-purpose flour
- 1 cup warm water
- 2 teaspoons salt
- 1 tablespoon sugar or honey
- 2 tablespoons softened butter or oil
Method
Mix the dough base
Combine sourdough discard, warm water, flour, salt, and sugar in a large bowl. Stir until no dry flour remains and the mixture resembles shaggy dough. Let this rest for 20-30 minutes (called autolyse). This allows the flour to fully hydrate and makes the dough easier to work with.
Knead and incorporate butter
After resting, add softened butter to the dough. Knead by hand for 8-10 minutes or use a stand mixer on medium speed for 5-6 minutes until the dough becomes smooth and elastic. The butter should be fully incorporated and the dough should spring back when gently poked.
First bulk rise
Place the dough in a lightly oiled bowl, cover with a damp cloth or plastic wrap, and let it rise at room temperature for 1.5-2 hours until puffy and increased in volume by about 50%. You’re not looking for it to double; sourdough rises more gently than commercial yeast doughs.
Divide and pre-shape
Turn the dough onto a lightly floured surface and divide it into 8-10 equal pieces using a bench scraper or knife. Gently pre-shape each piece into a loose round by pulling the edges toward the center. Rest these rounds for 15-20 minutes under a towel to relax the gluten.
Final shape into bun rounds
Working with one piece at a time, flatten it slightly with your palm, fold the edges toward the center, and flip it seam-side down. Using cupped hands, roll it toward you in short motions to create surface tension. The goal is a smooth, domed bun. Place each shaped bun on a parchment-lined baking sheet.
Second rise and prepare for baking
Cover the shaped buns loosely with plastic wrap or a kitchen towel and let them proof for 1-1.5 hours at room temperature until they’re noticeably puffy. Meanwhile, preheat your oven to 425 degrees Fahrenheit. Just before baking, brush the tops with water or egg wash for a golden finish.
Bake until golden
Place the baking sheet in the preheated oven and bake for 15-18 minutes until the buns are deep golden brown on top. They should sound hollow when tapped on the bottom. Remove from the oven and let cool on a wire rack for at least 10 minutes before slicing to allow the crumb to set.
Cool and store
Once completely cooled, store buns in an airtight container or bread bag at room temperature for up to 3 days. For longer storage, wrap individually and freeze for up to 3 months. Toast from frozen or thaw before serving.
- If your sourdough discard is cold from the fridge, warm it slightly before mixing for faster fermentation
- Use a banneton basket or bowl lined with a well-floured towel during the second rise for beautifully shaped buns
- For extra shine and a softer crust, brush buns with melted butter immediately after baking
Essential Tools for Making Sourdough Burger Buns
- Stand mixer or mixing bowl: A stand mixer saves time and effort when developing the dough, though a large mixing bowl and hand kneading works fine. Look for at least a 5-quart capacity if choosing a mixer.
- Bench scraper: This flat, rectangular tool is invaluable for dividing dough, cleaning your work surface, and pre-shaping buns. It prevents excessive handling of the dough and saves time.
- Parchment paper: Using parchment prevents sticking and eliminates cleanup. Reusable alternatives are eco-friendly and work just as well for this application.
- Wire cooling rack: Allows air to circulate under baked buns, preventing a soggy bottom and ensuring proper cooling before storage or serving.
KitchenAid Artisan Stand Mixer
Best for: Serious home bakers who make bread regularly
The gold standard for dough mixing, the KitchenAid Artisan offers a 5-quart stainless steel bowl and powerful motor that develops dough perfectly in 5-6 minutes. Multiple speed settings and a dough hook attachment make sourdough work effortless. This mixer transforms bread baking from a labor-intensive task into a more manageable process. Its durability means it will last decades of weekly baking sessions.
Check Current Price on Amazon →Hamilton Beach Stand Mixer
Best for: Budget-conscious bakers new to bread making
At a fraction of premium mixer prices, the Hamilton Beach delivers reliable mixing with a 4-quart bowl and sturdy dough hooks. It handles sourdough dough competently and includes multiple speed settings. While not as heavy-duty as commercial-grade machines, it’s perfect for occasional bread baking and takes up less counter space.
Check Current Price on Amazon →Pyrex Glass Mixing Bowl Set
Best for: Hand mixers who want to see dough development
This three-piece set of durable glass bowls is perfect for hand-kneading sourdough. The glass is microwave and oven-safe, making these bowls versatile for other kitchen tasks. Clear sides let you monitor dough progress, and the bowls are dishwasher-safe for easy cleanup. At budget-friendly pricing, it’s an excellent entry-level option.
Check Current Price on Amazon →Norpro Stainless Steel Bench Scraper
Best for: Home bakers who want precision without the premium price
This no-frills stainless steel bench scraper is exactly what you need for dividing and pre-shaping buns. The 4.5-inch wide blade makes quick work of portioning dough, and the comfortable handle provides good control. It’s durable, sharp enough to cut through dough without crushing, and costs just a few dollars. An essential tool that pays for itself immediately.
Check Current Price on Amazon →Transform Your Sourdough Discard Into Bakery-Quality Burger Buns
Making sourdough burger buns is one of the most rewarding uses for your weekly sourdough discard. These soft, slightly tangy buns require nothing more than basic pantry ingredients and simple equipment, yet they rival anything you’d buy at a bakery. The process is more forgiving than you might expect, especially once you understand the gentle rising rhythm of sourdough fermentation. Whether you’re a seasoned bread baker or just starting your sourdough journey, this recipe delivers impressive results that will make you the hero at any summer cookout.
The key to success is patience and observation rather than precise timing. Every kitchen is different, and factors like temperature, humidity, and the activity level of your starter will influence rising times. Invest in a good bench scraper and parchment paper for convenience, but even a basic mixing bowl and hand kneading will work beautifully. Once you’ve mastered this recipe, you’ll find yourself making burger buns regularly, transforming what once felt like waste into something extraordinary.
Frequently Asked Questions
Can I use unfed sourdough discard, or does it need to be recently fed?
Either works fine. Unfed discard will contribute more tang and less fermentation power, while fed discard (bubbly and active) will help the dough rise faster. If using unfed discard, you may need an extra 30 minutes of rising time. Both produce delicious buns.
How do I know when the dough has risen enough during each stage?
During the first rise, the dough should increase by about 50% and feel airy when gently poked. During the second rise, buns should be noticeably puffy and jiggly but still hold their shape. Poke gently with your finger; if the indent springs back slowly, it’s ready.
What if I don’t have a stand mixer? Can I knead by hand?
Absolutely. Mix the dough in a large bowl, then knead on a floured surface for 10-12 minutes until smooth and elastic. Sourdough dough is forgiving and actually benefits from the tactile feedback of hand kneading. It takes a bit longer but produces equally delicious results.
Can I make these buns ahead of time and freeze them?
Yes. Shape the buns, freeze them on a baking sheet, then transfer to a freezer bag for up to 3 months. Bake directly from frozen, adding 5-7 extra minutes to the baking time. Alternatively, bake fully, cool, and freeze for up to 3 months, then thaw or toast before serving.
Why are my buns coming out dense instead of soft and fluffy?
Dense buns usually result from under-proofing or insufficient fermentation time. Make sure you’re allowing the full 1.5-2 hours for the first rise and 1-1.5 hours for the second rise. Warmer kitchen temperatures speed fermentation, while cooler kitchens need longer. Also ensure your sourdough discard is active and bubbly before mixing.
As an Amazon Associate, Build & Bloom earns from qualifying purchases. We only recommend products we genuinely think are useful. Prices and availability vary; check Amazon for the latest.
Leave a Reply