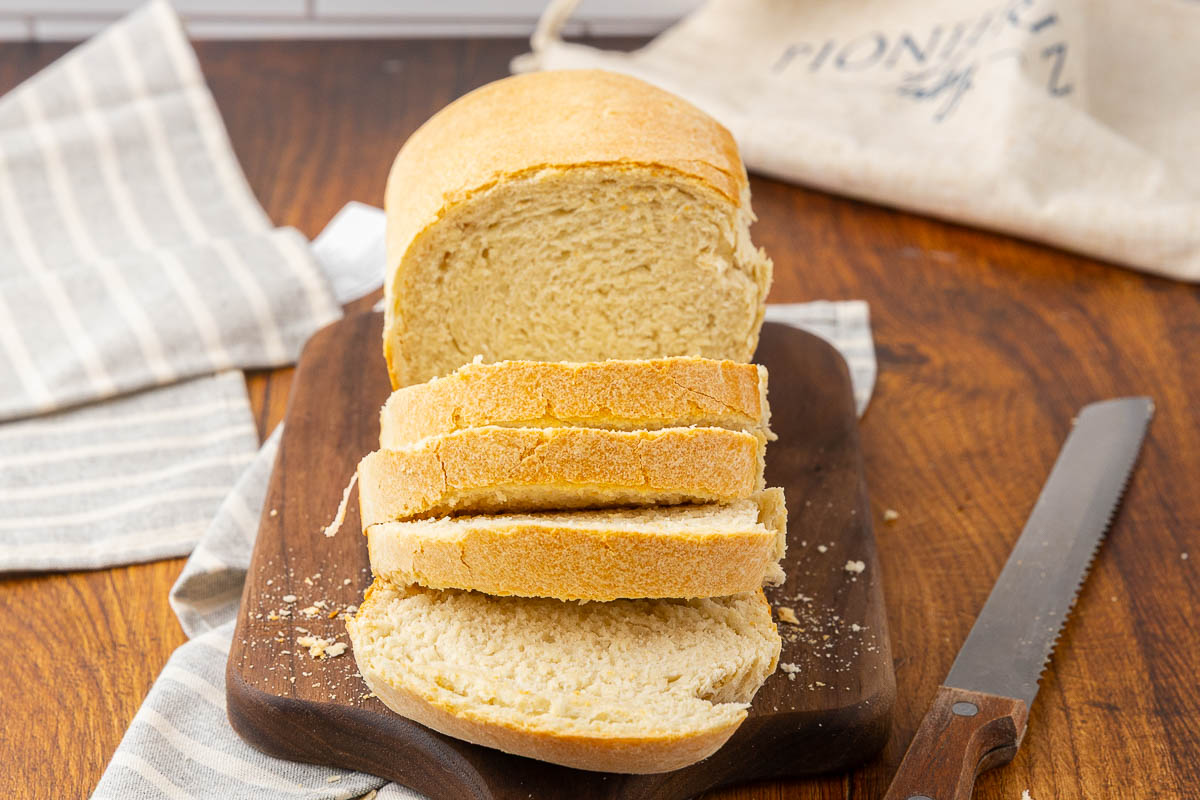

If you’ve been intimidated by sourdough baking, sandwich bread is your perfect entry point. Unlike artisan loaves that demand precise shaping and scoring, sandwich bread prioritizes soft crumb and high moisture over dramatic crust. Using just your sourdough starter, flour, water, and salt, you’ll create bakery-quality bread that toasts beautifully and makes incredible sandwiches–and the long fermentation does most of the work for you.
How to Make Soft Sourdough Sandwich Bread
This method relies on a long, cool fermentation to develop flavor and texture without rushing with commercial yeast. Plan for approximately 3-4 days from starter refreshment to fresh loaf.
Ingredients
- Active sourdough starter, fed 4-8 hours prior (1/2 cup or 120g)
- Bread flour or all-purpose flour (3.5 cups or 420g)
- Filtered or tap water, room temperature (1 cup or 240ml)
- Sea salt or kosher salt (1.5 teaspoons or 10g)
- Optional: butter or oil for greasing loaf pan (1 tablespoon)
Method
Mix your dough base
Combine your active starter with water in a large mixing bowl. Stir until the starter breaks apart and cloudily disperses. Add flour and use a wooden spoon or your hands to incorporate until all dry flour is absorbed. The dough will be shaggy and slightly sticky. Cover with a damp cloth and rest for 30-60 minutes at room temperature.
Develop gluten with stretch-and-fold
After the rest, wet your hand and fold the dough onto itself from the edges toward the center, rotating the bowl as you work. Perform 4-6 stretches and folds, then cover and wait 30 minutes. Repeat this process 2-3 times over the course of 2-3 hours. This develops strength without vigorous kneading.
Add salt and rest overnight
Sprinkle salt over the dough and incorporate with one final set of stretches and folds. Transfer to a lightly oiled container or bowl, cover tightly, and refrigerate for 12-18 hours. The cool temperature slows fermentation and allows flavor to develop.
Shape and proof in a pan
Remove dough from the fridge and turn it onto a lightly floured surface. Gently shape it into a rectangle that fits your loaf pan. Fold the dough in thirds lengthwise, sealing as you go, then place seam-side down in a greased loaf pan. Cover loosely with plastic or a cloth and let it proof at room temperature for 6-12 hours, or until the dough rises about 1 inch above the rim.
Preheat and score the top
About 30 minutes before baking, preheat your oven to 475 degrees Fahrenheit with a rack positioned in the lower-middle area. When ready to bake, use a sharp knife or lame to score a shallow line down the center of the loaf. This prevents the bread from splitting unpredictably and gives you some control over the final shape.
Bake with steam for a tender crust
Place a metal pan on the lower oven rack and fill it with boiling water to create steam. Carefully transfer your loaf pan to the middle rack. Bake for 35-45 minutes, until the top is golden brown and the loaf sounds hollow when tapped on the bottom. Remove the water pan during the last 5 minutes if you prefer a crisper crust.
Cool completely before slicing
Transfer the baked loaf to a wire cooling rack and let it rest undisturbed for at least 1-2 hours. The crumb continues to set as it cools. Slicing too early will result in a gummy texture. Once cooled, wrap any leftovers in cloth or store in a paper bag to maintain a soft crust.
- Keep your sourdough starter in the fridge between bakes and feed it at least once weekly. If you bake frequently, maintain it at room temperature and feed daily for consistent, predictable results.
- Use the poke test to judge final proof: gently press the shaped dough with a floured finger. If the indent springs back slowly and leaves a slight mark, it’s ready. If it springs back immediately, it needs more time.
- A loaf pan is your friend for sandwich bread–it provides structure and helps achieve the tall, straight-sided loaf perfect for even slices. Save the banneton basket for artisan boules.
What to Look For in Sourdough Baking Essentials
- Loaf Pan Material: Metal conducts heat evenly and browns crusts beautifully, while glass allows you to monitor bottom browning. Ceramic pans heat slowly but retain warmth excellently. Avoid non-stick coatings, which can prevent proper browning and release unpleasant fumes at high baking temperatures.
- Thermometer Accuracy: An instant-read digital thermometer removes guesswork from doneness. Sourdough bread is done when the internal temperature reaches 205-210 degrees Fahrenheit. Look for thermometers with a wide temperature range and a quick response time (under 3 seconds).
- Proofing Container Flexibility: Clear containers let you visually track fermentation progress without uncovering the dough. Graduated measurements help you estimate bulk fermentation advancement. Choose food-grade plastic or glass with tight-fitting lids to prevent drying and unwanted odors.
- Scoring Tool Sharpness: A dull blade drags and tears rather than making clean cuts, which disrupts gluten structure and results in poor oven spring. Professional lames (single-blade razors) or very sharp serrated bread knives give the cleanest scores. Replace blades regularly or maintain sharp edges.
Emile Henry Ceramic Loaf Pan
Best for: Beginners who want consistent, beautiful results with minimal fuss
This French-made ceramic loaf pan is a workhorse for sourdough sandwich bread. The ceramic heats gradually and evenly, promoting deep golden-brown crusts without scorching the sides. It’s durable enough for decades of use, naturally non-stick once seasoned, and the visible sides let you monitor browning progress. Unlike metal, it won’t rust and the neutral color won’t develop hot spots.
Check Current Price on Amazon →USA Pan Bakeware Aluminized Steel Loaf Pan
Best for: Budget-conscious bakers who want quality without the premium price
USA Pan’s aluminized steel offers excellent heat distribution and browning at a fraction of premium prices. The reinforced design prevents warping even with frequent high-heat baking, and the natural steel construction is virtually indestructible. It’s lighter than ceramic, heats faster, and produces consistently golden loaves. Perfect for rotating bakers who want backup pans.
Check Current Price on Amazon →ThermoPro Digital Instant-Read Meat Thermometer
Best for: First-time sourdough bakers who struggle with doneness assessment
This waterproof digital thermometer eliminates the guesswork of bread doneness. Simply insert the thin probe into the bread’s center; when it reads 205-210 degrees Fahrenheit, your loaf is perfectly baked. The large backlit display reads results in under 3 seconds. Waterproof construction survives spills and cleanup, and it includes a storage pouch for portability.
Check Current Price on Amazon →Lame Sourdough Bread Scoring Tool by KitchenCraft
Best for: Dedicated sourdough bakers who want professional-quality scoring results
A proper bread lame makes scoring cleaner and faster than any knife. This KitchenCraft model features a sharp stainless steel blade that makes crisp, controlled cuts without dragging or tearing the dough. The ergonomic handle sits comfortably in your hand, and replacement blades are inexpensive and easily swapped. It’s a small investment that noticeably improves oven spring and crust aesthetics.
Check Current Price on Amazon →Final Recommendation
Making soft sourdough sandwich bread as a beginner is entirely achievable with the right mindset and tools. The method relies on time and temperature rather than technical skill–your refrigerator does most of the heavy lifting during the long cold fermentation. Invest in a good loaf pan, a reliable thermometer, and clear containers, and you’ll have the foundation for consistently beautiful loaves that rival any bakery. The magic is patience, not precision.
Start with just one loaf to learn the rhythm of your kitchen’s unique environment. Fermentation times vary based on room temperature, starter vigor, and flour hydration–the timeline given here is a guide, not gospel. Keep notes on what you observe: when did bulk fermentation feel full? When did the dough reach full proof height? How did each loaf taste and crumb? Over just 3-4 bakes, you’ll develop intuition that no recipe can teach. That’s when sourdough stops being daunting and becomes something you make confidently, without thinking.
Frequently Asked Questions
How do I know if my sourdough starter is ready to use?
A ready starter should be active and bubbly, roughly doubled in size since feeding, and have a pleasant sour smell. Perform the float test: drop a small spoonful into water–if it floats, it’s ready. You should feed your starter 4-8 hours before baking, allowing time for it to peak with activity.
Can I make this bread if I don’t have a loaf pan?
Yes, but it’s trickier. You can shape the dough and proof it in a well-floured banneton basket, then bake on a preheated Dutch oven or baking stone at 450 degrees for 40-50 minutes with the lid on (first 25 minutes), then off. The loaf will be rounder than a traditional sandwich loaf.
Why is my sourdough bread gummy in the middle even though the outside looks done?
Underbaking is the most common cause. Always use a thermometer–bread is done at 205-210 degrees Fahrenheit internal temperature, not just a golden exterior. Also ensure your loaf cooled completely (1-2 hours) before slicing, as cutting warm bread traps steam and causes gumminess.
What’s the difference between bulk fermentation and proofing?
Bulk fermentation happens when the whole dough mass ferments together in a bowl for 2-3 hours at room temperature, developing gluten and flavor. Proofing is the final rise after shaping, usually in a loaf pan for 6-12 hours. Both are essential for flavor and texture development.
How should I store my finished sourdough bread?
Once cooled, wrap it in cloth (linen or cotton) or store in a paper bag at room temperature for 3-4 days. Cloth allows the crust to breathe while keeping the crumb tender. Avoid plastic, which traps moisture and softens the crust. Freeze sliced loaves for up to 3 months.
As an Amazon Associate, Build & Bloom earns from qualifying purchases. We only recommend products we genuinely think are useful. Prices and availability vary; check Amazon for the latest.
Leave a Reply