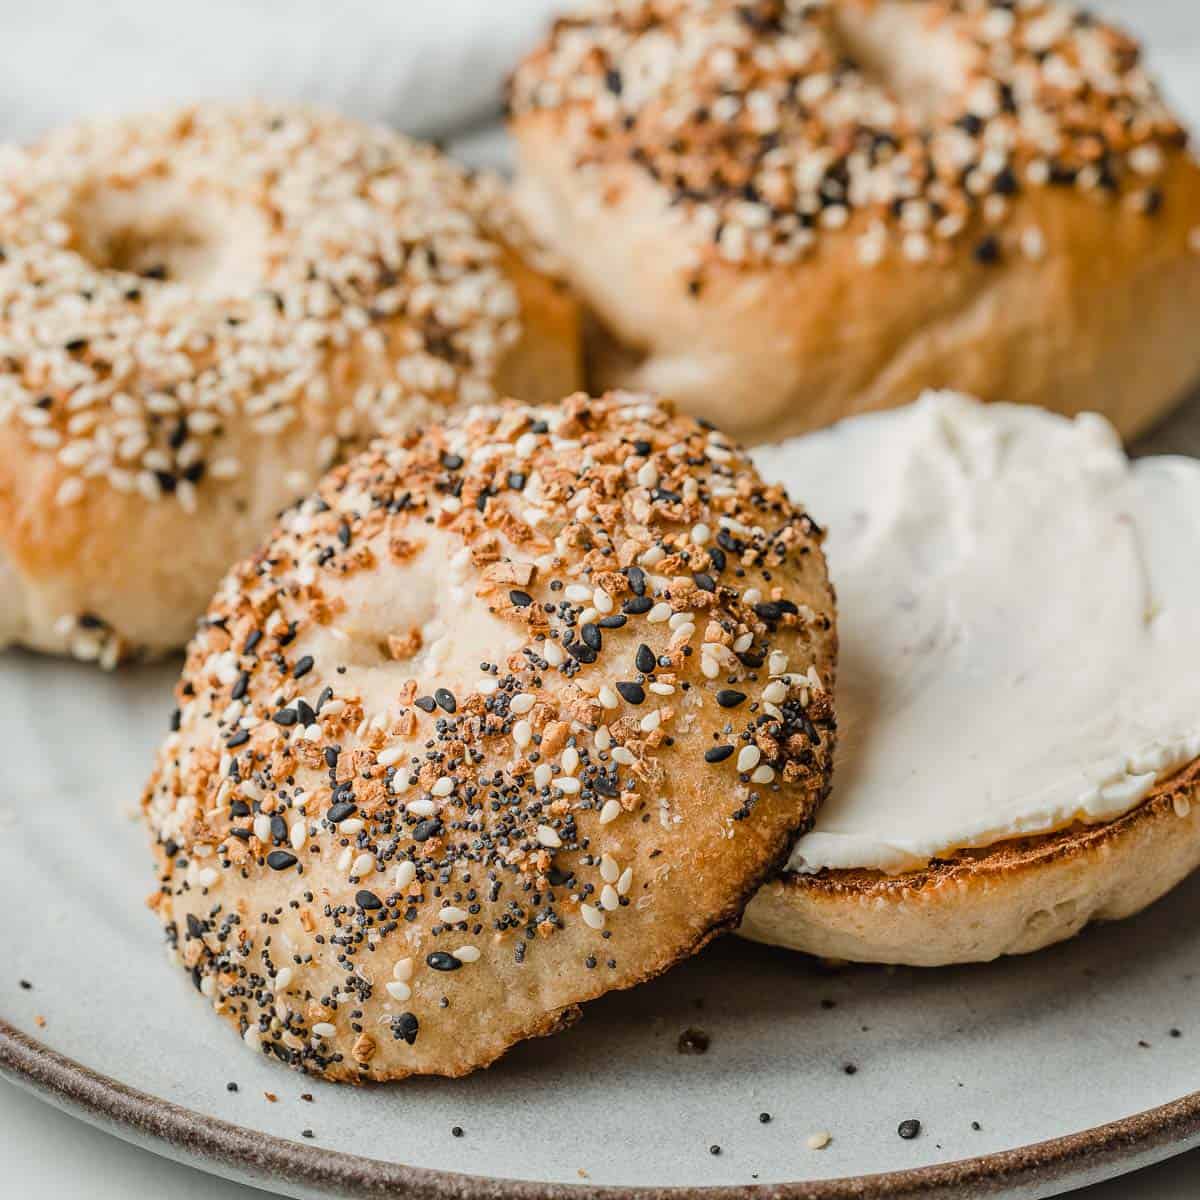

Making sourdough bagels at home transforms your weekend breakfast into a bakery-quality experience–but many home bakers struggle with the shaping, proofing, and boiling steps that separate dense, gummy bagels from chewy, properly structured ones. Whether you’re an experienced sourdough baker or exploring fermented breads for the first time, mastering sourdough bagels teaches you the precise timing and technique that professional bagel makers rely on. This guide walks you through the entire process with clear instructions and troubleshooting tips.
How to Make Sourdough Bagels from Scratch
Sourdough bagels require a vigorous starter and patience, but the result is a chewy, complex-flavored bagel far superior to commercial versions. The process spans two days with strategic fermentation periods.
Ingredients
- 1 cup active sourdough starter (fed 4-8 hours prior, bubbly and peak)
- 2.5 cups bread flour (approximately 350g)
- 0.75 cup water (about 180ml, room temperature)
- 1.5 teaspoons kosher salt
- 1 tablespoon honey or malt syrup (for boiling water, optional but traditional)
- Cornmeal or semolina flour (for dusting baking surface)
Method
Mix and Autolyse
Combine your active starter with room-temperature water in a large bowl, stirring until mostly combined. Add bread flour and mix until no dry flour remains. Let this mixture rest uncovered for 30-60 minutes. This autolyse period allows the flour to fully hydrate and develops gluten structure naturally.
Knead and Salt
After the rest, sprinkle salt over the dough and knead for 8-10 minutes by hand or 5-6 minutes with a stand mixer until the dough becomes smooth and slightly tacky. The dough should pass the windowpane test (stretch a small piece thin enough to see light through it without tearing). You’re developing the gluten network that creates bagel chewiness.
First Fermentation
Place the kneaded dough in a lightly oiled container, cover loosely, and ferment at room temperature for 4-6 hours. You’ll see the dough rise noticeably. This bulk fermentation develops flavor and strength. You can also use cold fermentation overnight in the refrigerator (8-16 hours) which actually improves flavor through extended fermentation.
Divide and Pre-Shape
Turn the dough onto a lightly floured surface and divide into 6-8 equal pieces (approximately 80-90g each). Pre-shape each piece into a tight round by pulling the surface toward you, then let them rest uncovered for 15-20 minutes. This resting period relaxes the gluten and makes final shaping easier.
Shape into Bagels
With lightly floured hands, poke a hole in the center of each round with your thumb. Gradually stretch the hole wider while rotating the dough, creating a bagel ring approximately 3 inches in diameter with a uniformly thick wall. The hole shrinks slightly during proofing, so make it larger than your desired final size. Proper shaping prevents dense centers.
Final Proof
Place shaped bagels on parchment paper dusted with cornmeal. Cover loosely with plastic and let proof at room temperature for 2-4 hours, or overnight in the refrigerator. Refrigerated bagels benefit from extended fermentation. Test for doneness with the float test: a properly proofed bagel should float to the water surface within 30 seconds of boiling.
Boil with Purpose
Bring a large pot of water to a rolling boil (add honey if using). Working with 2-3 bagels at a time, boil each side for 45-60 seconds total, using a slotted spoon or skimmer to remove them. Boiling gelatinizes the starch on the surface, creating the signature chewy crust. Don’t skip this step or under-boil, or your bagels will bake up dense.
Bake Until Golden
Place boiled bagels on a baking sheet lined with parchment paper. Bake in a preheated 425F (220C) oven for 20-25 minutes until deep golden brown. The crust should feel firm and have a slight sheen. Cool on a wire rack for at least 15 minutes before slicing. Proper cooling allows steam to escape and the crumb to set.
- Use a strong, active starter that doubles within 4-8 hours of feeding–weak starter produces flat, dense bagels
- If your bagels don’t float during the boil test, return them to proof longer rather than baking them early
- Toast fresh bagels before eating for superior texture and better cream cheese adhesion
Essential Equipment for Sourdough Bagel Making
- Large Pot or Dutch Oven: You need at least a 5-6 quart capacity to boil bagels in batches without crowding. A tall, narrow pot retains heat better than a wide shallow pan, ensuring consistent boiling and proper gelatinization.
- Stand Mixer or Strong Arms: Bagel dough is stiff and demanding. A stand mixer with dough hook saves effort and produces consistent results. If mixing by hand, expect 10+ minutes of kneading to develop the required gluten strength.
- Kitchen Scale: Precise measurements are critical for consistent bagel size and baking time. A scale eliminates guesswork and produces professional results. Volumetric measurements of bagel dough vary too much.
- Slotted Spoon or Spider Skimmer: Standard spoons let bagels slip and tear. A slotted spoon or mesh spider skimmer safely removes boiled bagels from water without breaking them or introducing excess water into the pot.
Cuisinart Stand Mixer 5.5 Quart
Best for: Serious bagel makers and regular bakers
This durable stand mixer handles bagel dough’s demanding consistency with a powerful motor and sturdy dough hook attachment. The 5.5-quart stainless steel bowl accommodates multiple batches, and the splash guard keeps flour contained. Home bakers consistently praise its reliability for dense doughs that challenge hand-mixing. Perfect for weekly sourdough bagel sessions.
Check Current Price on Amazon →Hamilton Beach Stand Mixer 4 Quart
Best for: Budget-conscious bakers making smaller batches
Delivers solid performance at an accessible price point. The 4-quart bowl handles one batch of bagel dough adequately, with a reliable motor and straightforward controls. While not commercial-grade, it provides years of dependable service for home bakers unwilling to invest heavily. Great starter mixer for bagel experimentation.
Check Current Price on Amazon →KitchenAid Artisan 5 Quart Stand Mixer
Best for: Dedicated bakers seeking professional features and longevity
The gold standard for home baking equipment. KitchenAid’s powerful motor, durable construction, and extensive accessory ecosystem make it a lifetime investment. The flat mixing bowl and coated dough hook excel with bagel dough’s stiffness. Professional bakeries use identical machines, so you’re using professional-grade equipment at home.
Check Current Price on Amazon →Oxo Good Grips 11-Inch Slotted Spoon
Best for: First-time bagel makers needing basic equipment
An unsung hero for boiling bagels. The soft grip handle reduces fatigue, and the slotted design prevents water from splashing back. Large slots safely cradle bagels without tearing them. At under $10, this tool is essential and makes the boiling process infinitely easier than struggling with standard spoons.
Check Current Price on Amazon →Master Sourdough Bagels with Confidence
Sourdough bagels represent the intersection of classic baking technique and fermentation science. The combination of long, cool fermentation and traditional boiling creates a product no commercial bagel can match–tangy, chewy, and deeply satisfying. By following this method precisely and investing in basic equipment like a stand mixer and kitchen scale, you’ll produce bagels that rival neighborhood bakeries within your second or third batch.
The real magic happens in understanding the float test, managing your starter’s strength, and resisting the urge to rush fermentation. Patience transforms simple flour, water, salt, and starter into breakfast that tastes like a three-day project, even though most of that time is passive. With reliable equipment and these clear instructions, sourdough bagel success is entirely within reach for home bakers at any skill level.
Frequently Asked Questions
Why are my bagels dense and gummy inside?
Underboiling is the primary culprit. Bagels need 45-60 seconds per side in truly boiling water to gelatinize the starch layer properly. Additionally, ensure your starter is genuinely active and doubling, and that you’re allowing sufficient fermentation time. Under-fermented bagels bake dense regardless of boiling.
Can I freeze sourdough bagels and reheat them?
Yes, freeze bagels in an airtight container for up to 3 months. Thaw at room temperature, then toast briefly before serving. Toasting revives the crust and prevents the bagel from tasting stale. Frozen bagels maintain quality better than refrigerated ones, which stale quickly.
What does the float test actually tell me?
A bagel that floats within 30 seconds of hitting boiling water has reached sufficient fermentation and gluten development. If it sinks immediately, return it to proof longer. This simple test prevents under-proofed bagels from baking dense and takes the guesswork out of timing.
Should I use honey, malt syrup, or plain water for boiling?
All three work, but malt syrup produces slightly deeper browning and complex flavor. Honey is more accessible and adds subtle sweetness. Plain water works perfectly fine. This choice affects flavor subtly rather than structurally, so use what you have available.
How do I know when my sourdough starter is ready for bagels?
Your starter should double reliably within 4-8 hours of feeding, have a pleasant sour aroma, and show lots of bubbles throughout (not just on top). Use it at peak rise when it’s actively bubbling but before it collapses. A weak starter produces weak dough and flat bagels.
As an Amazon Associate, Build & Bloom earns from qualifying purchases. We only recommend products we genuinely think are useful. Prices and availability vary; check Amazon for the latest.
Leave a Reply