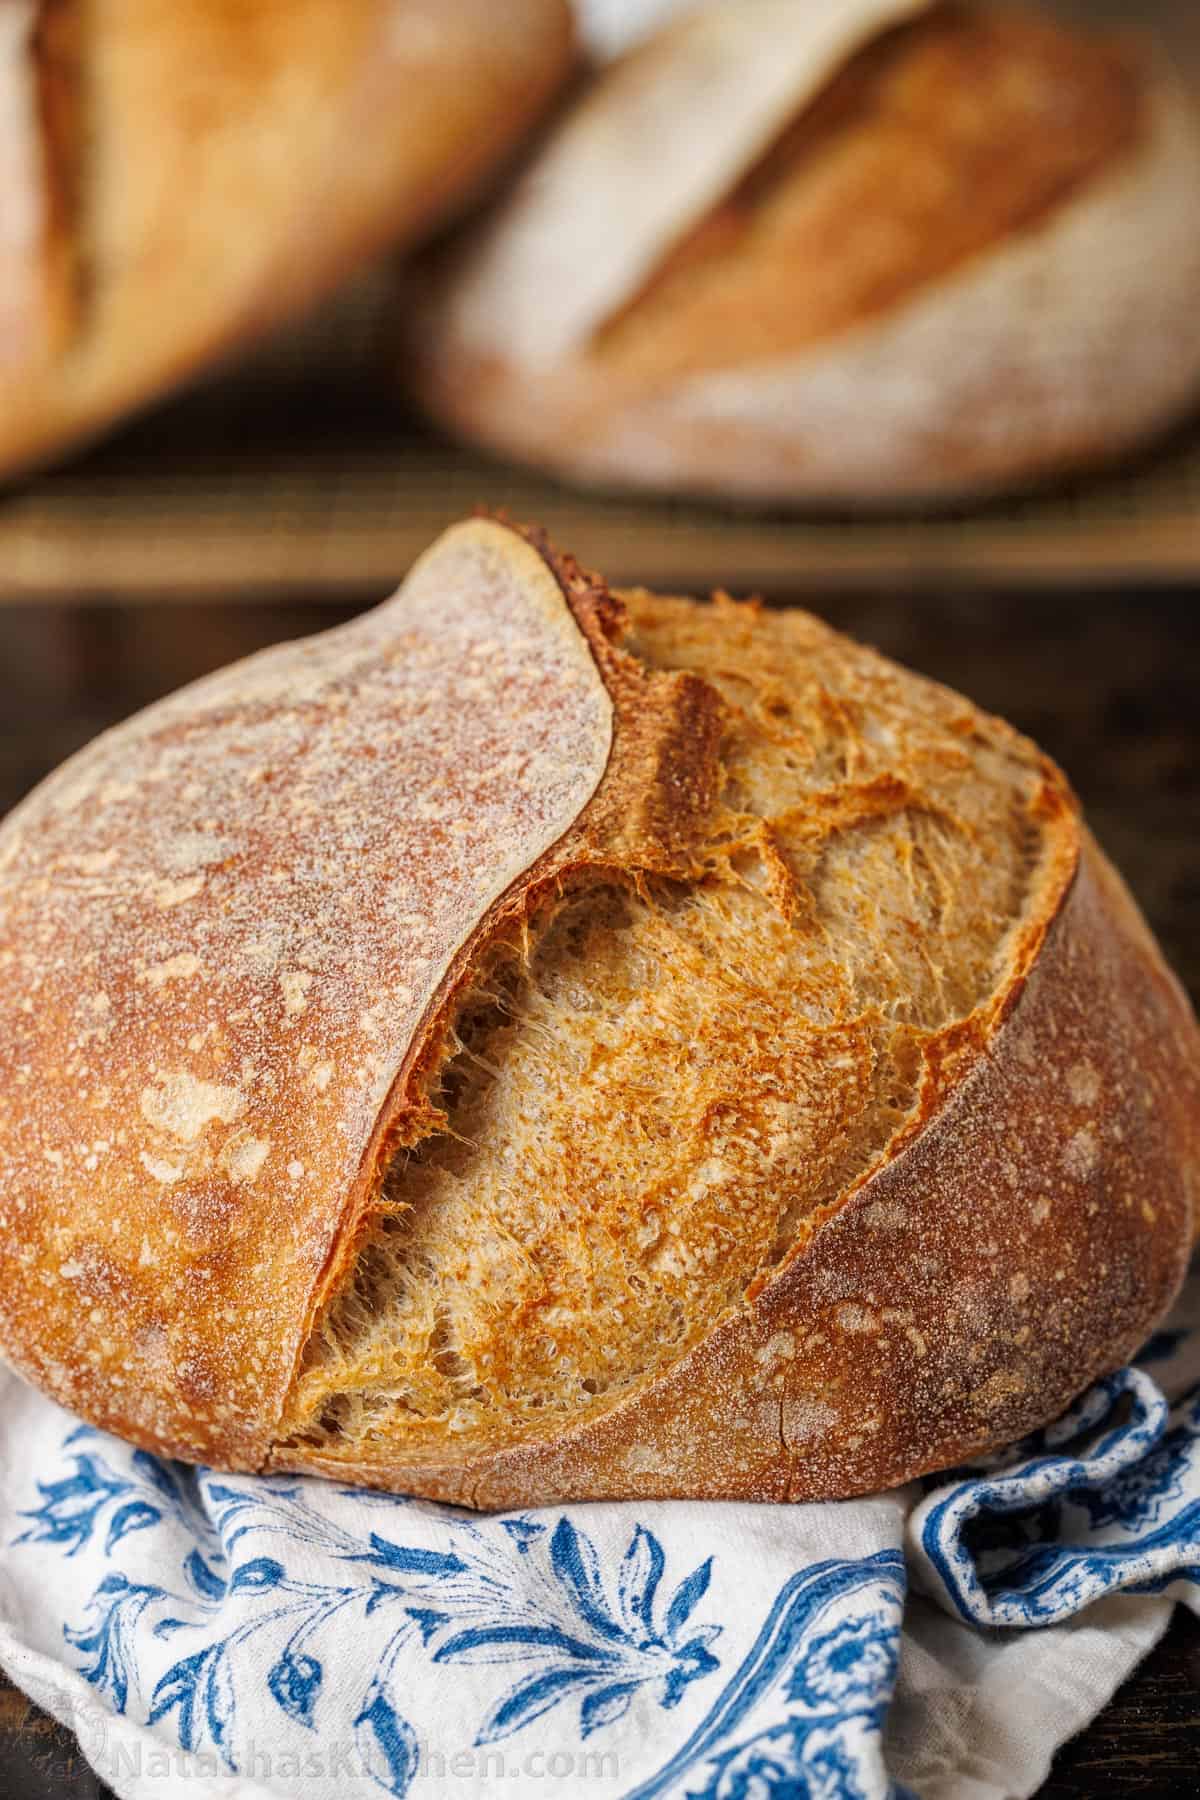

Making sourdough bread at home feels intimidating, but it’s actually simpler than you think. Unlike commercial yeast breads that rely on instant packets, sourdough uses a living culture (your starter) that ferments slowly, developing complex flavor and natural rise. If you’ve got flour, water, salt, and a few days, you can bake bakery-quality loaves in your own kitchen.
How to Make Sourdough Bread from Scratch
This method produces a rustic, tangy loaf with a crispy crust and open crumb structure. The timeline spans roughly 24-30 hours total, with most of that being hands-off fermentation.
Ingredients
- Active sourdough starter (fed 4-8 hours prior, at peak ripeness)
- Bread flour or all-purpose flour: 500g (about 4 cups)
- Water: 350ml (about 1.5 cups), plus extra for steam
- Sea salt: 10g (about 2 teaspoons)
- Optional: whole wheat flour (25-50g) for added flavor
Method
Mix the dough
Combine your active starter (100g), flour, and water in a large bowl. Stir until all flour is hydrated, creating a shaggy, wet dough. Let it rest for 30 minutes at room temperature (this is called the autolyse). This allows the flour to fully absorb water and begins gluten development.
Add salt and strengthen the dough
Sprinkle salt over the dough and incorporate it fully. Over the next 2-3 hours, perform four sets of stretch-and-folds: wet your hand, grab one side of the dough, stretch it upward, and fold it over itself. Rotate the bowl 90 degrees and repeat four times per set, spacing sets about 30 minutes apart. This builds strength without kneading.
Begin bulk fermentation
After your final stretch-and-fold, cover the bowl loosely and let the dough rest at room temperature for 4-6 hours total. You’re looking for the dough to increase in volume by about 50% and show visible bubbles. The exact time depends on your kitchen temperature; warmer environments ferment faster.
Pre-shape and rest
Turn the dough onto a lightly floured surface. Gently pre-shape it into a round by folding the edges toward the center, then flip it seam-side down. Let it rest for 20-30 minutes. This relaxes the gluten before final shaping and helps it hold its shape during the final rise.
Final shape and cold ferment
Flip the dough seam-side up. Fold the top third down and roll it toward you, creating tension. Flip it seam-side down into a floured banneton basket or bowl lined with a cloth. Cover and refrigerate for 12-18 hours. Cold fermentation develops flavor and makes scoring easier.
Prepare your oven and score
Place a covered heavy pot (Dutch oven) in your oven and preheat to 500F (260C) for at least 30 minutes. Remove the dough from the fridge, turn it onto parchment paper, and score the top with a sharp blade in a cross or curved pattern about 0.5 inches deep. This controls where the bread expands.
Bake covered then uncovered
Carefully transfer the parchment and dough into the preheated pot. Cover with the pot’s lid and bake for 20 minutes at 500F. Remove the lid and reduce heat to 450F (230C). Bake uncovered for 25-30 minutes more until the crust is deep golden brown.
Cool completely
Remove the bread from the oven and transfer it to a wire rack. Let it cool for at least 1 hour before slicing. The interior continues to set as it cools, and cutting too early results in gummy crumb. Once fully cool, store in a paper bag to maintain crispness.
- Keep your starter fed and active: discard half and feed with equal parts flour and water about 4-8 hours before mixing your dough. It should be bubbly and at peak when you use it.
- Temperature matters: cooler kitchens (65-68F) give you more flexibility and slower fermentation, while warm kitchens (75F+) move faster. Adjust timing accordingly.
- Don’t skip the cold ferment: those 12-18 hours in the fridge dramatically improve flavor, crust, and crumb structure compared to same-day baking.
Essential Equipment for Sourdough Baking
- Dutch Oven or Covered Baking Vessel: Traps steam during the first phase of baking, which is essential for developing a crispy, well-expanded crust. Look for cast iron or enameled options that handle 500F+ temperatures safely.
- Kitchen Scale (Grams): Sourdough relies on precise ratios of flour, water, and starter. A digital scale measuring in grams ensures consistency and success, unlike cup measurements which vary.
- Banneton Proofing Basket: Supports your dough during cold fermentation, preventing it from spreading too wide. Keeps the round or oval shape intact and prevents sticking.
- Bread Lame or Sharp Scoring Blade: Creates controlled slits on the dough surface before baking, directing steam expansion and creating that signature ear. Dull knives drag and deflate your dough.
Lodge Cast Iron Dutch Oven (5-6 Quart)
Best for: Home bakers seeking durability and performance
Lodge’s cast iron Dutch oven is the sourdough baker’s workhorse. Its thick walls distribute heat evenly, while the heavy lid traps steam perfectly for that bakery-quality crust. Seasoned and ready to use right out of the box, it handles temperatures well above 500F without warping. This heirloom-quality pot will outlast countless loaves and works beautifully for other dishes too.
Check Current Price on Amazon →Cuisinart Chef’s Classic Enameled Cast Iron Dutch Oven
Best for: Budget-conscious beginners who want to test the method
Cuisinart’s enameled cast iron Dutch oven delivers excellent performance at a lower price point than premium brands. The enamel coating eliminates seasoning maintenance, and the pot handles 400F+ reliably. Ideal if you’re new to sourdough and want to commit without maxing your budget. Colors like cherry red or white look beautiful on the stovetop too.
Check Current Price on Amazon →Etekcity Digital Kitchen Scale
Best for: Home bakers learning precise sourdough measurements
This digital scale measures in grams (and ounces) with precision up to 0.1 ounces, essential for sourdough’s ingredient ratios. The tare function lets you zero out containers, and the LED display is easy to read. Compact design won’t clutter your counter, and it’s reliable for years of daily use. At this price, it’s an essential investment in consistent results.
Check Current Price on Amazon →Banneton Proofing Basket Set (9 inch round, 10 inch oval)
Best for: Bakers who want both shapes without buying twice
This set includes both round and oval banneton baskets with removable linen liners. The woven rattan design prevents sticking while allowing air circulation during fermentation. Liners are washable and replaceable, extending the life of your baskets. At this price point for two quality baskets, it’s better value than buying separately.
Check Current Price on Amazon →Start Your Sourdough Journey Today
Sourdough baking isn’t magic, though the results feel like it. With the right equipment (a Dutch oven, scale, and banneton), a healthy starter, and patience for fermentation, you’ll produce bread that rivals your favorite bakery. The process is forgiving if you understand the principles: fermentation develops flavor, steam creates crust, and time is your most valuable ingredient. Your first loaf might not be perfect, and that’s okay. Each bake teaches you something, and by your third or fourth loaf, you’ll be confident and proud.
Invest in quality tools that last, keep notes on your fermentation times and temperatures, and don’t rush the process. The slow, cold fermentation is where sourdough magic happens. Whether you choose budget-friendly equipment or invest in premium gear, the fundamentals remain the same. Start with the guide above, grab a Dutch oven and scale, and bake your first loaf this week. Once you taste homemade sourdough with its tangy complexity and crackling crust, you’ll understand why this ancient method never goes out of style.
Frequently Asked Questions
Do I need a sourdough starter to begin? Can I buy one or must I create one?
You need an active starter, but you don’t have to create one from scratch. You can buy dehydrated starter online (King Arthur, Cultures for Health) and rehydrate it, or ask a local baker for some of theirs. Creating one takes 5-7 days of daily feedings, while buying saves time.
What’s the difference between bulk fermentation and final fermentation?
Bulk fermentation is the first rise (4-6 hours at room temperature) where you’re developing strength and volume. Final fermentation happens in the cold fridge (12-18 hours) where the dough develops flavor and gets ready for baking. Both are essential to the process.
My bread turned out dense and gummy inside. What did I wrong?
This usually means either under-fermentation (dough needed more time to rise) or under-baking (bread didn’t bake long enough inside). Try extending your bulk fermentation by 1-2 hours, or bake uncovered for an extra 5 minutes. Also ensure your oven is fully preheated and you let the loaf cool completely before slicing.
Can I make sourdough in a regular oven without a Dutch oven?
It’s challenging but possible. Place a pan of water on the oven floor to generate steam, and bake uncovered. You’ll lose some crust crispness because the trapped steam won’t be as intense, but the bread will still turn out. A Dutch oven genuinely makes a difference.
How do I know when my starter is ready to use?
Your starter should at least double in volume within 4-8 hours of feeding, smell pleasantly sour, and show lots of bubbles throughout. If fed in the evening, it should be fluffy and at peak by morning. Peak ripeness usually means it’s just starting to recede (slightly domed, not collapsing).
As an Amazon Associate, Build & Bloom earns from qualifying purchases. We only recommend products we genuinely think are useful. Prices and availability vary; check Amazon for the latest.
Leave a Reply