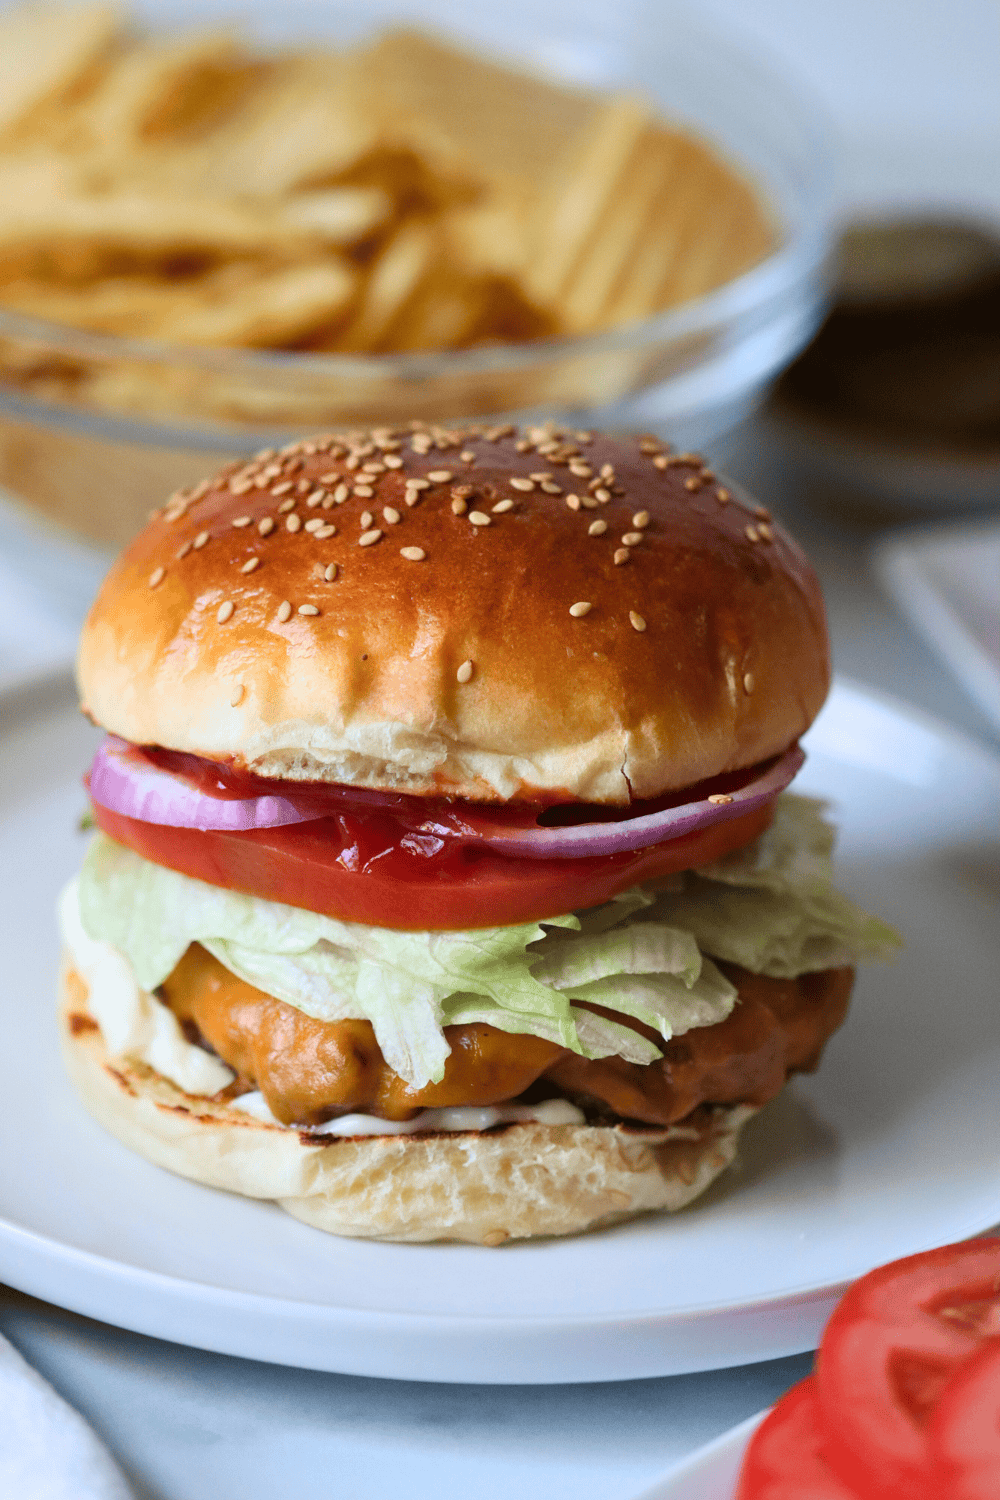

If you maintain a sourdough starter, you’re probably wondering what to do with all that discard. Rather than toss it, transform it into beautiful, flavor-packed burger buns that rival any bakery version. These buns have a subtle tang, soft crumb, and hold up perfectly to burger toppings without falling apart. This recipe is beginner-friendly and makes the most of your starter waste.
How to Make Sourdough Discard Burger Buns
This recipe uses your sourdough starter discard as the leavening agent, resulting in buns with natural flavor and a tender crumb. The overnight cold fermentation develops complexity and makes shaping easier.
Ingredients
- 1 cup active sourdough starter discard (unfed is fine)
- 1 1/4 cups warm water
- 3 1/2 cups bread flour
- 2 teaspoons salt
- 1 tablespoon sugar or honey
- Egg wash (1 egg beaten with 1 tablespoon water) and sesame seeds for topping
Method
Mix the dough
Combine your sourdough discard with warm water in a large mixing bowl, stirring until mostly combined. Add bread flour, salt, and sugar. Mix with a wooden spoon until a shaggy dough forms with no dry flour remaining. Cover and rest for 30 minutes.
Knead and develop gluten
After the rest, knead the dough by hand for 10 minutes or use a stand mixer on medium speed for 6-8 minutes until smooth and elastic. The dough should be slightly sticky but hold together. Transfer to an oiled bowl.
First rise (optional, room temperature)
Allow the dough to bulk ferment at room temperature for 2-4 hours until roughly doubled in size. You can skip this step and go straight to the cold fermentation if time is limited.
Cold fermentation overnight
Cover the bowl with plastic wrap and refrigerate for 12-18 hours. This overnight rest allows the dough to develop deeper flavor and become easier to shape. You can proceed directly from the fridge the next morning.
Divide and preshape
Remove the dough from the refrigerator and divide into 8 equal pieces using a kitchen scale if available. Gently pre-shape each piece into a loose ball, then cover and let rest for 15 minutes to relax the gluten.
Final shaping
Shape each piece into a tight, smooth ball by folding the edges toward the center and rolling on a work surface. Place seam-side down on a parchment-lined baking sheet, leaving 2 inches between buns for expansion.
Final proof and prepare to bake
Cover the shaped buns with a damp towel and let rise at room temperature for 2-3 hours until puffy and springy to the touch. Preheat your oven to 425F about 30 minutes before baking.
Score, egg wash, and bake
Brush each bun with egg wash and sprinkle with sesame seeds. Using a sharp knife, score a shallow line across the top of each bun. Bake for 18-22 minutes until deep golden brown. Cool on a wire rack for at least 15 minutes before slicing.
- If your sourdough discard is very thin or recently fed, use it immediately for most active fermentation. If it’s thick or unfed, that works too—just expect slightly slower rise times.
- Cold fermentation is key to flavor development and is forgiving; you can refrigerate the shaped dough for up to 24 hours before baking if your schedule changes.
- For extra shine and soft crusts, tent the buns with foil during the last 5 minutes of baking if the tops brown too quickly.
What to Look For in Baking Equipment for Sourdough Buns
- Stand mixer or quality mixing bowl: A stand mixer saves effort during kneading and provides consistent results, but a large stainless steel bowl and a strong arm work just as well for this dough.
- Kitchen scale: Weighing ingredients, especially flour and water, ensures consistent bun sizes and baking outcomes. Digital scales are affordable and dramatically improve bread-baking accuracy.
- Parchment paper or baking mat: These prevent sticking and eliminate cleanup while allowing heat to circulate evenly under your buns during baking.
- Banneton or proofing basket: Optional but helpful for final shaping, these fabric baskets support the bun structure during rise and are easily washed and reused many times.
KitchenAid Artisan Stand Mixer
Best for: Home bakers who mix multiple batches weekly
The KitchenAid Artisan is the gold standard for sourdough mixing, with a 5-quart capacity, dough hook attachment, and consistent kneading action that develops gluten efficiently. Its sturdy construction handles sticky dough without strain, and the tilt-head design makes adding ingredients easy. The mixer transforms bread-making from tiring to enjoyable, cutting hand-kneading time by two-thirds.
Check Current Price on Amazon →Oster Planetary Stand Mixer
Best for: Beginner sourdough bakers on a tight budget
The Oster Planetary mixer delivers solid performance at half the KitchenAid price point. It features a 4.5-quart bowl, multiple speed settings, and a dough hook that handles sourdough effectively. While not as heavy-duty as premium options, it’s more than capable for regular home baking and includes a splash guard for less flour mess.
Check Current Price on Amazon →OXO Good Grips Digital Scale
Best for: Home bakers wanting to ditch measuring cups
This compact digital scale reads up to 5 pounds in 0.1-ounce increments, providing accuracy essential for bread baking consistency. The pull-out display is easy to read, it has a tare function for measuring multiple ingredients in one bowl, and cleanup is simple with no moving parts. At under 30 dollars, it’s the single best investment for improving your baking outcomes.
Check Current Price on Amazon →Bodum Bistro Conical Burr Grinder
Best for: Perfectionists who want precision in every detail
While unconventional for bread baking, this grinder lets you mill whole grains into flour at home for ultimate freshness. The conical burrs ensure consistent particle size, and the timer dial helps you control coarseness. Freshly milled flour develops superior flavor in sourdough compared to store-bought, though it requires more water in your recipe.
Check Current Price on Amazon →Transform Your Starter Discard Into Showstopping Buns
Sourdough discard burger buns represent the best of sustainable home baking: you’re using ingredient you’d normally throw away, creating something infinitely better than store-bought, and developing baking skills that carry forward to every loaf you make. The overnight cold fermentation is what separates these from ordinary buns, creating that subtle tang and tender crumb that makes people ask where you bought them. Once you make your first batch, you’ll never return to commercial buns.
The equipment investment is minimal and lasting. A kitchen scale is the single most important purchase and pays dividends across all your baking projects. A stand mixer eliminates the physical effort, though your hands and a bowl work just fine. The rest is optional but helpful: parchment paper, a banneton basket, and the discipline to trust your dough through its overnight rest. Start with what you have, add one tool at a time, and enjoy the process of baking bread that tastes like real sourdough should taste.
Frequently Asked Questions
Can I use unfed or discard sourdough starter for this recipe?
Yes, absolutely. Unfed or thin discard works perfectly and may even ferment slightly faster since it contains more wild yeast activity. If using very fresh, recently fed starter, expect a slightly longer bulk fermentation time.
How long will these buns stay fresh?
Sourdough buns stay fresh for 2-3 days in an airtight container at room temperature. For longer storage, slice and freeze them individually in a freezer bag for up to 3 weeks, then toast from frozen.
Can I skip the cold fermentation and bake the same day?
You can, but the flavor won’t be as complex. If you must bake same-day, do a 4-6 hour room-temperature bulk fermentation, skip the cold fermentation, and proceed to shaping. The result will still be tasty, just slightly less tangy.
Why are my buns dense and gummy inside?
This usually means either underbaking or not cooling long enough before slicing. Ensure the internal temperature reaches 205-210F, and always wait at least 15 minutes before cutting. Also verify your oven temperature is accurate with an oven thermometer.
Do I need bread flour or can I use all-purpose flour?
All-purpose flour works, but bread flour produces a stronger gluten network and chewier, more voluminous buns. If using all-purpose, reduce water to 1 1/8 cups and knead slightly longer to develop sufficient structure.
As an Amazon Associate, Build & Bloom earns from qualifying purchases. We only recommend products we genuinely think are useful. Prices and availability vary; check Amazon for the latest.
Leave a Reply