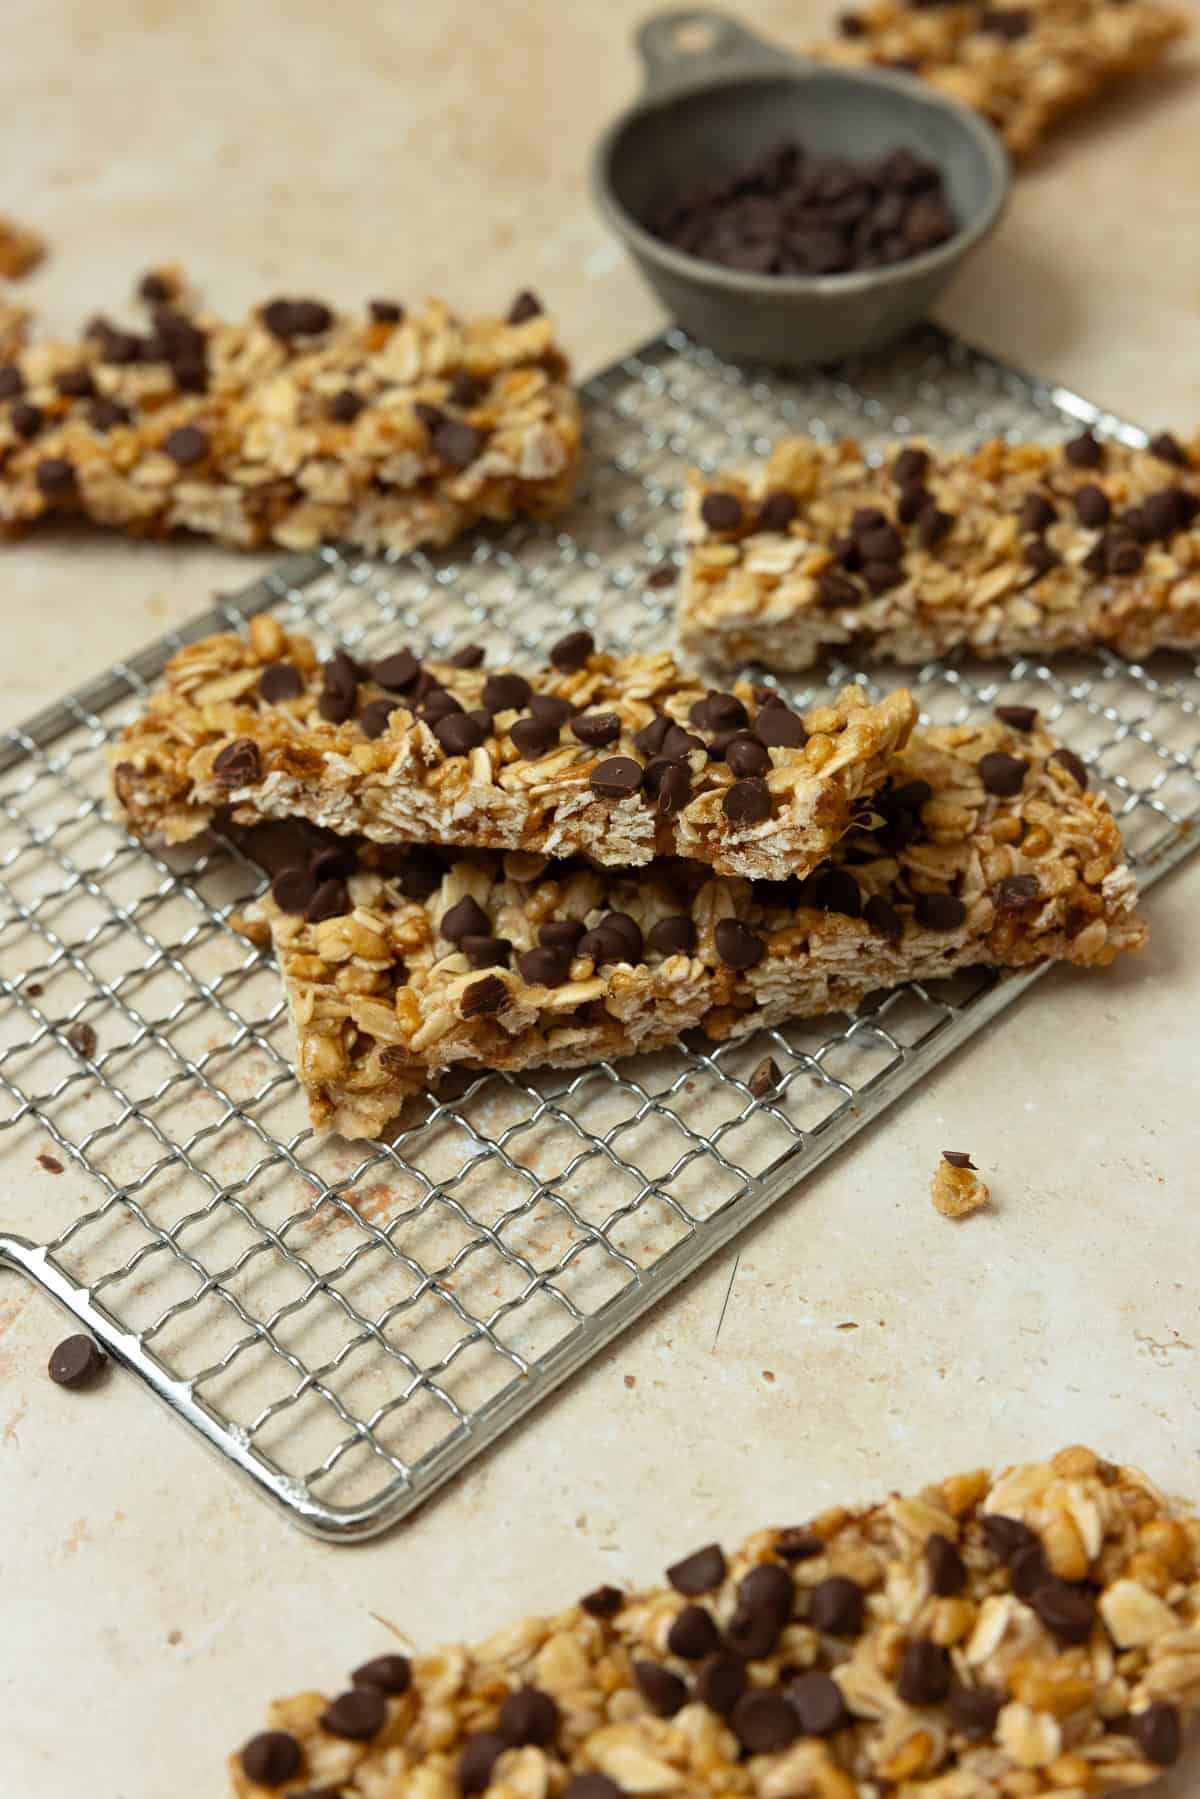

If you’re maintaining a sourdough starter, you know the struggle of managing discard. Rather than composting it, put that active starter to work in a surprisingly delicious way: chewy granola bars that rival any store-bought version. These bars are moist, naturally sweetened, and packed with texture from your choice of nuts and dried fruit. Best of all, they’re a perfect way to use up that sourdough discard while creating an afternoon snack the whole family will request.
How to Make Sourdough Discard Granola Bars
This recipe transforms active sourdough discard into wholesome, chewy granola bars with minimal effort. The starter adds moisture and subtle tang while keeping your baking waste-free.
Ingredients
- 1 cup active sourdough discard (fed and bubbly)
- 2 cups rolled oats (old-fashioned or quick)
- 1/2 cup honey or maple syrup
- 1/4 cup melted butter or coconut oil
- 1 teaspoon vanilla extract
- 1/2 cup mixed add-ins: chopped nuts, dried fruit, chocolate chips, or seeds
Method
Prepare your pan
Preheat your oven to 350F. Line an 8×8-inch or 9×9-inch baking pan with parchment paper, leaving slight overhang on two sides for easy removal. This prevents sticking and makes lifting the finished bars out effortless.
Combine wet ingredients
In a large bowl, whisk together your active sourdough discard, honey or maple syrup, melted butter, and vanilla extract until well blended. The mixture should look smooth and slightly thick. Take your time whisking to ensure even distribution of the wet ingredients.
Mix in the oats
Add rolled oats to the wet mixture and stir thoroughly until every oat is coated and moistened. The batter will be thick and chunky at this point. Make sure no dry pockets of oats remain at the bottom of the bowl.
Add texture and flavor
Fold in your choice of add-ins: chopped almonds, walnuts, pecans, dried cranberries, raisins, shredded coconut, pumpkin seeds, or dark chocolate chips. Mix until evenly distributed throughout the batter. This is where you customize the bars to your preference.
Press into pan
Transfer the mixture to your prepared baking pan and press firmly and evenly with damp hands or an offset spatula. The mixture should be compact and fill all corners. This creates a cohesive bar that holds together when baked.
Bake until golden
Place in the preheated oven and bake for 20-25 minutes, until the top is light golden brown. The bars will firm up as they cool, so don’t overbake or they’ll become too crispy. The center should still feel slightly soft when you remove them from the oven.
Cool and cut
Let the bars cool in the pan for at least 15 minutes before cutting. Once cooled slightly, use the parchment paper overhang to lift the entire slab onto a cutting board. Cut into 12-16 squares with a sharp knife, using a light sawing motion to prevent crumbling.
Store for freshness
Keep cooled bars in an airtight container at room temperature for up to 5 days, or freeze for up to 2 months. Wrap individual bars in parchment paper for grab-and-go convenience. They’ll stay chewy rather than hardening if stored properly.
- Use sourdough discard that’s recently been fed and bubbly for best results. Hungry discard that’s been sitting in the fridge works too, but may need slightly more honey to compensate for less activity.
- Don’t skip the pressing step. Firmly compacting the mixture ensures bars that hold together cleanly instead of crumbling apart when you bite into them.
- Customize add-ins based on what you have: try white chocolate and macadamia, peanut butter and chocolate, or cranberry and walnut combinations for variety.
What to Look For in Baking Essentials for Granola Bars
- Mixing Bowls: Choose durable, dishwasher-safe bowls with enough capacity to hold wet and dry ingredients comfortably. Glass or stainless steel withstands repeated mixing without scratching, and you can see your ingredients clearly as you combine them.
- Baking Pans: Look for sturdy square metal pans with dark or nonstick surfaces for even browning. Light-colored pans may require temperature adjustment to prevent over-browning. Quality construction prevents warping during repeated baking.
- Parchment Paper: Silicone-coated parchment handles moisture and sticking issues, making bar removal effortless. Food-grade parchment rated for your oven temperature ensures it won’t smoke or stick to your finished product.
- Measuring Tools: Accurate measuring cups and spoons ensure consistent results batch after batch. Look for durable stainless steel or sturdy plastic with clearly marked measurements for both dry and liquid ingredients.
Pyrex 8×8 Glass Baking Dish
Best for: Home bakers wanting reliable, even browning
Pyrex’s classic square glass baking dish heats evenly and provides excellent visibility of your bars as they bake. The thick borosilicate glass resists thermal shock and won’t warp, even with repeated temperature changes. Dishwasher-safe and works beautifully for granola bars, brownies, and sheet pan meals. The 8×8-inch size is perfect for yielding 12-16 individual bars. Glass construction allows you to see browning progress without opening the oven repeatedly.
Check Current Price on Amazon →AmazonBasics Stainless Steel Measuring Cup Set
Best for: Budget-conscious bakers who need accuracy
This affordable five-piece set includes both dry and liquid measuring options with clearly etched markings. Durable stainless steel won’t rust or stain, and the handles are comfortable for extended measuring tasks. Perfect for measuring oats, honey, sourdough discard, and other granola bar ingredients with consistency. The lightweight construction makes it easy to handle, and dishwasher-safe design means quick cleanup after baking.
Check Current Price on Amazon →OXO Good Grips 3-Piece Mixing Bowl Set
Best for: New bakers seeking user-friendly equipment
OXO’s mixing bowls feature non-slip bases that won’t tip during vigorous mixing, a crucial feature when combining thick granola bar batter. The glass construction is durable and allows you to see ingredient incorporation easily. Wide rims make pouring and handling convenient, and the set includes three sizes for different batching needs. Dishwasher-safe glass handles frequent use without degrading.
Check Current Price on Amazon →All-Clad Essentials Hard Anodized 9×9 Baking Pan
Best for: Serious home bakers investing in quality
All-Clad’s hard-anodized aluminum construction distributes heat perfectly for even browning on all edges. The dark surface accelerates browning while preventing over-crisping of bars. Lifetime durability means this pan will outlast countless batches of granola bars, brownies, and sheet cakes. The premium construction eliminates hot spots that create unevenly baked results, ensuring professional-quality bars every time.
Check Current Price on Amazon →Final Recommendation
Sourdough discard granola bars are a game-changing recipe for any sourdough baker looking to eliminate waste while creating an impressive snack. The combination of active starter, oats, honey, and your preferred add-ins produces bars that are moist, chewy, and completely customizable to your taste preferences. Whether you prefer nutty and chocolatey, fruity and nutty, or coconut and seed variations, this recipe adapts beautifully to whatever ingredients fill your pantry. The baking process takes under an hour from start to finish, making it a perfect weekend project or quick fix when you need homemade snacks.
Investing in quality baking essentials like a reliable baking pan, glass mixing bowls, and accurate measuring tools elevates your results and makes the process more enjoyable. The Pyrex 8×8 glass baking dish stands out as our top recommendation for its even heat distribution and durability through countless batches. Start with this one reliable recipe and the core equipment listed above, then experiment with different add-in combinations once you master the basic technique. Your sourdough starter will thank you for putting that discard to delicious use.
Frequently Asked Questions
Can I use sourdough discard that hasn’t been fed recently?
Yes, unfed or hungry discard works fine, though fed discard creates more moisture and lift. If using older discard, add an extra tablespoon of honey to compensate for less activity. The bars will be slightly denser but still delicious and chewy.
How long do sourdough discard granola bars stay fresh?
Properly stored bars remain chewy at room temperature in an airtight container for 4-5 days. For longer storage, freeze them for up to 2 months wrapped individually in parchment paper. Thaw at room temperature for about 20 minutes before eating.
What add-ins work best for sourdough discard granola bars?
Any combination of chopped nuts, dried fruit, seeds, or chocolate chips works well. Popular choices include almonds and cranberries, walnuts and raisins, or pecans and dark chocolate. Avoid wet ingredients like fresh fruit, which will make bars soggy.
Why are my granola bars crumbling when I cut them?
Under-pressing the batter or underbaking are the main culprits. Ensure you press the mixture firmly into the pan and bake until the top is visibly golden. Cool completely before cutting, and use a sharp knife with a gentle sawing motion rather than downward pressure.
Can I reduce the honey or substitute it with something else?
Honey is essential for both sweetness and binding. You can substitute maple syrup 1:1, or use brown sugar mixed with a bit of coconut oil. Don’t reduce the sweetener significantly, or bars won’t hold together properly when baked.
As an Amazon Associate, Build & Bloom earns from qualifying purchases. We only recommend products we genuinely think are useful. Prices and availability vary; check Amazon for the latest.
Leave a Reply