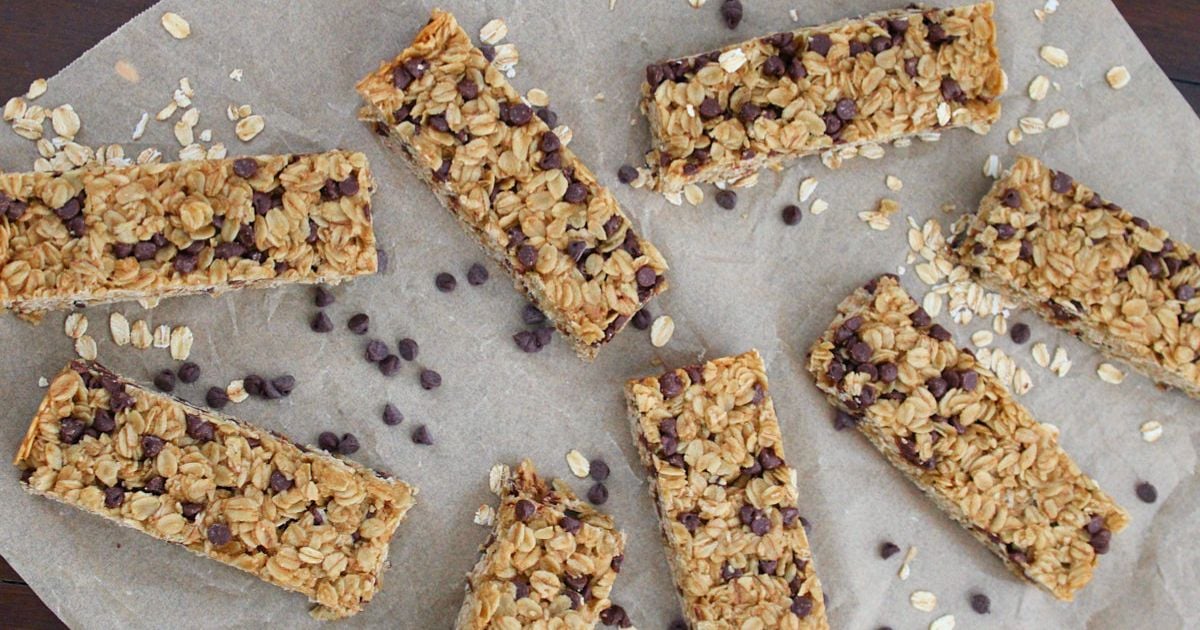

If you’ve got sourdough starter, you know the struggle: what do you do with all that discard? Sourdough granola bars are the answer. They’re naturally sweetened, packed with texture, and infinitely more interesting than standard granola bars. Plus, they’re forgiving enough for beginners and customizable for whatever nuts and seeds you have on hand.
How to Make Sourdough Granola Bars
These bars take about 45 minutes from mixing bowl to cooling rack. The result is a dense, chewy bar with subtle sourdough tang that pairs perfectly with coffee or tea.
Ingredients
- 1 cup sourdough discard (unfed, room temperature)
- 2 cups rolled oats (old-fashioned works best)
- 1/2 cup honey or maple syrup
- 1/3 cup coconut oil or melted butter
- 1 cup mixed nuts and seeds (almonds, walnuts, sunflower seeds, pumpkin seeds)
- 1/4 cup brown sugar, 1 teaspoon vanilla extract, and 1/2 teaspoon sea salt
Method
Preheat and Prepare
Heat your oven to 325°F. Line an 8×8-inch baking pan with parchment paper, allowing the paper to hang slightly over two opposite sides so you can lift the bars out cleanly after cooling. This prevents sticking and makes portioning much easier.
Combine Wet Ingredients
In a large mixing bowl, whisk together your sourdough discard, honey, melted oil, brown sugar, and vanilla extract until fully combined. The mixture should look smooth and cohesive with no streaks of discard remaining.
Mix Dry Ingredients
In a separate bowl, toss together the oats, chopped nuts and seeds, and sea salt. This separate mixing ensures even distribution of ingredients and prevents clumping when you combine them with the wet mixture.
Fold Together
Pour the dry mixture into the wet ingredients and fold gently with a spatula until no dry oat pieces remain. The batter should feel thick and slightly clumpy, not smooth or liquid. Overmixing isn’t a concern here, so mix until fully incorporated.
Press into Pan
Transfer the mixture to your prepared pan and press firmly and evenly using a greased offset spatula or the back of a measuring cup. The mixture should be compact and level. Don’t be shy with the pressure–a denser bar holds together better when sliced.
Bake Low and Slow
Place the pan in the preheated oven for 25-30 minutes. You’re aiming for light golden-brown edges while the center remains slightly soft. The bars will continue to set as they cool, so slightly underbaking is better than overbaking, which creates a crumbly texture.
Cool Completely
Remove the pan from the oven and let the granola bars rest at room temperature for at least 2 hours before cutting. This cooling time is crucial–cutting too early will result in crumbly bars. For cleanest cuts, refrigerate for 1-2 hours if you’re impatient.
Slice and Store
Using the parchment paper overhang, lift the entire block out of the pan onto a cutting board. With a sharp knife (wipe between cuts for cleaner edges), slice into 9-16 bars depending on your preferred size. Store in an airtight container for up to 5 days, or freeze for up to 1 month.
- Use discard that’s been sitting in the fridge for at least 3-5 days for deeper sourdough flavor. Fresh, recently-fed discard will be milder.
- Chop nuts into roughly 1/4-inch pieces rather than leaving them whole or grinding them fine–this creates the ideal chewy texture with slight crunch.
- Swap honey for maple syrup or brown rice syrup for different flavor profiles, or reduce the sweetener to 1/3 cup if you prefer less sweet bars.
What to Look For in Granola Bar Making Equipment
- Mixing Bowls: You’ll need two bowls of different sizes for separating wet and dry ingredients. Look for bowls with a wide, shallow lip for easy folding and pouring, rather than deep, narrow bowls that make combining difficult.
- Baking Pans: An 8×8-inch metal baking pan conducts heat evenly and ensures uniform baking. Glass pans work but may brown the edges too quickly. Avoid dark nonstick pans, which overbake the edges before the center is done.
- Spatulas and Scrapers: A silicone spatula for folding is essential, and an offset spatula (angled blade) makes pressing the mixture into the pan far easier than a straight-edge tool. These prevent scraping and allow better control over pressure.
- Cooling Time and Storage: An airtight container preserves freshness and prevents bars from drying out. Glass containers with locking lids work better than plastic, which can retain odors and degrade over repeated use.
OXO Good Grips Silicone Spatula Set
Best for: All bakers folding and mixing batters
This two-piece set includes both a standard silicone spatula and a smaller scraper, perfect for folding your sourdough mixture without deflating it and scraping the last bits from bowls. The silicone head won’t scratch bowls, the heat-resistant design handles warm ingredients, and the ergonomic handle reduces hand fatigue during thorough mixing. OXO’s reputation for durability means these tools will outlast cheaper alternatives by years.
Check Current Price on Amazon →Pyrex Basics Clear Glass Mixing Bowl Set
Best for: Home bakers who prefer visibility and durability
Pyrex’s three-bowl set gives you exactly what you need: one large bowl for wet ingredients, one medium bowl for dry ingredients, and one small bowl for optional extras. The clear glass lets you see mixing progress, the bowls are dishwasher-safe, and Pyrex glass won’t absorb odors or flavors. At an affordable price point, this set is perfect for beginner bakers building their kitchen foundation.
Check Current Price on Amazon →Winco Aluminum Square Baking Pan 8×8
Best for: Budget-conscious bakers making sourdough granola bars regularly
Winco’s commercial-grade aluminum baking pan is lightweight, conducts heat evenly, and costs less than half the price of premium alternatives. The 8×8-inch size is perfect for granola bars, and aluminum won’t rust like steel. While it lacks nonstick coating, that’s actually an advantage here–the slightly textured surface helps bars release cleanly and prevents browning too quickly.
Check Current Price on Amazon →All-Clad HA1, Hard Anodized Baking Pan 8×8
Best for: Serious home bakers seeking professional-grade equipment
All-Clad’s hard-anodized aluminum pan distributes heat with extreme precision, preventing hot spots and uneven browning that plague cheaper pans. The reinforced edges won’t warp over years of use, the dark surface accelerates even browning, and the investment pays off through decades of perfect bakes. For someone who bakes frequently and values consistency, this is worth the premium price.
Check Current Price on Amazon →Making Sourdough Granola Bars Is Simpler Than You Think
Sourdough granola bars transform discard into a genuinely delicious snack that tastes nothing like a nutritional obligation. The combination of tangy sourdough, toasted oats, and crunchy nuts creates depth of flavor that store-bought granola bars can’t match. With just 8 steps and equipment you likely already own, you can have a week’s worth of bars ready before you finish your morning coffee. The recipe is forgiving–slight variations in nut type, sweetener choice, or baking time won’t derail you.
The real key is patience during cooling. Those 2 hours (or overnight in the fridge) transform the texture from wet paste to properly chewy bar. Cut too early and you’ll have crumbs; wait until they’re fully set and you’ll slice clean portions that hold together beautifully. Once you’ve made them once, you’ll see why sourdough bakers keep this recipe bookmarked. It’s the ultimate way to use discard while creating something you’d actually buy at the bakery for $8 a bar.
Frequently Asked Questions
Can I use sourdough starter that’s recently been fed?
Yes, but the flavor will be milder and less distinctly sourdough-y. Use discard that’s 3-5 days old in the fridge for maximum tang. Recently-fed starter still works–it just tastes more neutral.
What if my bars turn out crumbly instead of chewy?
Crumbly bars usually mean you overbaked them or cut too early. Next time, remove from the oven when the edges are light golden but the center is still slightly soft. Always cool for at least 2 hours (or refrigerate) before cutting.
Can I freeze sourdough granola bars?
Absolutely. They freeze beautifully for up to 1 month in an airtight container or freezer bag. Thaw at room temperature for 30 minutes before eating, or eat them straight from the freezer for a firmer, almost candy-bar texture.
What’s the best way to cut bars into clean portions?
Use a sharp serrated knife and wipe the blade clean between each cut. For the cleanest cuts, refrigerate the block for 1-2 hours before slicing. Dip your knife briefly in hot water between cuts for even smoother edges.
Can I substitute the honey for a different sweetener?
Yes. Maple syrup, brown rice syrup, or agave nectar work well as 1:1 replacements. You can also reduce sweetener to 1/4 cup if you prefer less-sweet bars and want the sourdough tang to shine through more.
As an Amazon Associate, Build & Bloom earns from qualifying purchases. We only recommend products we genuinely think are useful. Prices and availability vary; check Amazon for the latest.
Leave a Reply