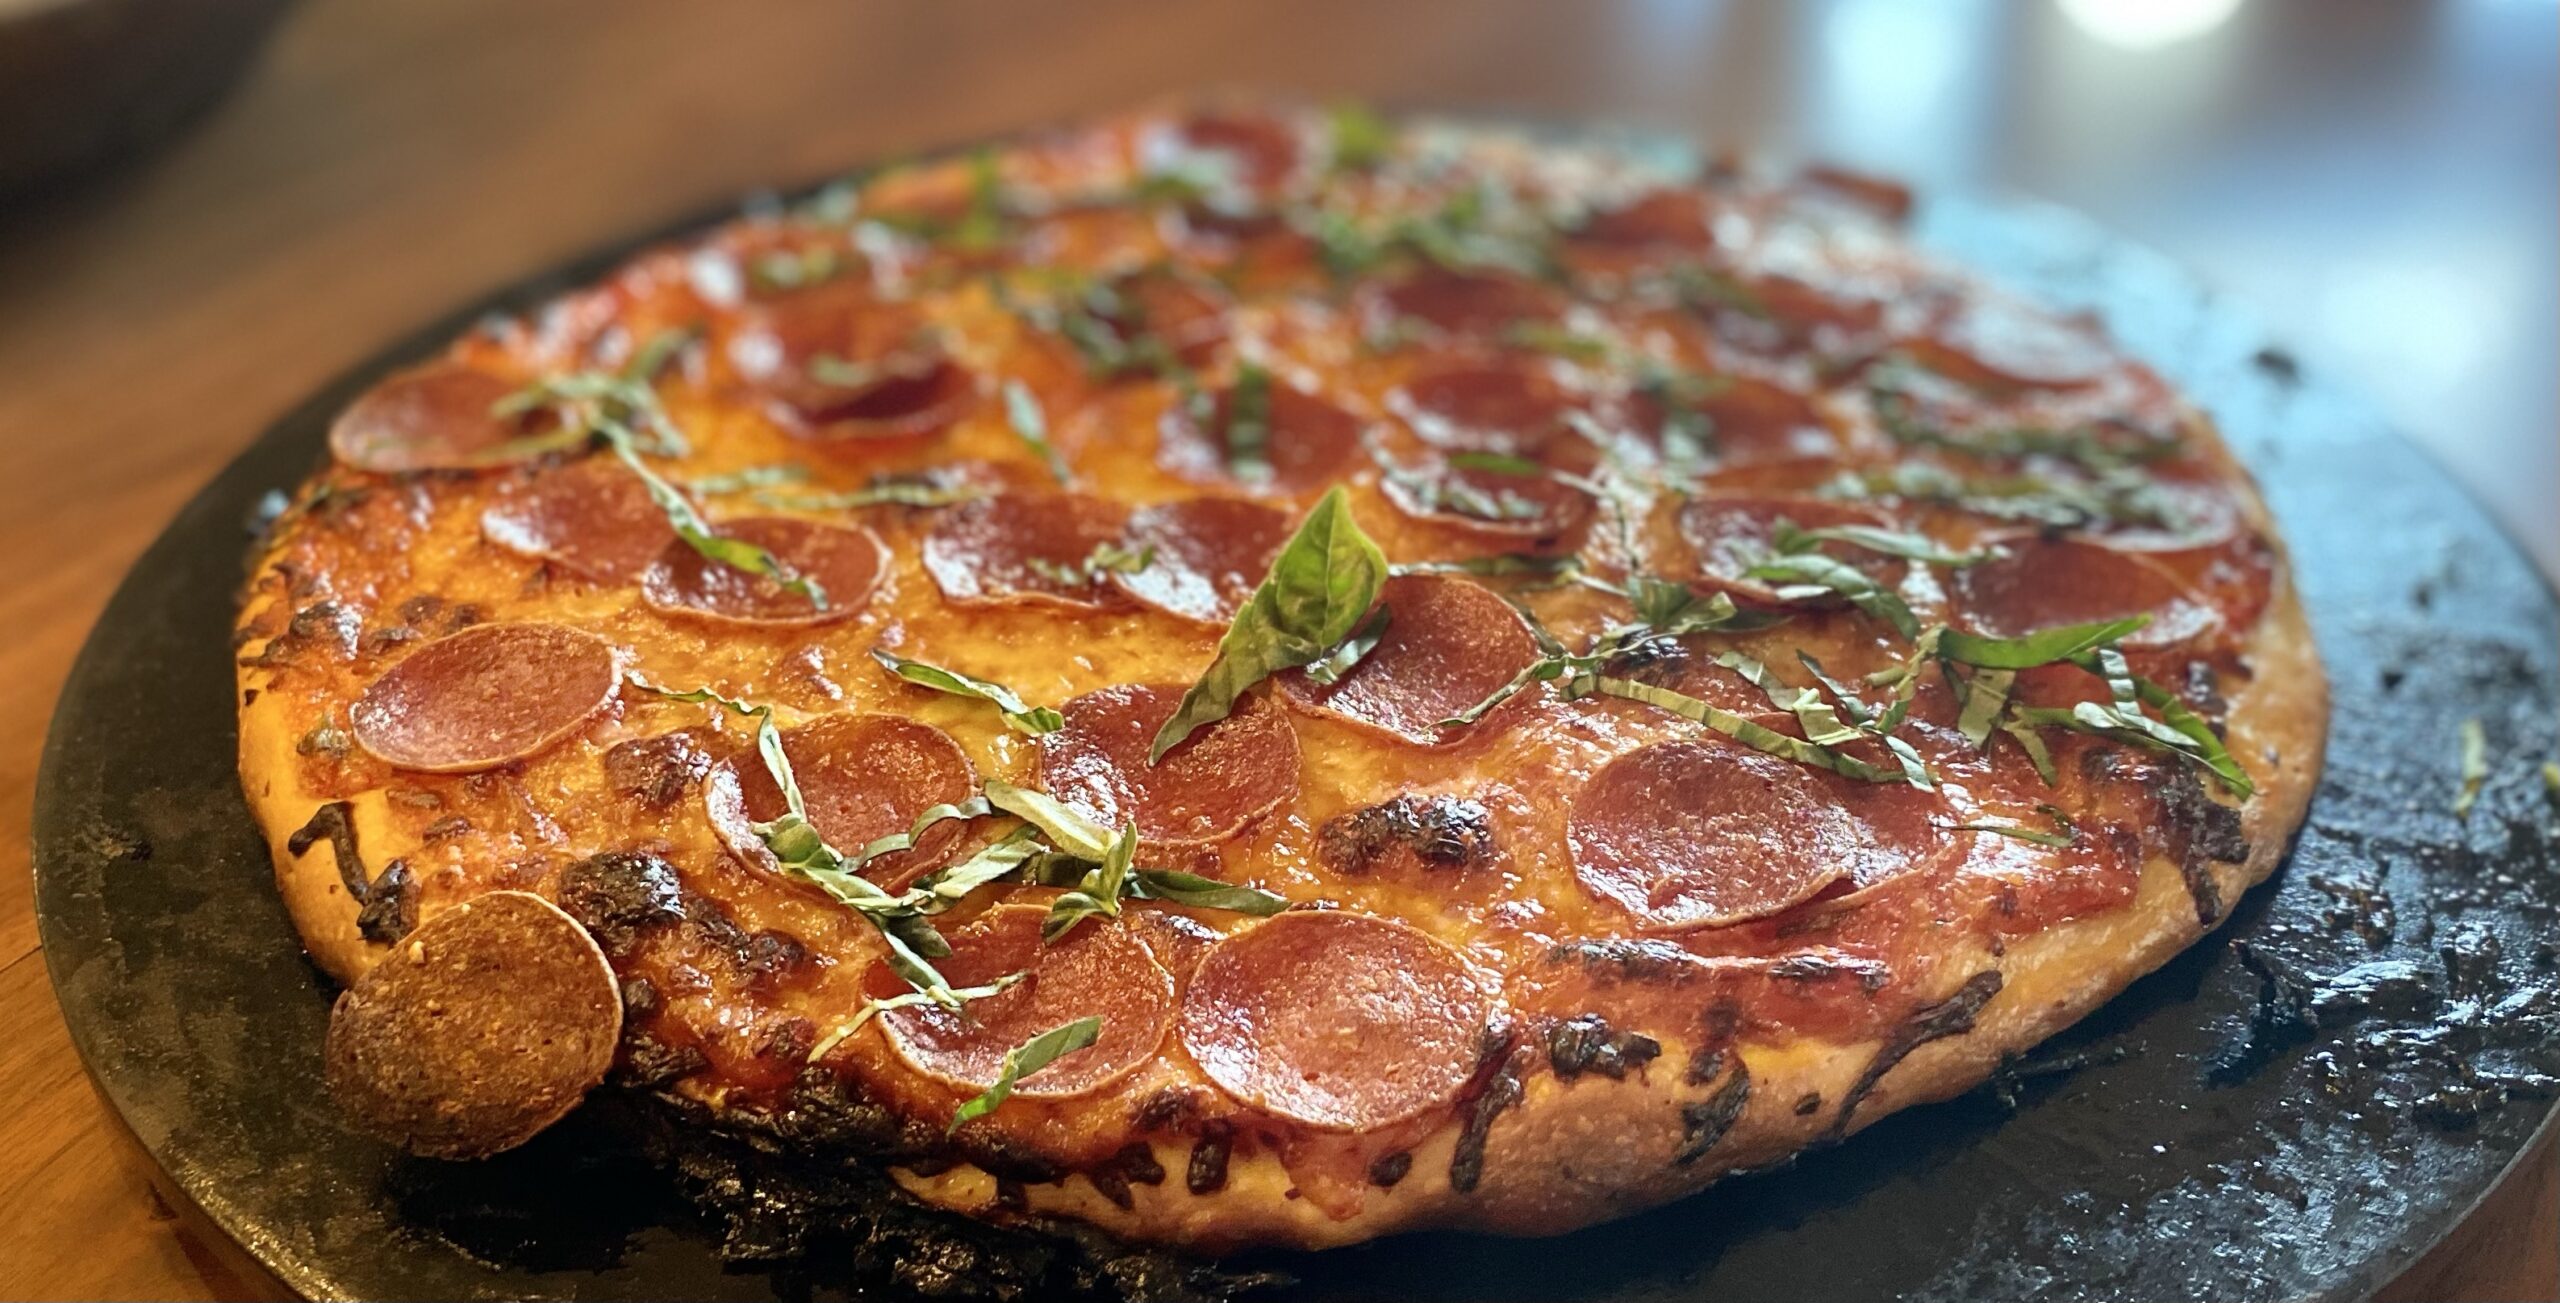

If you’ve been intimidated by sourdough baking, pizza crust is the perfect entry point. Unlike loaves that demand precision timing, sourdough pizza dough is forgiving, develops incredible flavor through natural fermentation, and rewards you with a crispy, chewy crust that rivals any pizzeria. This guide walks you through every stage so you can master it on your first try.
How to Make Sourdough Pizza Crust
This recipe produces two 12-14 inch pizzas with a perfectly balanced crust–crispy on the outside, light and airy inside, with deep sourdough tang.
Ingredients
- 1 cup active sourdough starter, fed 4-8 hours prior (bubbly and peaked)
- 1.5 cups filtered or dechlorinated water, divided (3/4 cup + 3/4 cup)
- 3.5 cups bread flour or all-purpose flour
- 1.5 teaspoons fine sea salt
- 1 tablespoon olive oil for finishing dough
Method
Mix Your Base
Combine your active starter with 3/4 cup water in a large bowl, stirring until mostly dissolved. Add the flour and remaining 3/4 cup water, mixing until a shaggy, wet dough forms. All flour should be incorporated–don’t worry about lumps. Let this rest uncovered for 30-60 minutes. This phase, called autolyse, allows the flour to fully hydrate and develops gluten structure naturally.
Incorporate Salt
After the rest, sprinkle salt and olive oil over the dough. Using wet fingers, pinch and fold the dough over itself repeatedly for 2-3 minutes until salt is fully distributed and the dough feels slightly firmer. The dough will be sticky–this is correct. Pinching and folding is gentler than kneading and preserves the open crumb structure.
Perform Bulk Fermentation
Return the dough to the bowl and cover loosely with a damp cloth or plastic wrap. Let it sit at room temperature (68-72F is ideal) for 4-6 hours. During this time, perform 4 sets of stretch-and-folds: every 30 minutes for the first 2 hours, wet your hand and gently stretch one side of the dough up and fold it over the center, rotate the bowl 90 degrees, and repeat 4 times per set. You should see the dough rise noticeably and feel airy when done.
Divide and Shape
Turn the dough out onto a lightly floured surface. Using a bench scraper, gently divide it in half. Pre-shape each portion into a loose round by folding the edges toward the center, then flip seam-side down. Let these rounds rest for 15-20 minutes on a floured cloth or parchment paper. This resting period relaxes the gluten, making final shaping easier.
Final Shaping
Working with one pre-shaped round, gently stretch it into a 12-14 inch circle by lifting the edges and rotating it, or by using the back of your hand in a patting motion. Thicker edges will create the characteristic pizza rim. Transfer to your prepared pizza pan, parchment, or pizza stone. Don’t press hard–let gravity and gentle stretching do the work to maintain air bubbles.
Cold Proof or Final Rise
You have two options: for maximum flavor, cover and refrigerate for 8-24 hours before topping and baking. For same-day pizza, cover loosely and let the shaped dough rise for 45-90 minutes at room temperature until it springs back slowly when gently poked. Cold proofing intensifies sourdough flavor and makes handling easier, but either method works.
Preheat Your Oven
Place your oven rack in the lower third and preheat your oven to 475-500F (or as hot as your oven goes) for at least 30 minutes. If using a pizza stone or steel, place it on the lower rack during preheat. A very hot surface is essential for crust development–it gelatinizes starches on the outside while steam helps the interior rise.
Top and Bake
Remove your dough from the fridge if cold-proofed, or use immediately if doing a final rise. Top with sauce, cheese, and toppings as desired, keeping them relatively sparse so the crust bakes through. Bake for 12-15 minutes until the crust is deep golden brown and the cheese is bubbly. Remove from the oven and cool for 2-3 minutes before slicing–this allows the crust to set.
- Feed your starter 4-8 hours before mixing so it’s at peak activity with lots of bubbles visible. A weak starter produces flat, dense pizza.
- If your kitchen is cold (under 68F), bulk fermentation will take longer–up to 8 hours. Warm kitchens (72-75F) may finish in 3-4 hours. Watch the dough, not the clock.
- Cold-proofing overnight in the fridge is the sourdough baker’s secret weapon. It’s easier to stretch, develops superior flavor, and gives you flexibility–just pull it out 30 minutes before baking.
Essential Equipment for Sourdough Pizza Baking
- Pizza Stone or Steel: A preheated stone or steel surface directly transfers heat to your crust bottom, creating that crispy, charred exterior. Stones are affordable and beginner-friendly; steel heats faster and retains more heat for multiple pizzas.
- Large Mixing Bowl: Sourdough dough expands significantly during fermentation. You need a bowl at least 3-quart capacity with enough headroom for the dough to double without overflow.
- Digital Scale: Sourdough baking relies on hydration ratios and exact measurements. A scale removes guesswork and ensures consistent results batch after batch, unlike cup measurements which vary.
- Bench Scraper: This flat tool makes handling sticky dough infinitely easier. Use it to divide, shape, and clean your work surface without adding extra flour that throws off your hydration.
Emile Henry Flame Top Pizza Stone
Best for: Home bakers seeking restaurant-quality results
The Emile Henry ceramic pizza stone is engineered to withstand extreme temperature swings and distributes heat evenly across your crust. Its 14-inch diameter handles two pizzas comfortably, and the glazed surface is naturally non-stick. Unlike standard stones that crack, Emile Henry’s proprietary ceramic survives 500F+ oven temperatures and even broiler use. Home bakers consistently report thinner, crispier crusts with visible charring on the first try.
Check Current Price on Amazon →Mrs. Anderson’s Baking Pizza Stone
Best for: Budget-conscious beginners
This affordable ceramic pizza stone delivers solid performance at half the price of premium brands. The 13-inch round shape fits most home ovens, and the porous ceramic surface promotes browning and crisping. While not as durable as high-end options, it handles standard home oven temperatures and produces respectable results for occasional pizza nights.
Check Current Price on Amazon →Kamado Joe Pizza Stone with Steel Frame
Best for: Outdoor pizza enthusiasts and serious home bakers
This heavy-duty pizza stone combines cordierite ceramic with a protective steel frame, designed for high-heat outdoor ovens and grills. The frame makes handling safer when moving hot stones, and the cordierite formula tolerates extreme temperature changes. Perfect for those who’ve invested in a wood-fired oven or high-powered outdoor setup and want a stone that matches that equipment’s quality.
Check Current Price on Amazon →OXO Good Grips Digital Scale
Best for: All sourdough bakers prioritizing consistency
This stainless steel digital scale reads in grams and ounces up to 11 pounds with 0.1-gram precision. The large backlit display is easy to read, and the pull-out platform accommodates large mixing bowls. The tare function lets you zero out container weight repeatedly, essential for measuring starter, flour, and water separately.
Check Current Price on Amazon →Master Sourdough Pizza at Home
Sourdough pizza crust is the perfect bridge between everyday cooking and artisan baking. The fermentation process does the heavy lifting for flavor while the method itself is surprisingly forgiving. Unlike bread loaves that demand precision timing to the hour, pizza dough has built-in flexibility–a few hours more or less during bulk fermentation barely registers, and cold-proofing in the fridge buys you days of schedule flexibility. Start with the recipe here, pay attention to what your dough feels and looks like at each stage, and you’ll develop the intuition to troubleshoot your own variations.
The equipment investment is minimal. A pizza stone is the single most impactful upgrade because it directly transforms your crust from pale and chewy to golden and crispy. A digital scale ensures you’re mixing the right hydration every time. A decent mixing bowl and bench scraper round out your setup. Everything else is technique–learning to feel when your dough has fermented enough, shaping gently without degassing, and trusting high oven heat to do its job. Once you’ve made this three or four times, you’ll never buy frozen pizza again.
Frequently Asked Questions
Can I use regular all-purpose flour instead of bread flour?
Yes, all-purpose flour works perfectly fine for sourdough pizza crust. Bread flour has slightly higher protein content, which can give you marginally more chew and strength, but all-purpose produces excellent pizza crusts. Many home bakers prefer all-purpose because it’s more forgiving during fermentation.
What if my starter isn’t bubbly or at peak?
A weak starter will produce dense, flat pizza dough. Always feed your starter 4-8 hours before mixing and wait until it’s visibly bubbly with a domed top that’s just starting to recede. If you’re not there yet, feed it again and wait another 4 hours. A strong, active starter is non-negotiable for sourdough success.
How long can I refrigerate the shaped dough?
You can cold-proof shaped sourdough pizza dough for up to 48 hours in the fridge. Longer proofs (24+ hours) develop more sour flavor. If you’re past 48 hours, the dough may over-ferment and collapse when stretched. You can also freeze shaped dough for up to 3 months and bake directly from frozen, adding 5-7 minutes to bake time.
Why is my crust dense and not airy inside?
The most common causes are weak starter, insufficient fermentation time, or pressing the dough too hard during shaping. Ensure your starter is at peak activity, do all four sets of stretch-and-folds during bulk fermentation, and use gentle stretching instead of aggressive pressing when shaping. Trust the process and wait for visible rise.
Can I make this recipe without a pizza stone?
Yes, you can bake on a preheated inverted baking sheet, cast iron skillet, or even parchment paper directly on an oven rack. Results won’t be quite as crispy on the bottom without direct heat transfer from a stone, but the flavor and texture will still be excellent. If using parchment, slide the pizza onto the stone or sheet after 2-3 minutes of baking so the bottom crisps.
As an Amazon Associate, Build & Bloom earns from qualifying purchases. We only recommend products we genuinely think are useful. Prices and availability vary; check Amazon for the latest.
Leave a Reply