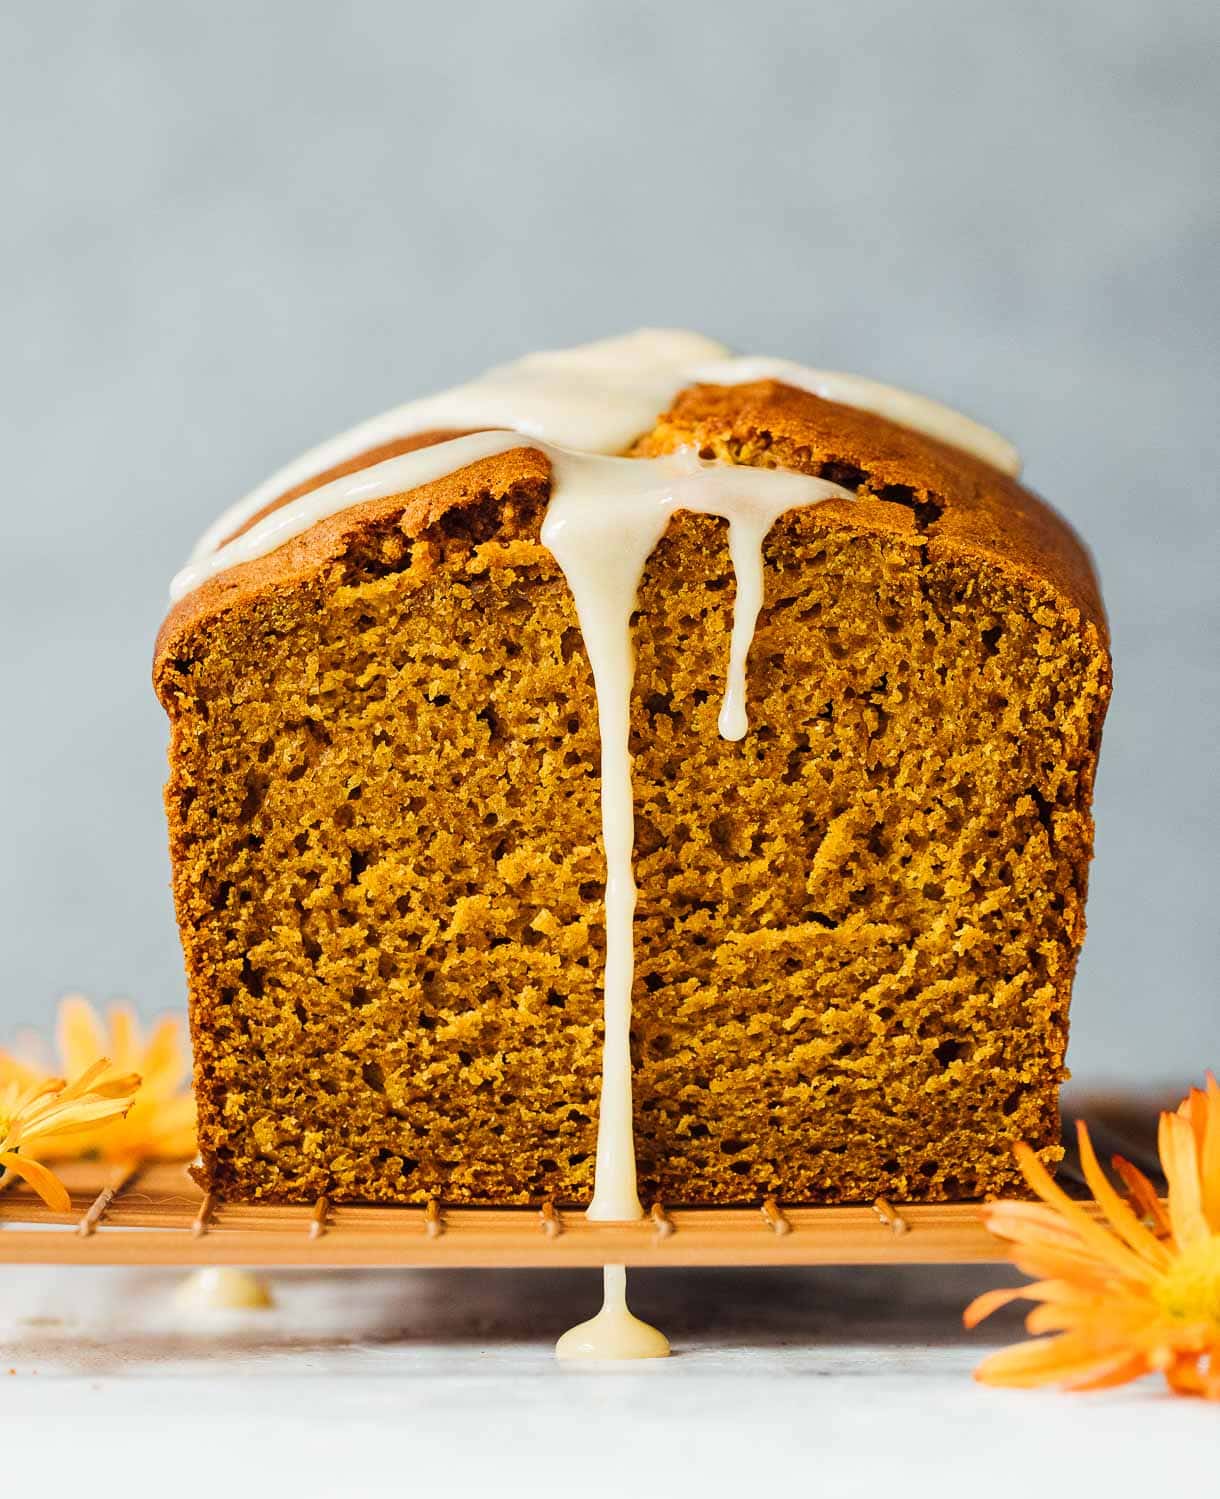

If you maintain a sourdough starter, you know the frustration of regular discard day–tossing out perfectly good starter feels wasteful. This sourdough discard pumpkin bread solves that problem by converting your weekly starter waste into a bakery-quality quick bread that’s so moist it stays fresh for days. Loaded with warm spices and pumpkin puree, this recipe delivers that coveted tender crumb and subtle tang that makes sourdough special, without requiring hours of fermentation.
How to Make Sourdough Discard Pumpkin Bread
This recipe yields one standard loaf with a tender, moist crumb that develops even better flavor by the second day. Baking time is under an hour, making it perfect for weekend baking or using up starter on a weeknight.
Ingredients
- 1 cup active sourdough discard (fed starter, unfed is fine)
- 1 cup pure pumpkin puree (canned or homemade)
- 3/4 cup granulated sugar
- 1/3 cup neutral oil (vegetable, canola, or light olive oil)
- 2 large eggs
- 1 3/4 cups all-purpose flour
- 1 teaspoon baking soda
- 1/2 teaspoon salt
- 1 1/2 teaspoons pumpkin pie spice (or 3/4 teaspoon cinnamon, 1/4 teaspoon ginger, 1/8 teaspoon each nutmeg and cloves)
Method
Combine wet ingredients
In a large mixing bowl, whisk together your sourdough discard, pumpkin puree, sugar, and oil until well combined and smooth. The mixture should look unified with no streaks of oil or puree remaining. This emulsification helps create the signature moist crumb.
Beat in the eggs
Crack both eggs into the wet mixture one at a time, whisking thoroughly after each addition. Beat for about 30 seconds after adding the second egg to fully incorporate and add lift to the batter.
Mix dry ingredients separately
In a separate bowl, whisk together flour, baking soda, salt, and spices. This ensures the leavening agent is evenly distributed throughout the dough. Take time to break up any lumps in the flour and distribute the spices uniformly.
Fold dry into wet
Add the dry mixture to the wet ingredients and fold gently with a spatula until just combined. Stop as soon as you no longer see streaks of flour–overmixing develops gluten, which makes quick breads tough. A few small lumps are perfectly fine.
Prepare and fill your pan
Grease a standard loaf pan and line the bottom with parchment paper for easy removal. Pour the batter in and smooth the top with a spatula. If desired, sprinkle a pinch of cinnamon or turbinado sugar on top for texture.
Bake until set
Bake at 350 degrees Fahrenheit for 50-60 minutes, until a toothpick inserted into the center comes out clean or with just a few moist crumbs. The top should be golden brown. If the top browns too quickly, loosely tent with foil.
Cool completely before slicing
Allow the bread to cool in the pan for 15 minutes, then turn out onto a wire rack to cool completely. This resting period lets the crumb set properly. Slice only when cooled to room temperature for clean, beautiful slices.
- Use discard at room temperature for the most reliable results. Cold starter can slow leavening and affect the final crumb texture.
- This bread improves on day two as flavors meld and moisture redistributes throughout the loaf. Store in an airtight container at room temperature.
- For deeper spice flavor, lightly toast whole spices (cinnamon stick, whole cloves, fresh ginger) and grind them yourself rather than using pre-ground varieties.
Essential Equipment for Baking Sourdough Pumpkin Bread
- Loaf Pan: A standard 9×5-inch loaf pan is essential for this recipe. Look for even heat distribution and a non-stick coating or ceramic surface to prevent sticking and ensure uniform browning on all sides.
- Mixing Bowls: You’ll need at least two medium to large bowls–one for wet ingredients and one for dry. Glass or stainless steel bowls are ideal as they don’t retain flavors and are easy to clean.
- Kitchen Scale: While this recipe uses volume measurements, a scale increases precision for consistent results. It’s especially useful for measuring sourdough discard and pumpkin puree accurately.
- Whisk and Spatula: A sturdy whisk aerates and combines ingredients smoothly, while a silicone or rubber spatula folds dry ingredients gently without overdeveloping gluten in the batter.
USA Pan Aluminized Steel Loaf Pan
Best for: Home bakers seeking reliable, even baking
USA Pan’s aluminized steel loaf pan is engineered for uniform heat distribution and features a natural non-stick finish that requires no seasoning. The commercial-grade construction prevents warping and ensures consistent golden browning. This 9×5-inch pan is the workhorse of the home bakery, designed to last decades with proper care. Its standard size accommodates most quick bread recipes perfectly.
Check Current Price on Amazon →Pyrex Glass Loaf Pan
Best for: Budget-conscious bakers who want transparency
Pyrex’s glass loaf pan allows you to monitor browning from all sides, which is helpful for beginners. The glass construction distributes heat evenly and is extremely durable. It’s oven-safe to 425 degrees and safe for dishwashers, making cleanup effortless. Though it requires greasing, the affordability makes it an excellent entry-level option.
Check Current Price on Amazon →OXO Good Grips 3-Piece Mixing Bowl Set
Best for: Home bakers assembling a basic toolkit
OXO’s mixing bowl set includes three graduated sizes with non-slip bases that keep bowls stable during vigorous whisking. The wide, flat bottoms make it easy to combine ingredients and scrape corners thoroughly. Dishwasher-safe and durable, these BPA-free bowls are designed for everyday baking with ergonomic handles for comfortable handling.
Check Current Price on Amazon →Le Creuset Stoneware Loaf Pan
Best for: Bakers who value aesthetics and artisanal quality
Le Creuset’s stoneware loaf pan combines beautiful French design with exceptional baking performance. The glazed ceramic distributes heat evenly and retains moisture, producing incredibly tender crumbs. Available in classic colors like flame orange and cherry red, this pan doubles as a gorgeous serving piece. It’s a lifetime investment that elevates both your baking results and kitchen decor.
Check Current Price on Amazon →Making the Most of Your Sourdough Discard
Sourdough discard pumpkin bread transforms a weekly baking necessity into something delicious and intentional. Rather than watching good starter go down the drain, this recipe gives you a compelling reason to maintain your culture. The combination of sourdough’s subtle tang with warm pumpkin spices creates a flavor profile that’s greater than the sum of its parts, and the texture–impossibly moist yet crumbly–keeps people reaching for seconds. Once you nail this recipe, you’ll find yourself feeding your starter on schedule just to have an excuse to bake it again.
Equip yourself with just a few reliable tools: a quality loaf pan, good bowls, and a sturdy whisk. These foundational pieces will serve you for hundreds of bakes across all your favorite recipes. Start with this pumpkin bread, but know that your equipment investment pays dividends whether you’re making quick breads, sourdough boules, or other baked goods. The beauty of home baking is that it rewards consistency and good technique, both of which become easier with proper tools. Your next batch of sourdough discard is waiting to become something extraordinary.
Frequently Asked Questions
Can I use unfed sourdough starter instead of active discard?
Yes, unfed starter works perfectly in this recipe. The baking soda provides the leavening, so the starter’s fermentation activity matters less than its moisture and flavor contribution. Unfed starter may produce a slightly less pronounced sour taste but will still create a wonderfully moist bread.
How should I store this pumpkin bread?
Store completely cooled bread in an airtight container at room temperature for up to 4 days. The bread actually improves on day two as flavors develop. For longer storage, wrap tightly and freeze for up to 3 months. Thaw at room temperature before serving.
Can I substitute the pumpkin puree with something else?
You can experiment with butternut squash puree or sweet potato puree in equal amounts. These alternatives produce slightly different flavors but maintain similar moisture and texture. Avoid canned pumpkin pie filling, which contains added sugars and spices that will throw off the recipe balance.
What if my batter seems too thick or too thin?
A properly mixed batter should be thicker than cake batter but thinner than cookie dough. If it’s too thin, fold in a tablespoon of flour. If too thick, whisk in a tablespoon of milk or water. These small adjustments won’t significantly impact the final result.
Can I make this recipe dairy-free or vegan?
To make it vegan, replace eggs with two flax eggs (2 tablespoons ground flaxseed mixed with 6 tablespoons water, rested 15 minutes) and use neutral oil instead of any butter. The recipe is already dairy-free if you use dairy-free oil. The texture will be slightly different but still moist and delicious.
As an Amazon Associate, Build & Bloom earns from qualifying purchases. We only recommend products we genuinely think are useful. Prices and availability vary; check Amazon for the latest.
Leave a Reply