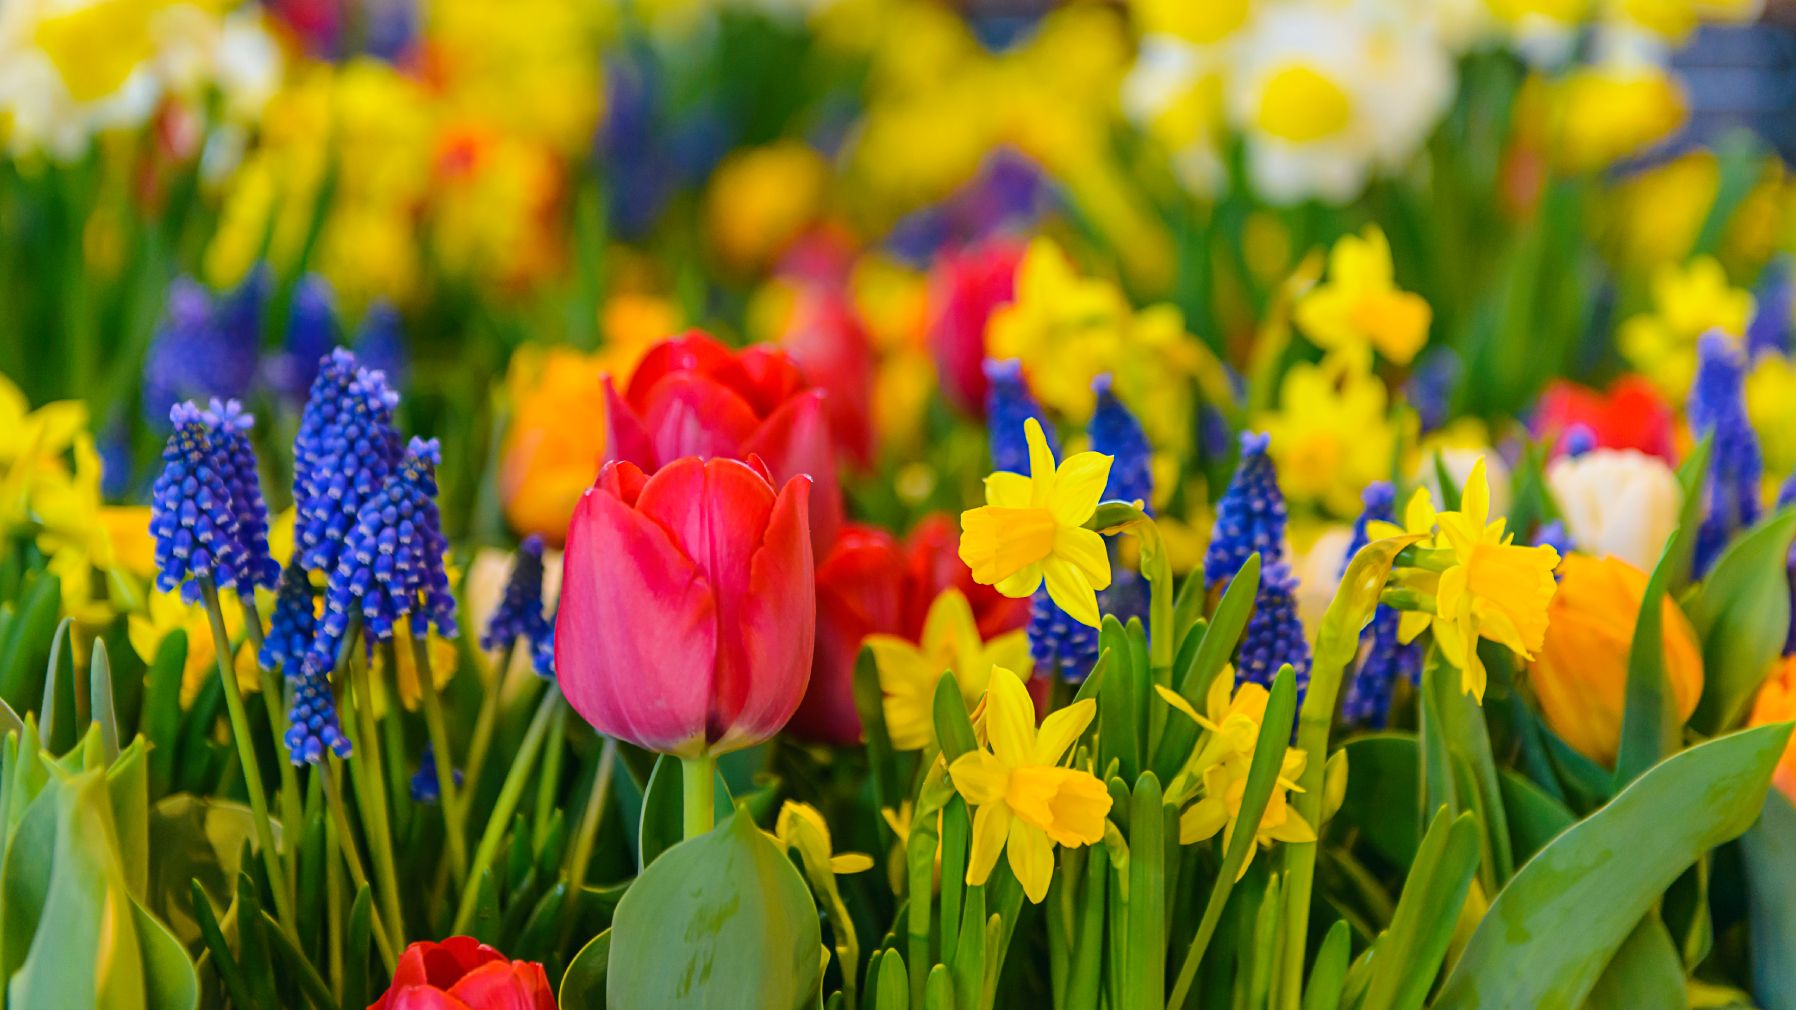

You’ve enjoyed weeks of gorgeous spring color from your bulbs, but now May is here and those vibrant tulips and daffodils are fading fast. Many gardeners make the mistake of cutting everything down immediately or letting bulbs dry out completely, which sabotages next year’s display. The good news: spending just a few minutes on post-bloom bulb care now will reward you with even more impressive blooms come spring. Here’s exactly what to do.
How to Care for Spring Bulbs After Blooming
Spring bulbs need strategic attention in May to replenish their energy reserves for next season. Follow these five steps to maximize your bulb investment.
What You Will Need
- Pruning shears or sharp scissors
- Balanced fertilizer (granular or liquid)
- Garden hose or watering can
- Garden fork or small digging tool
- Mesh bags or paper containers for storage
- Cool, dark storage space (basement, garage, or shed)
Steps
Deadhead Spent Blooms Immediately
Once flowers begin to fade or wilt, remove the entire flower head using clean pruning shears. Cut just below the flower, leaving the stem and leaves intact. This prevents the plant from wasting energy creating seeds and redirects that energy back into the bulb for next year’s growth. Leave at least 6 inches of stem and foliage on the plant.
Continue Watering Regularly
Even though blooms are gone, the bulb is still actively storing nutrients. Water deeply at the soil level once or twice weekly, providing about 1 inch of water per week. This is critical because dry bulbs cannot absorb the nutrients they need to bloom again next spring. Keep soil consistently moist but not waterlogged.
Apply a Balanced Fertilizer
In mid-May, apply a balanced fertilizer (equal nitrogen-phosphorus-potassium ratio like 10-10-10) around the base of plants according to package directions. Phosphorus and potassium especially support bulb development and flower formation. Water in the fertilizer thoroughly after application to help it reach the roots and bulb.
Let Foliage Die Back Naturally
Resist the urge to trim or braid the leaves. Even as they turn yellow and brown, the foliage is photosynthesizing and feeding the bulb. Allow leaves to remain until they’re completely brown and papery, which may take 4-6 weeks. Only then can you safely remove them, knowing the bulb has stored adequate energy.
Stop Watering Once Foliage Dies
Once leaves are completely brown and withered, gradually reduce watering. When foliage is entirely dead, stop watering altogether. This signals the bulb to enter dormancy. Excess moisture now can cause rot during summer storage and dormancy.
Dig and Store Tender Bulbs
If you live in cold climates with freezing winters, tender bulbs like dahlias and gladiolus must be dug up. Once foliage is completely dead, carefully dig up the entire bulb cluster with a garden fork, being careful not to damage the bulb. Brush off excess soil gently, allow bulbs to dry in a cool, airy location for 1-2 weeks.
Prepare Bulbs for Summer Storage
Once dried, store bulbs in mesh bags or paper containers in a cool (50-60F), dark, dry place like a basement, garage, or shed. Do not store in plastic bags, which trap moisture and encourage rot. Check monthly during storage for signs of disease or sprouting, removing any affected bulbs immediately.
- Cut off flower heads but leave the stem and leaves untouched–this is where the magic happens for next year’s blooms
- If you forget which varieties you planted, label the foliage with plant markers in May so you remember locations when replanting in fall
- For hardy bulbs in cold climates, you can leave them in the ground through summer and fall; just mark the spots so you don’t accidentally dig them up
What to Look For in Bulb Care Tools and Storage
- Pruning Shears Quality: Look for bypass pruning shears with sharp, stainless steel blades that cut cleanly without crushing stems. Dull blades damage plant tissue and invite disease. Ergonomic handles reduce hand fatigue during repeated deadheading.
- Fertilizer Type: Choose balanced, slow-release granular fertilizers formulated for bulbs or flowering plants. These provide steady nutrient release over weeks rather than fast spikes that can burn foliage. Look for products with micronutrients like boron and zinc.
- Storage Container Material: Mesh bags or paper containers allow air circulation and prevent moisture buildup that causes rot. Avoid plastic bins or sealed containers. Choose breathable options specifically designed for bulb storage or use paper grocery bags.
- Digging Tool Design: A sturdy garden fork with curved tines minimizes bulb damage during extraction. Avoid flat shovels that can cut through bulbs. Choose tools with comfortable grips and appropriate weight for your strength level.
Fiskars Bypass Pruning Shears
Best for: Anyone deadheading multiple spring bulbs
These professional-grade bypass pruning shears deliver precise cuts that promote plant health. The sharp, high-carbon stainless steel blades stay sharp through hundreds of cuts, while the ergonomic design reduces hand strain during extended deadheading sessions. Lifetime warranty ensures durability, making them an investment tool you’ll use year after year in your garden.
Check Current Price on Amazon →Espoma Bulb-tone 3-5-8 Organic Fertilizer
Best for: Organic gardeners prioritizing bulb health
Specifically formulated for spring and fall bulb feeding, this organic granular fertilizer contains beneficial mycorrhizae that enhance nutrient absorption. The 3-5-8 ratio emphasizes phosphorus and potassium for superior root and bulb development. Slow-release action provides steady nutrition over 8 weeks, perfect for May applications. Safe for use around edibles and beneficial insects.
Check Current Price on Amazon →Corona ComfortGEL Bypass Hand Pruner
Best for: Budget-conscious gardeners with smaller gardens
A reliable, affordable bypass pruner that handles most deadheading tasks without breaking the bank. The gel comfort grip reduces hand fatigue, and the compact design fits easily in a back pocket. While not as heavy-duty as premium models, it delivers clean cuts adequate for spring bulb maintenance and general garden work.
Check Current Price on Amazon →Gladiolus Bulb Storage Mesh Bags
Best for: Gardeners storing tender bulbs over summer and winter
These fine-mesh drawstring bags provide ideal air circulation for bulb storage without allowing pests entry. The breathable material prevents moisture accumulation that causes rot, while the see-through design lets you monitor bulb condition without opening bags. Available in various sizes to accommodate small quantities or entire collections.
Check Current Price on Amazon →Maximize Your Bulb Investment with Proper May Care
The difference between mediocre spring bulb displays and showstopping ones comes down to post-bloom maintenance in May. By deadheading wisely, continuing to water and fertilize, and allowing foliage to persist until completely brown, you’re essentially refueling the bulb for next season’s performance. This simple routine takes just minutes but delivers exponential returns in blooms, size, and color intensity.
Remember that bulbs are perennials trying to complete their annual cycle–when you support that cycle with proper care, they reward you faithfully year after year. Whether you’re storing tender bulbs indoors or letting hardy varieties overwinter in the ground, the May practices you follow now determine whether next spring brings a disappointing few blooms or a glorious garden display that makes every neighbor jealous.
Frequently Asked Questions
Can I cut off all the foliage immediately after flowers fade?
No–cutting foliage immediately prevents the bulb from storing energy for next year. The green leaves must remain and photosynthesize for 4-6 weeks after blooming ends. Premature removal guarantees disappointing, smaller blooms next spring.
What if my bulbs were planted in containers instead of garden beds?
Container bulbs need the same post-bloom care as in-ground bulbs. Continue watering and fertilizing until foliage dies completely, then allow containers to dry out. For tender bulbs, dig them up once foliage is brown, or bring potted bulbs to a cool storage location if left in pots.
Do all spring bulbs need to be dug up after blooming?
Hardy bulbs like tulips, daffodils, and crocuses can stay in the ground year-round in cold climates. Tender bulbs like gladiolus and dahlias must be dug up in fall before freezing temperatures arrive. Check your specific bulb variety’s hardiness zone.
How often should I fertilize spring bulbs during May?
Apply fertilizer once in early-to-mid May after deadheading, then allow the single application to work over several weeks. Applying more than once can over-feed and encourage foliage growth at the expense of bulb development.
What’s the ideal temperature for storing bulbs over summer?
Store bulbs in a cool location between 50-60 degrees Fahrenheit with good air circulation. Basements, unheated garages, and garden sheds are ideal. Avoid warm attics or areas near furnaces, which dry bulbs out excessively.
As an Amazon Associate, Build & Bloom earns from qualifying purchases. We only recommend products we genuinely think are useful. Prices and availability vary; check Amazon for the latest.
Leave a Reply